It’s been a little less than a year since Cricut introduced the Cricut Maker to their lineup of amazing machines. As promised, this machine has not disappointed, and now it’s taking creating to a whole new level. The long-awaited arrival of the Knife Blade is finally here, and it can cut like no other blade has been able to cut before.
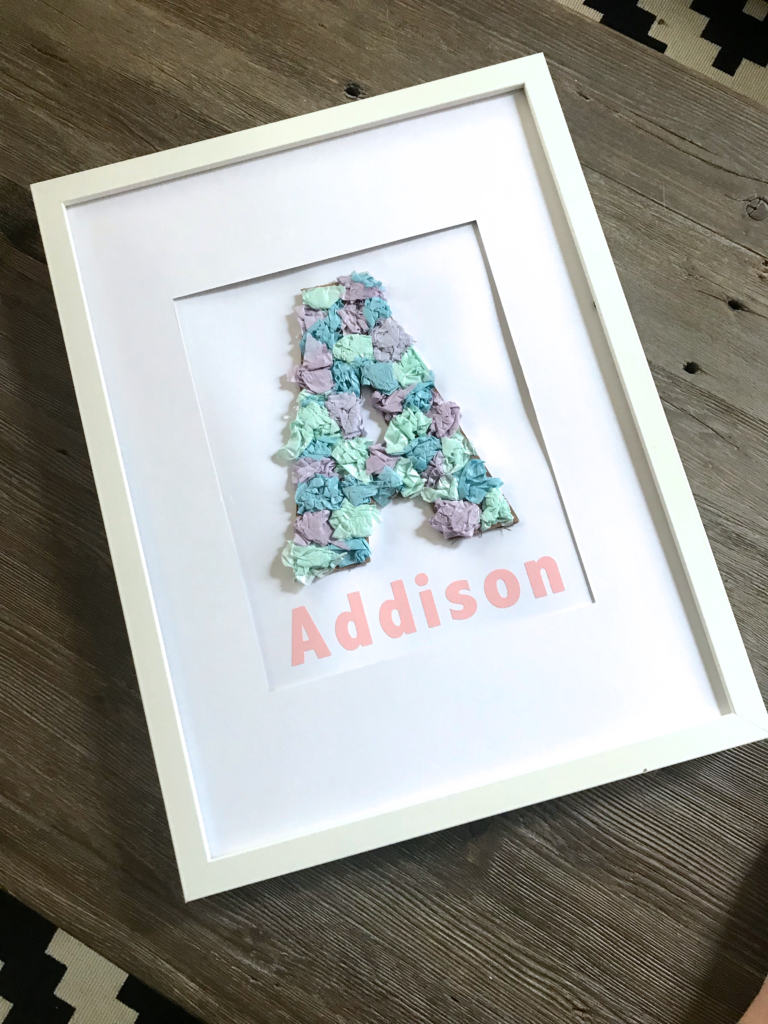
The new blade can do precise cuts through materials such as balsa wood, leather, chipboard and more. Now that it’s here, we are excited to put it to the test with our first project. We’re sharing a wall decor project that uses Cricut’s chipboard.
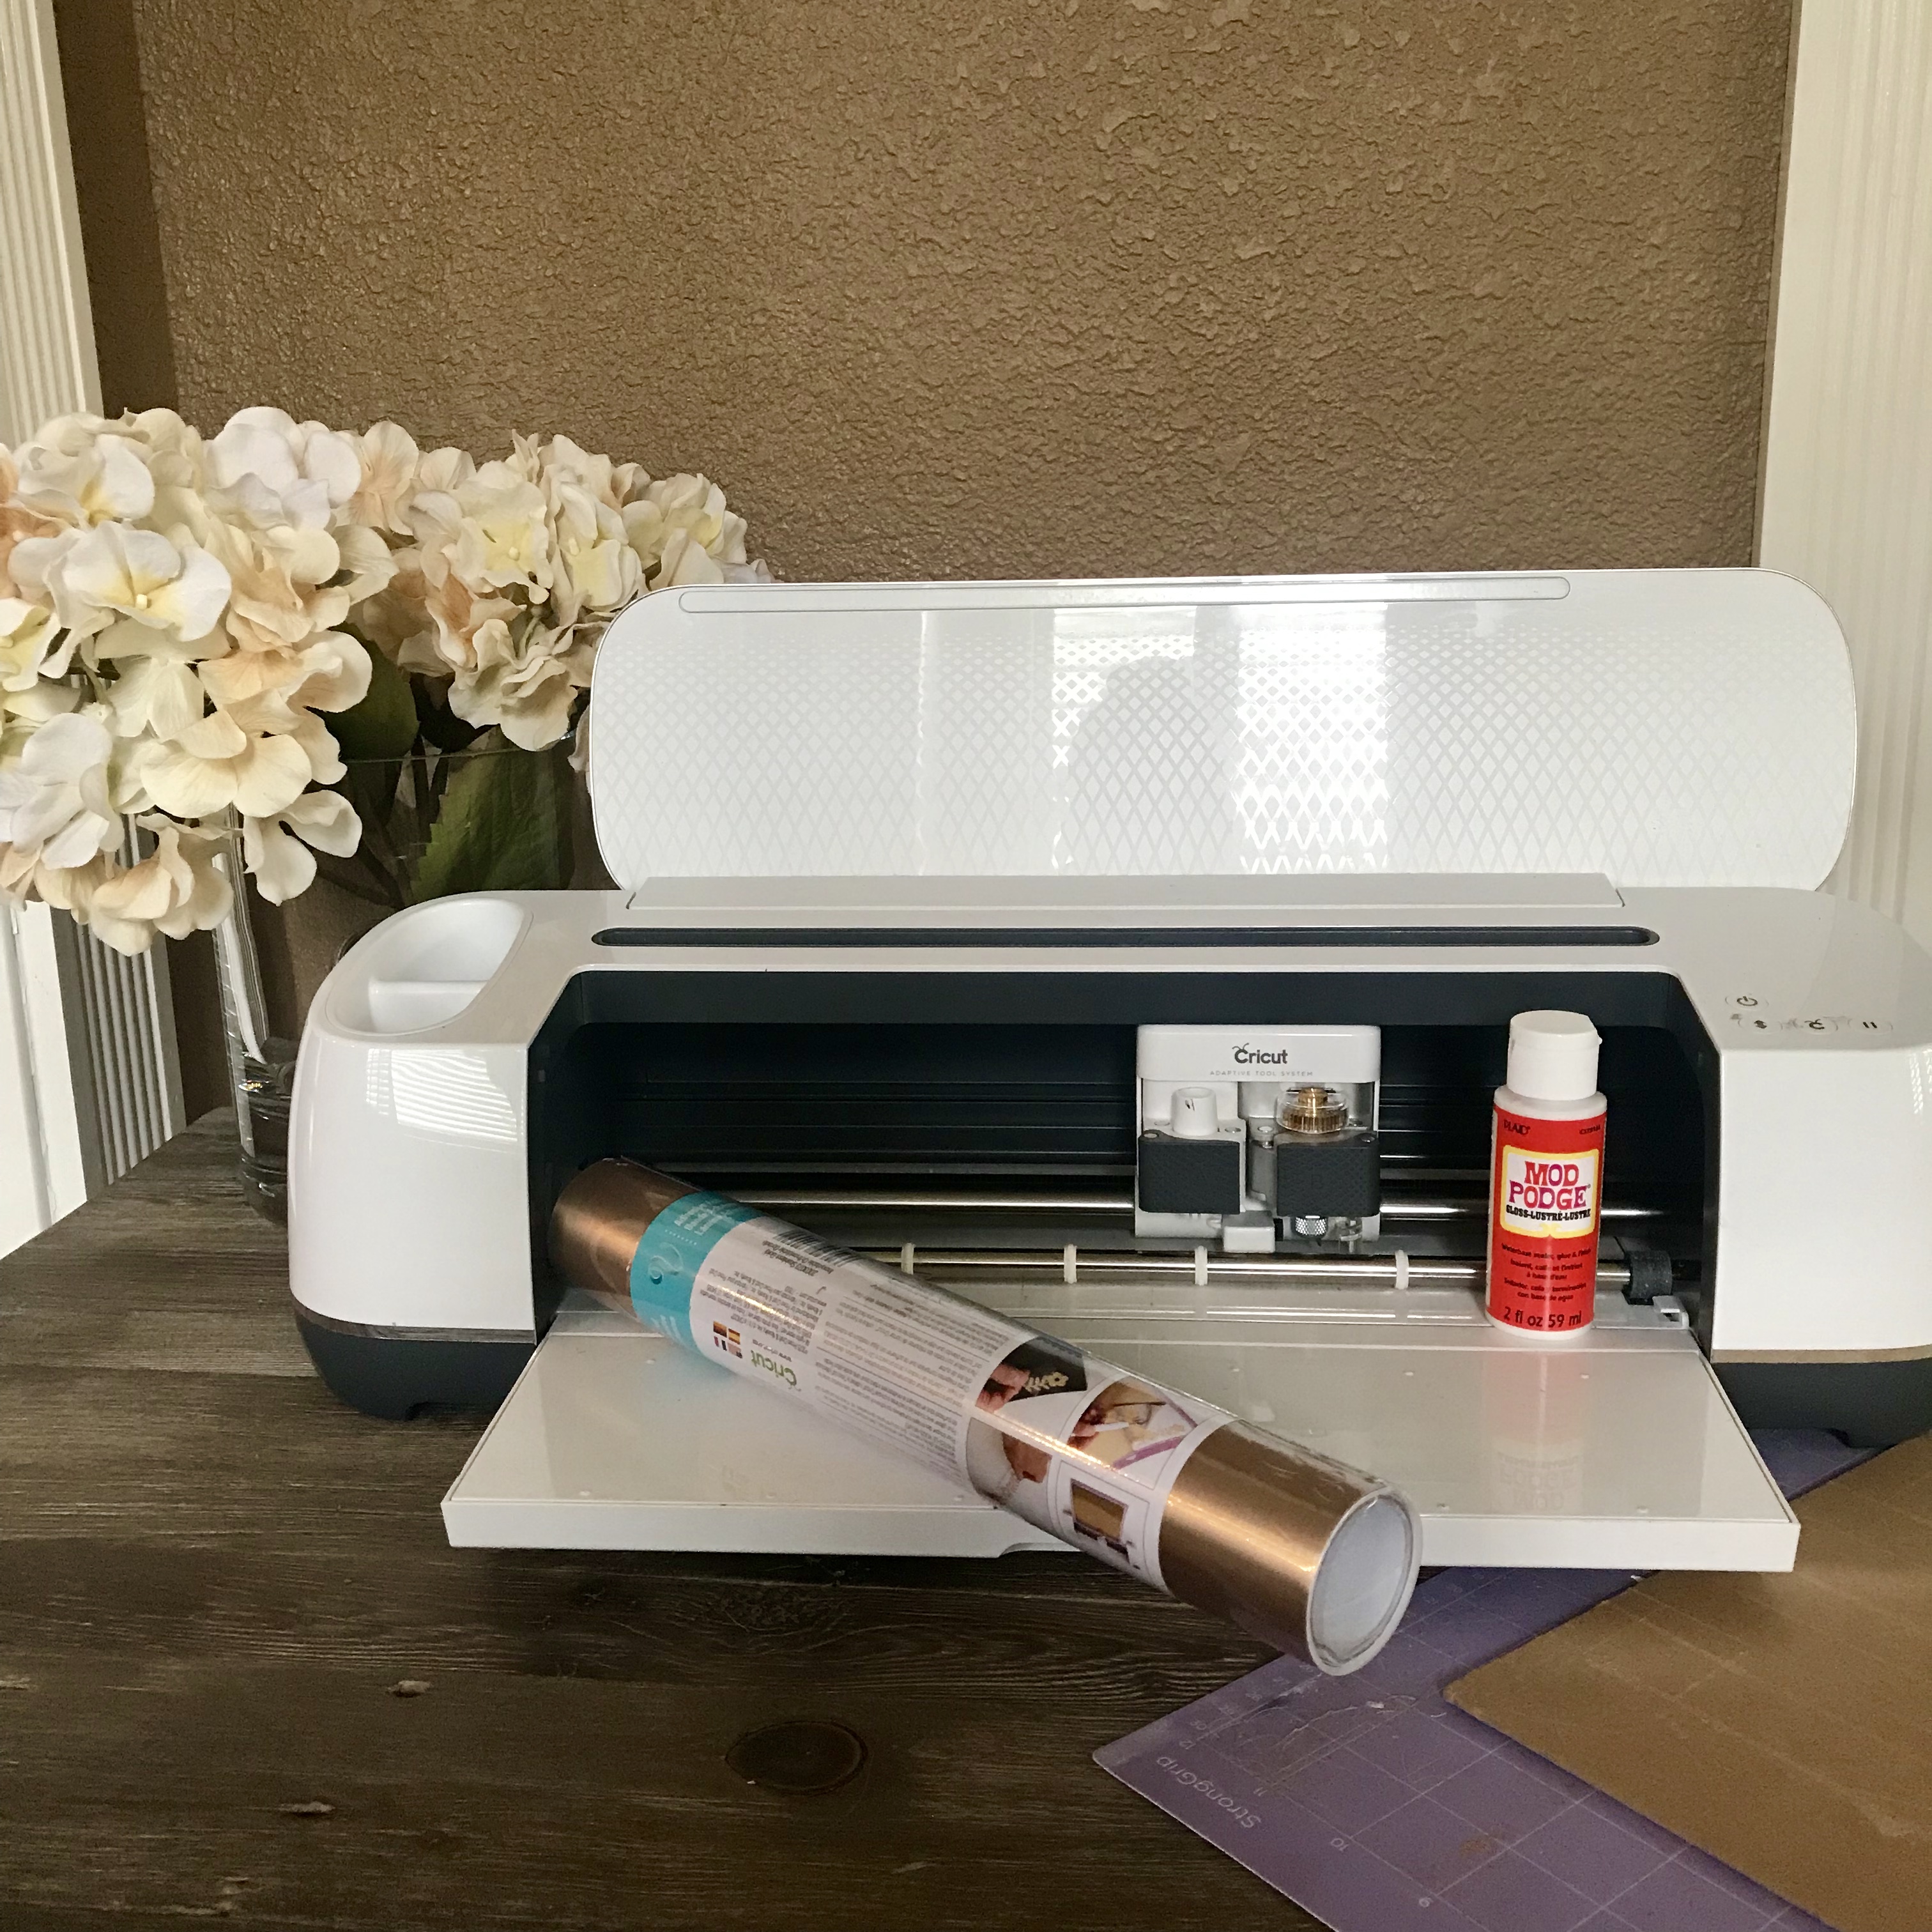
Materials: Cricut Maker, Cricut® 12×12 StrongGrip Mat, Cricut Knife Blade, vinyl (you pick the colors!), Cricut Chipboard, tissue paper, Cricut Transfer Tape and Mod Podge, 8×10 picture frame and 8×10 card stock or mat
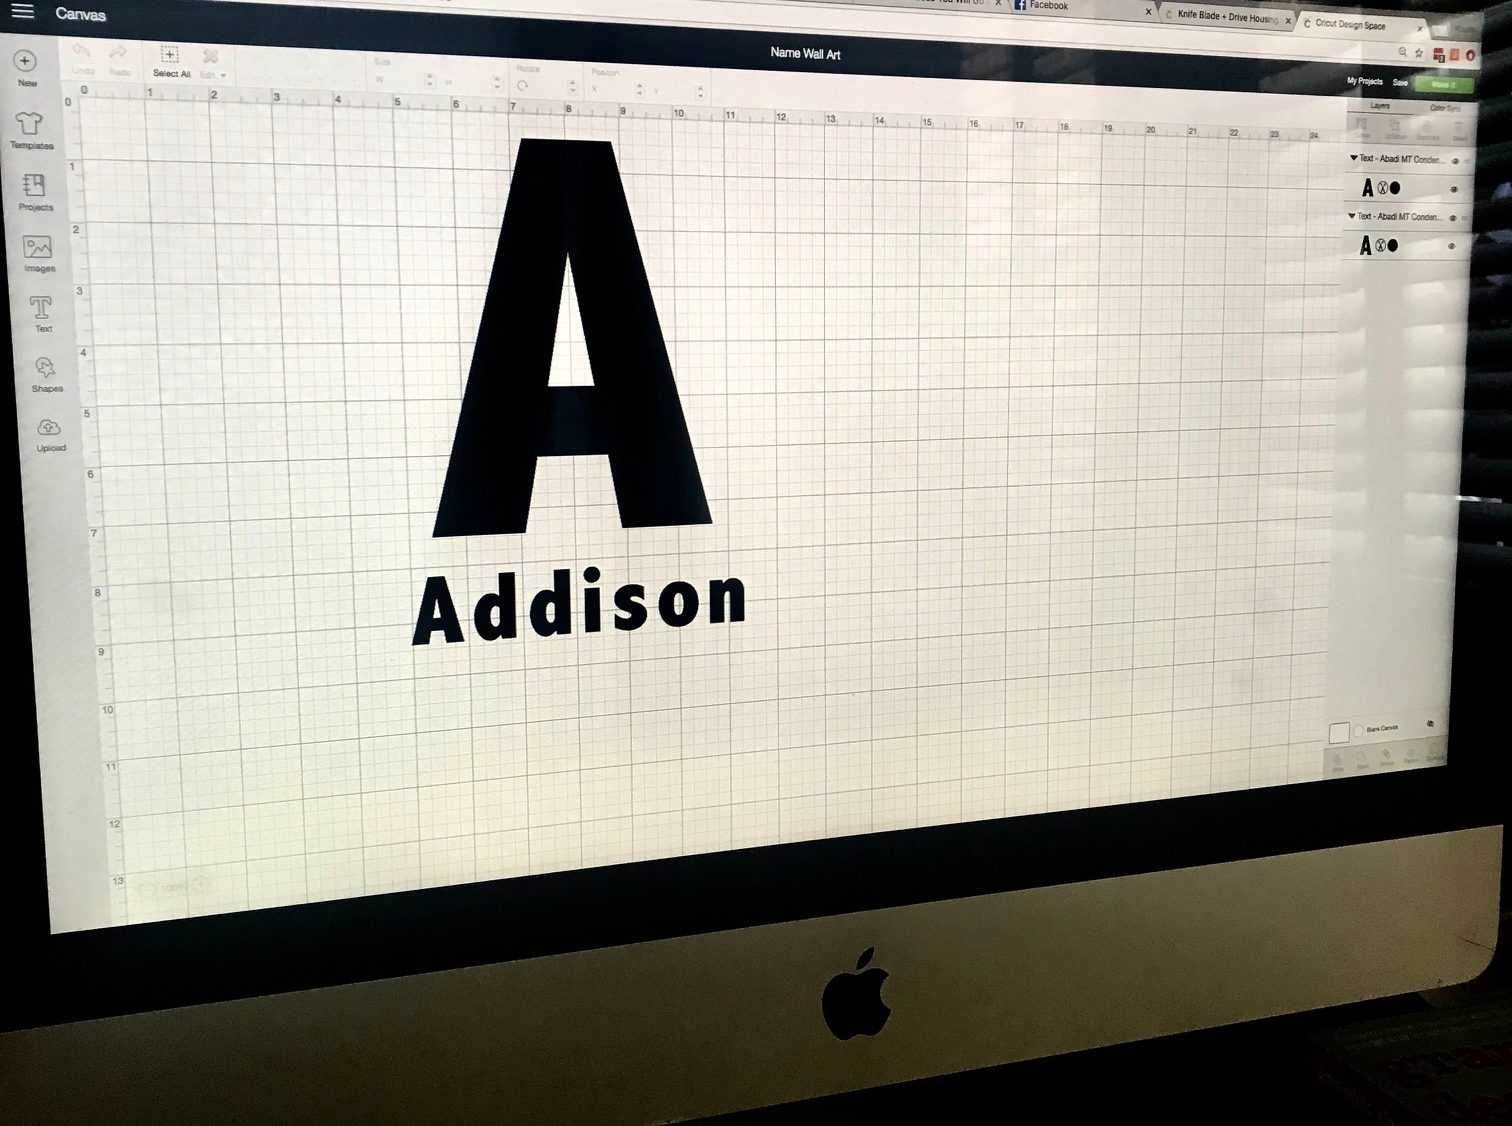
Follow the link to our “Name Wall Art” design in Cricut’s Design Space. You’ll want to customize the design to fit the name and letter you want. You can also adjust the size to make the project larger or smaller. The design is currently set to fit a 5×7 space.
Once you have your design formatted, click “Go.” Load your chipboard onto a StrongGrip Mat, and set to the chipboard setting. Don’t forget to load the knife blade into your machine.
Once you have your design cut, carefully remove the letter from the mat. Now it’s time to get sticky! Tear off small pieces of the tissue paper, squish it up and use Mod Podge to apply the tissue to the chipboard. Remember, a little amount of Mod Podge goes a long way, use sparingly. Be sure to cover the chipboard fully. You can use any pattern or color combination you want.

Next, cut the name of your choice with Cricut vinyl. Place the vinyl on the mat and set your machine to the vinyl setting. Once you have your design cut, carefully remove all the excess vinyl using your Cricut weeding tool to reveal your design.
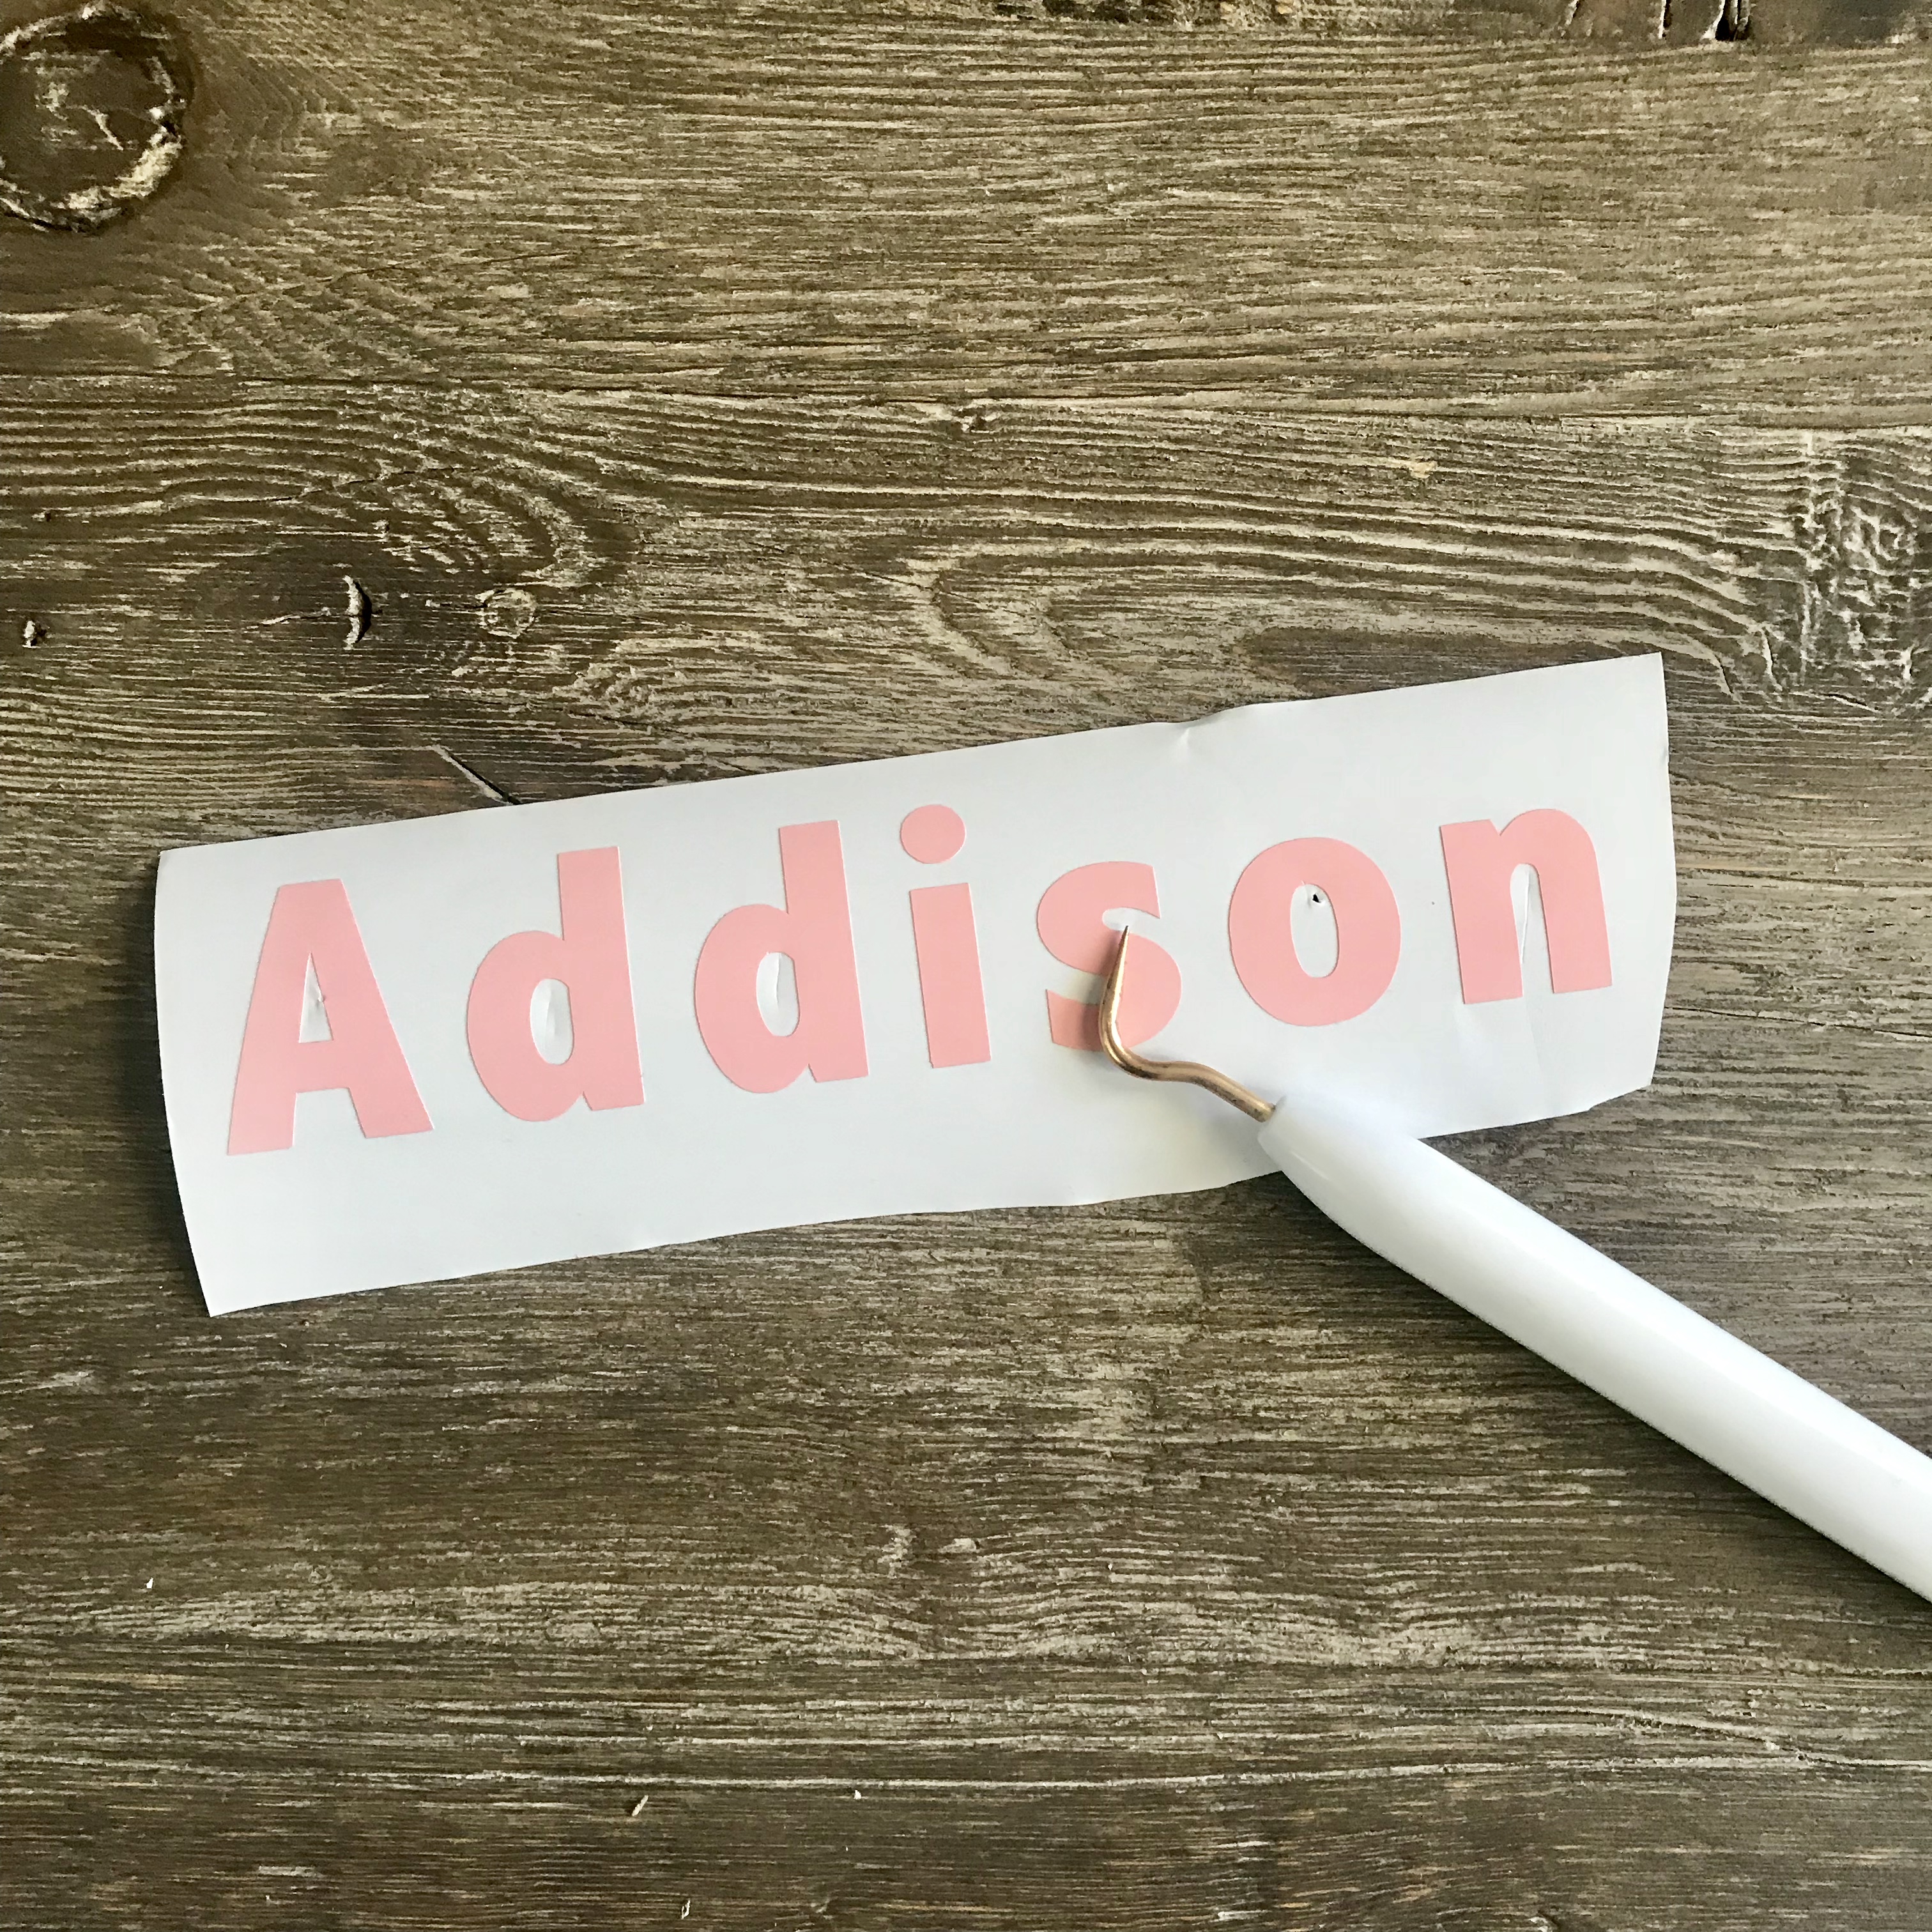
The final step is to apply the chipboard and the vinyl to the card stock. You can use the Mod Podge to secure the chipboard to the card stock.
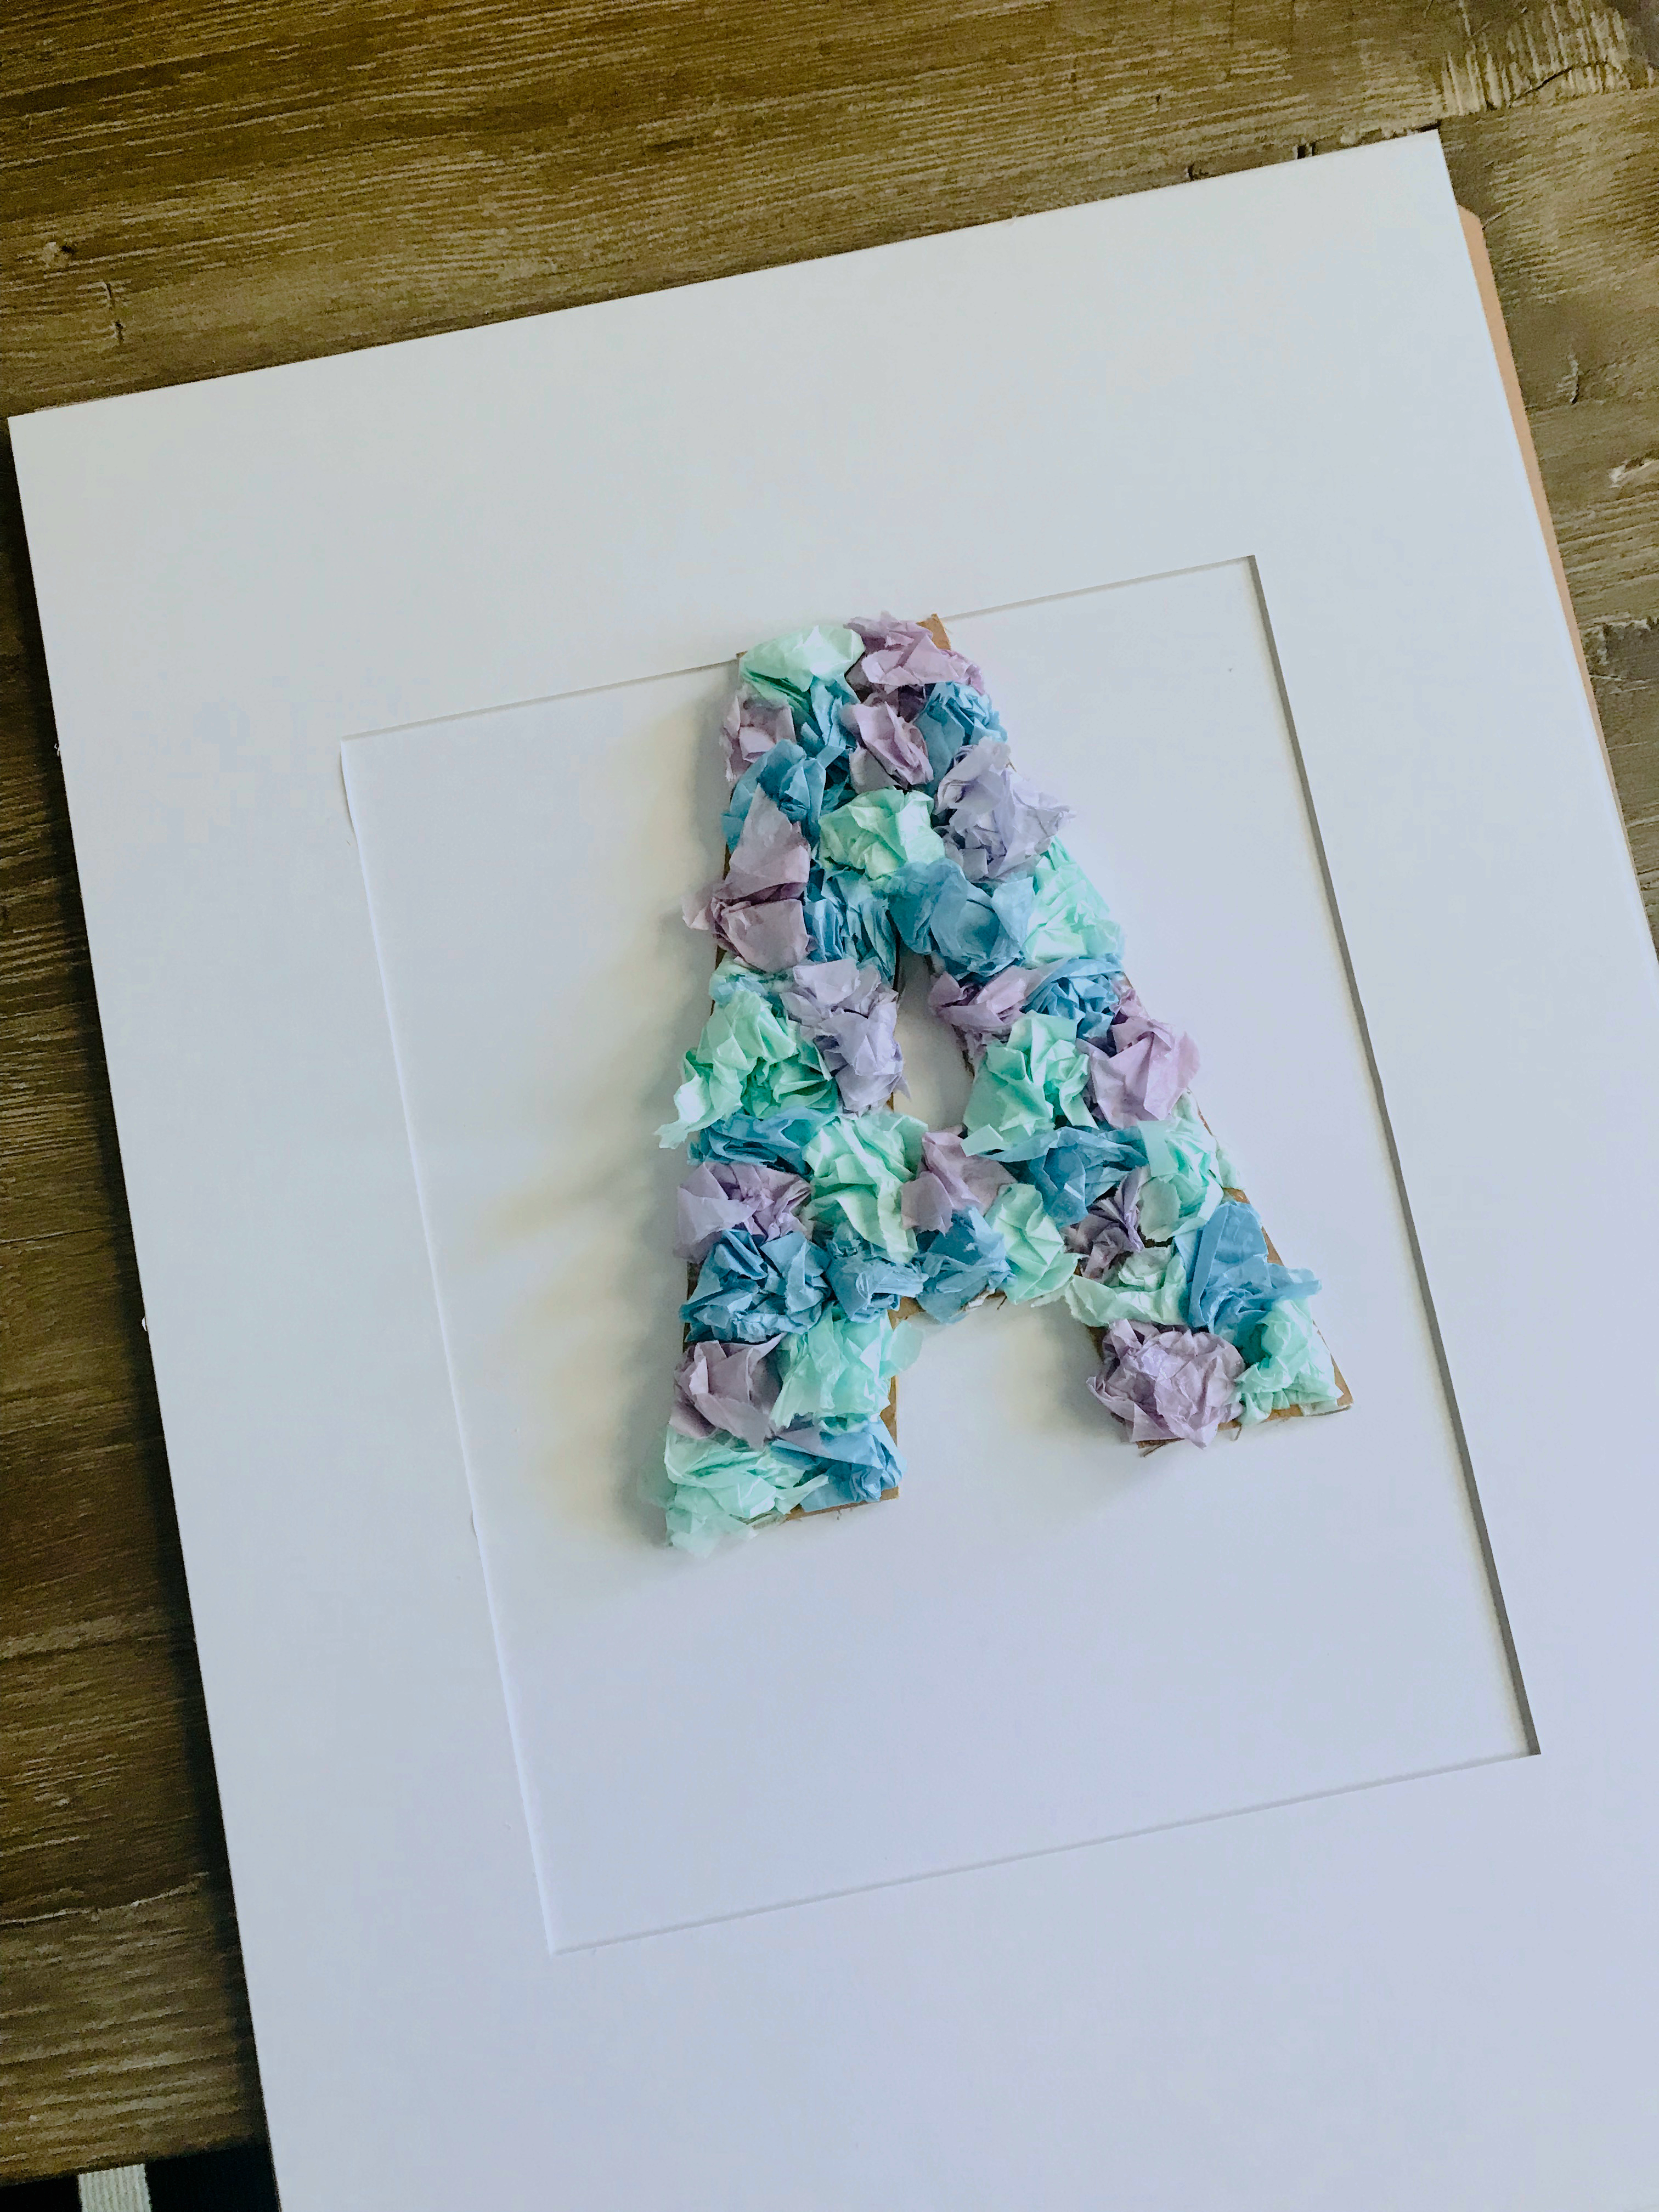
To apply the vinyl, use the transfer tape. Apply the transfer tape to the top of the design. I recommend using the scraper tool to help press the material to the transfer tape. Then peel off the back tape from the design.
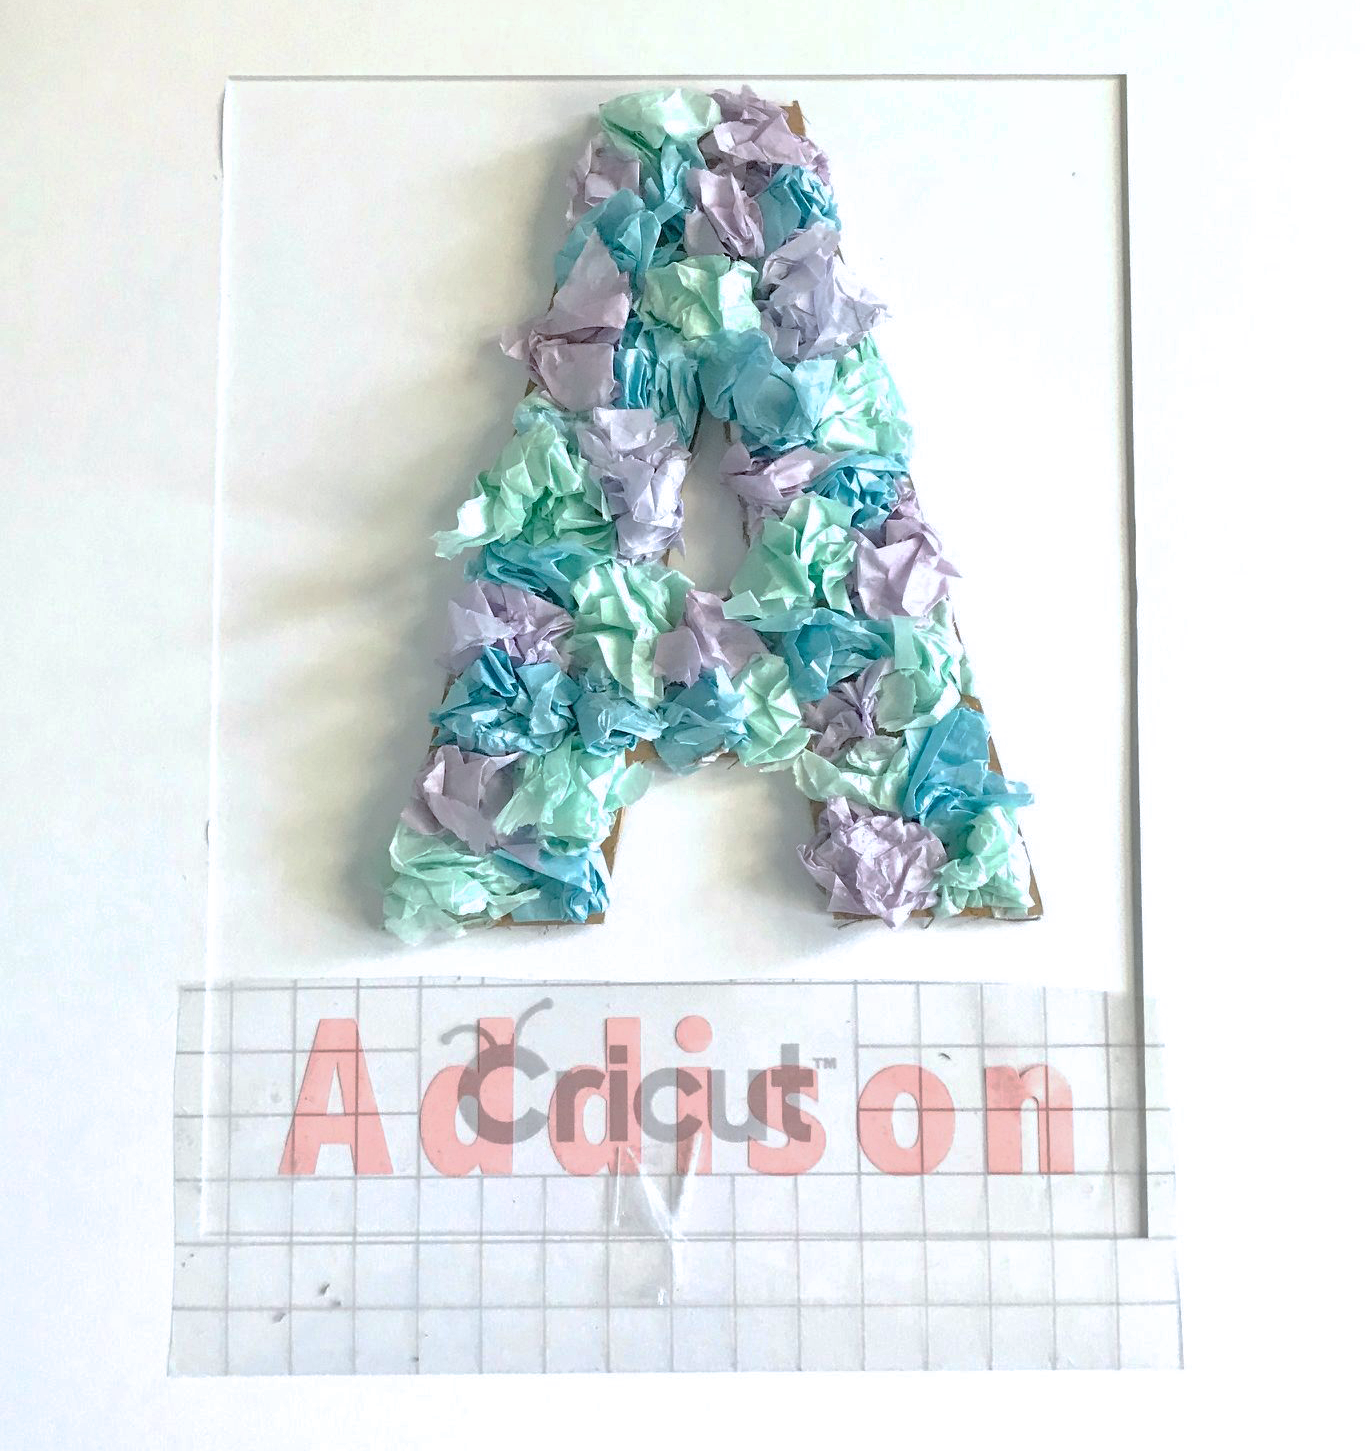
Once you have the design secured on the tape, place the design on the card stock where you want it. Then, remove the transfer tape. Tip, start from the top and slowly remove the tape.
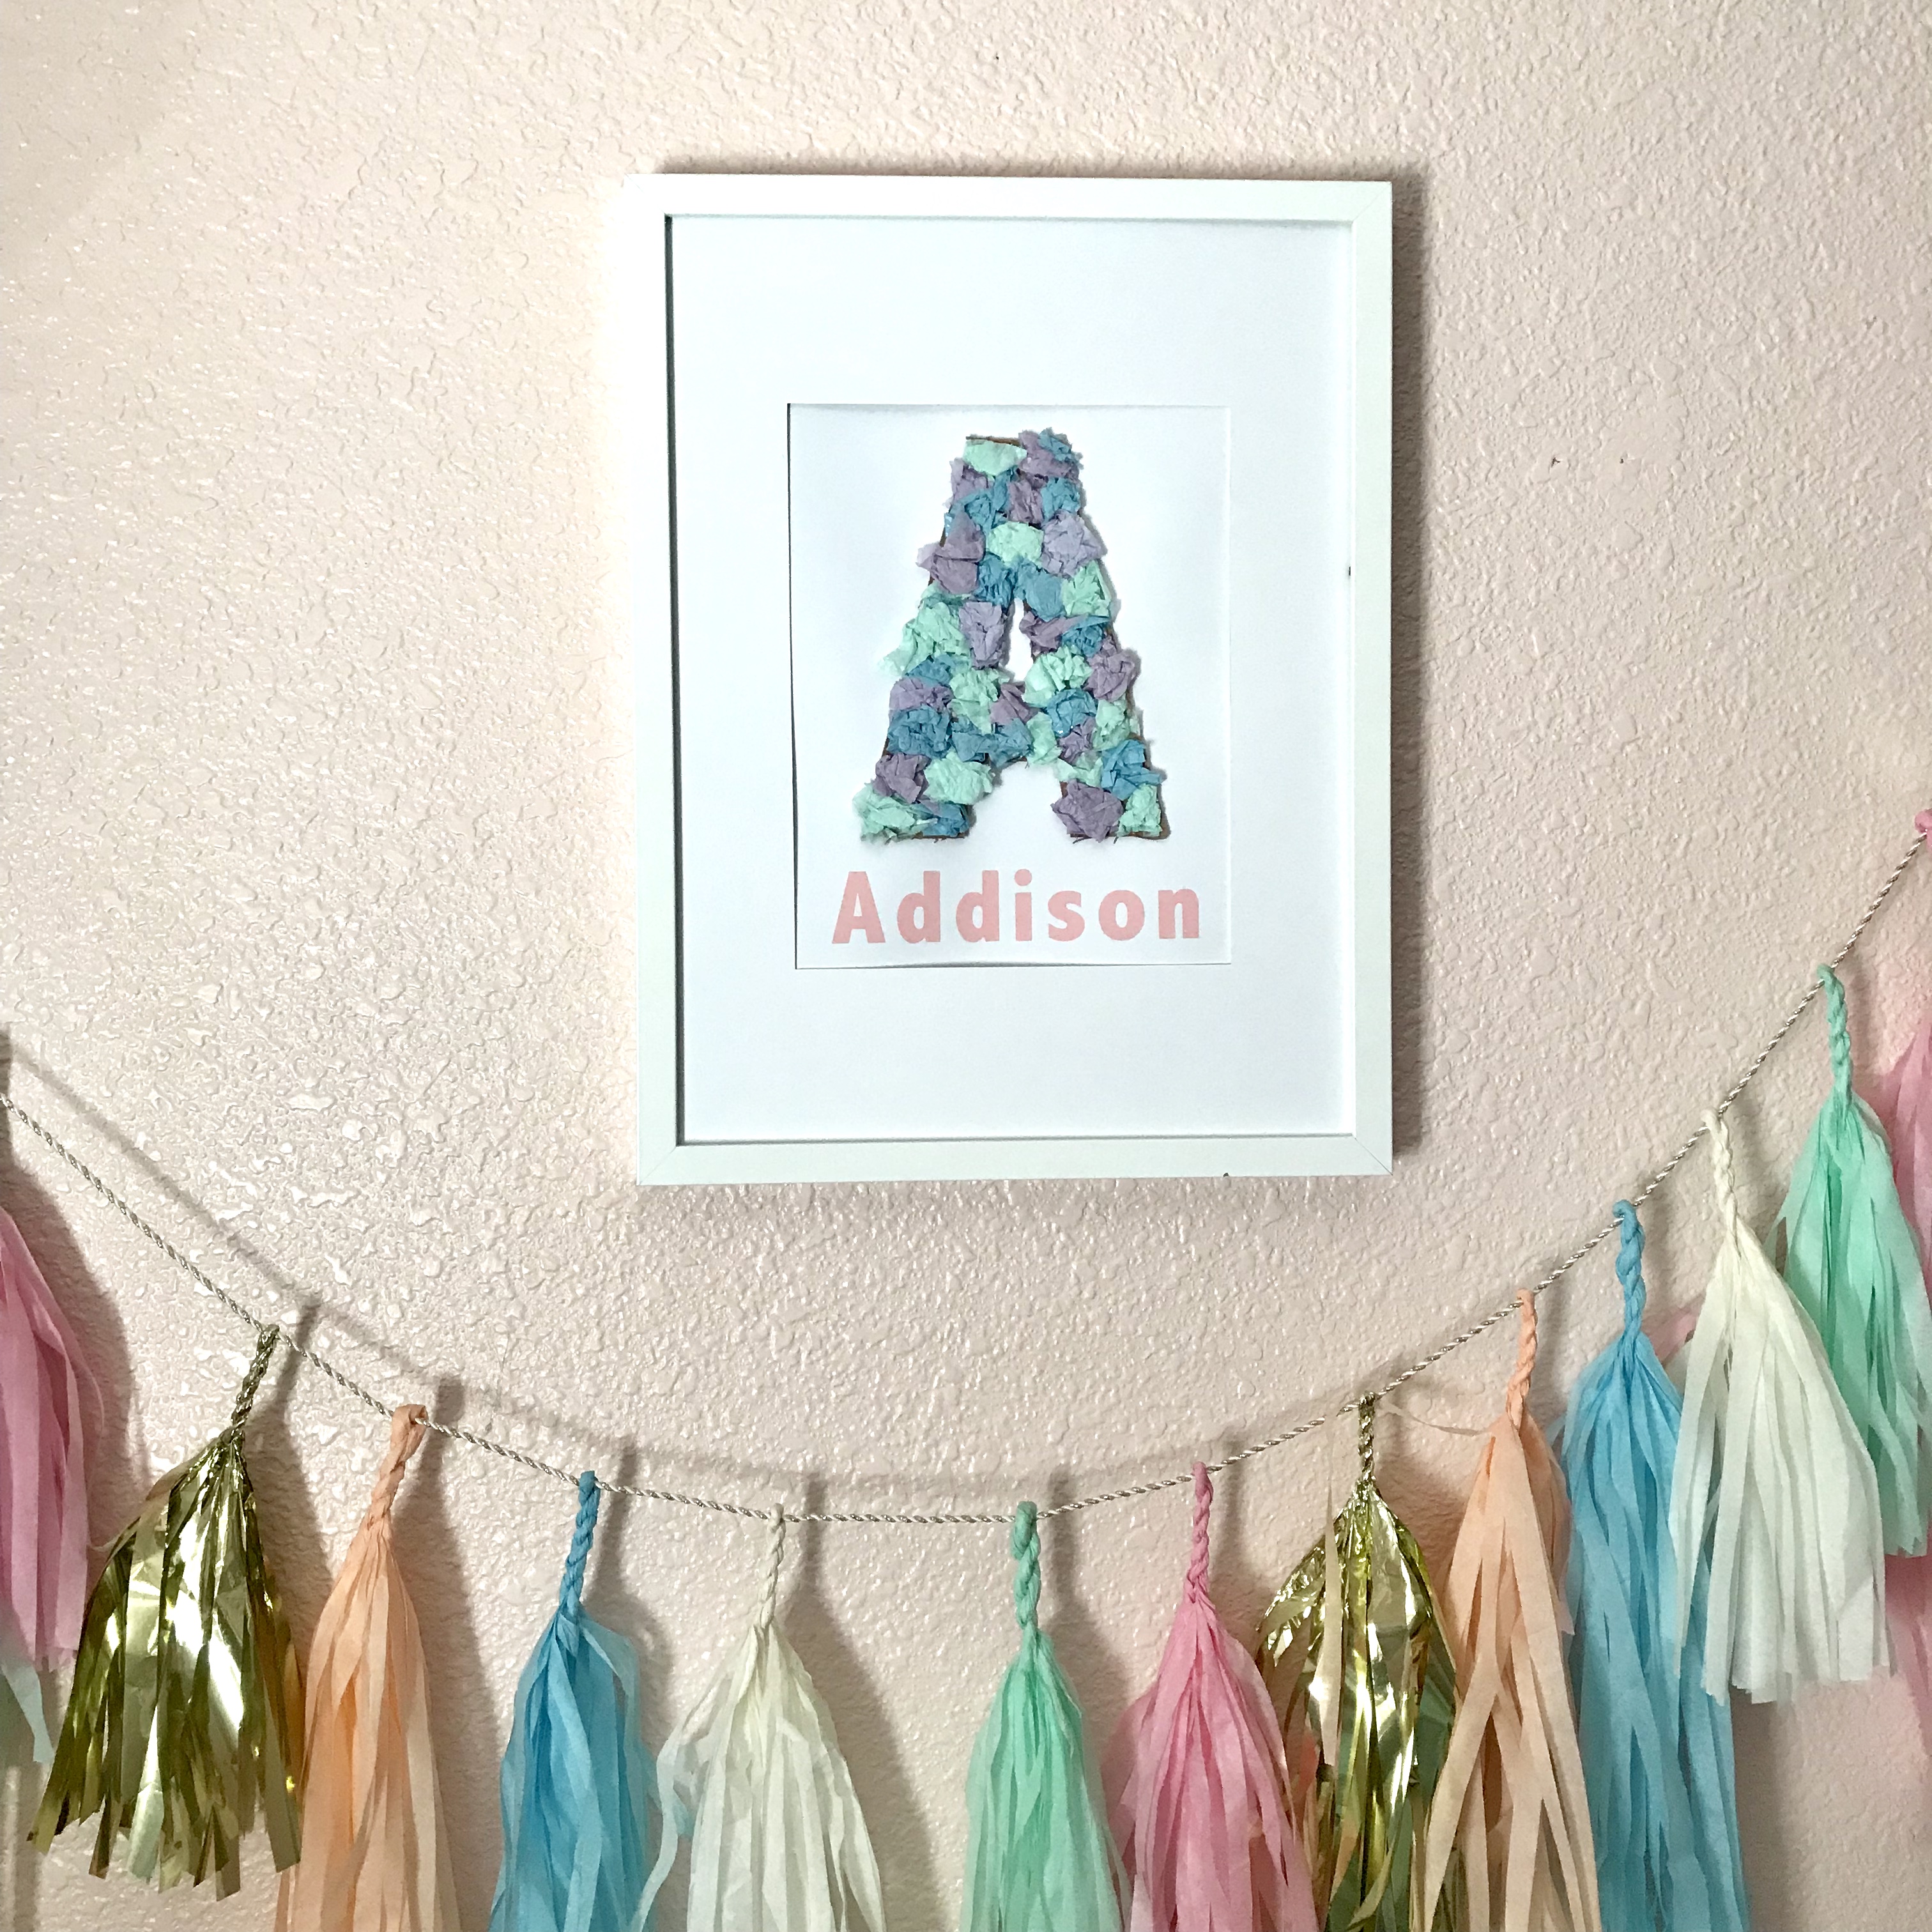
Now you’re ready to hang. Place you newly created artwork in your nursery, child’s room or playroom or give it as a gift. Happy crafting!
This is a sponsored conversation written by me on behalf of Cricut. The opinions and text are all mine.


Comments
Rachael Johnson
What is the name of the pink pain on the wall?