I’m not going to lie, I am very excited about both my kids heading back to school this fall! Don’t get me wrong, I love the relaxed schedule of summer, but after three months of planning playdates, I am craving a routine. Every year, I make it a point to capture the first day. I want to remember each grade and compare their growth from the previous year—it also gives me a reason to bust out my Cricut. Any excuse for crafting is a good one. Here is a quick and easy tutorial on how to create a DIY back-to-school sign.
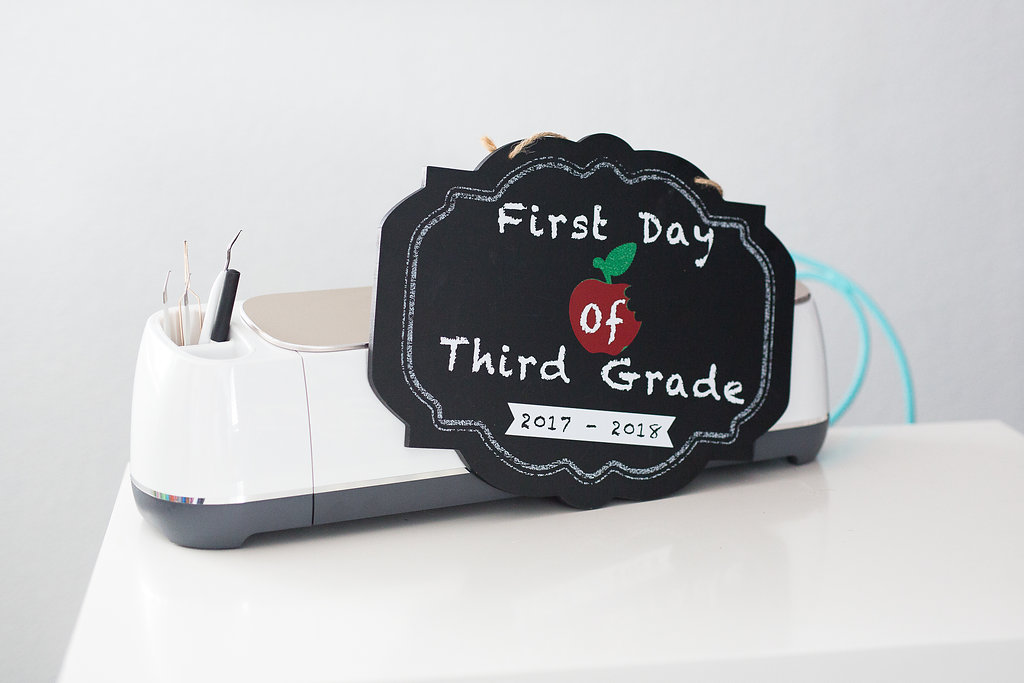
Ready to get started? With a few easy steps, you’ll have an adorable sign that will mark the milestone of your little one’s first day. You can swap out the grade and year to reuse the sign each year.
Materials: Plain sign (I used a 13×7 sign I found at Michaels), Cricut Explore Air2 or Cricut Maker, Standard Cricut Cutting mat, white, red and green vinyl material and Cricut Transfer Tape.
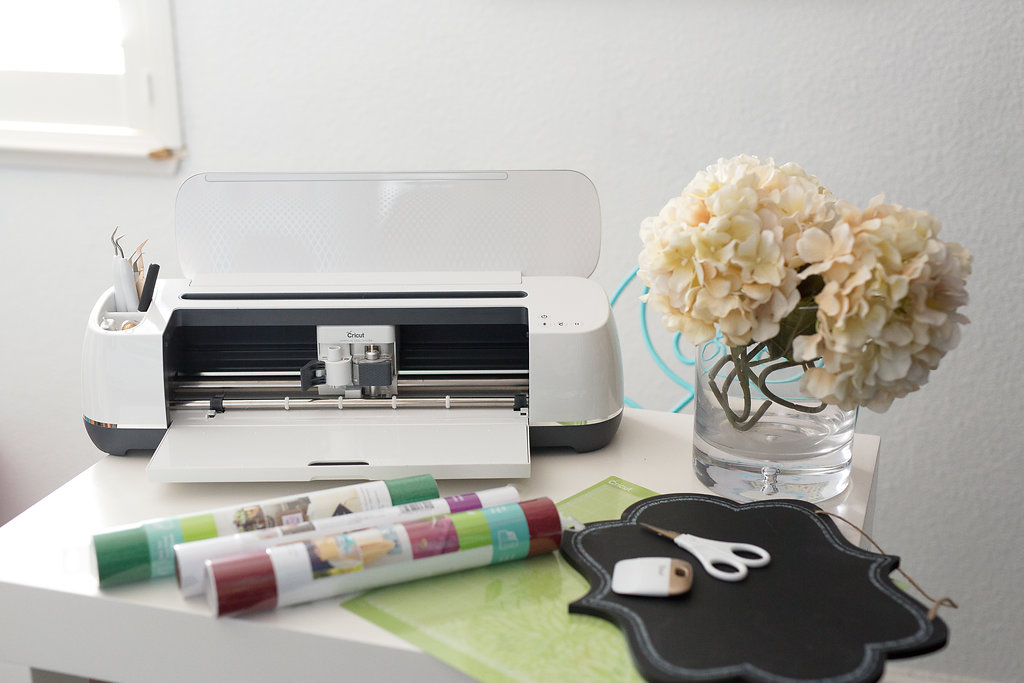
Follow the link to our “Back to School Sign” file in Cricut’s Design Space. Be sure to format the size of the design to fit the dimensions of your chalkboard. Also edit the grade for your child.
Once you have your design formatted click Go. Set your material to custom for the vinyl setting on the Cricut. Start with the white vinyl for the letters.
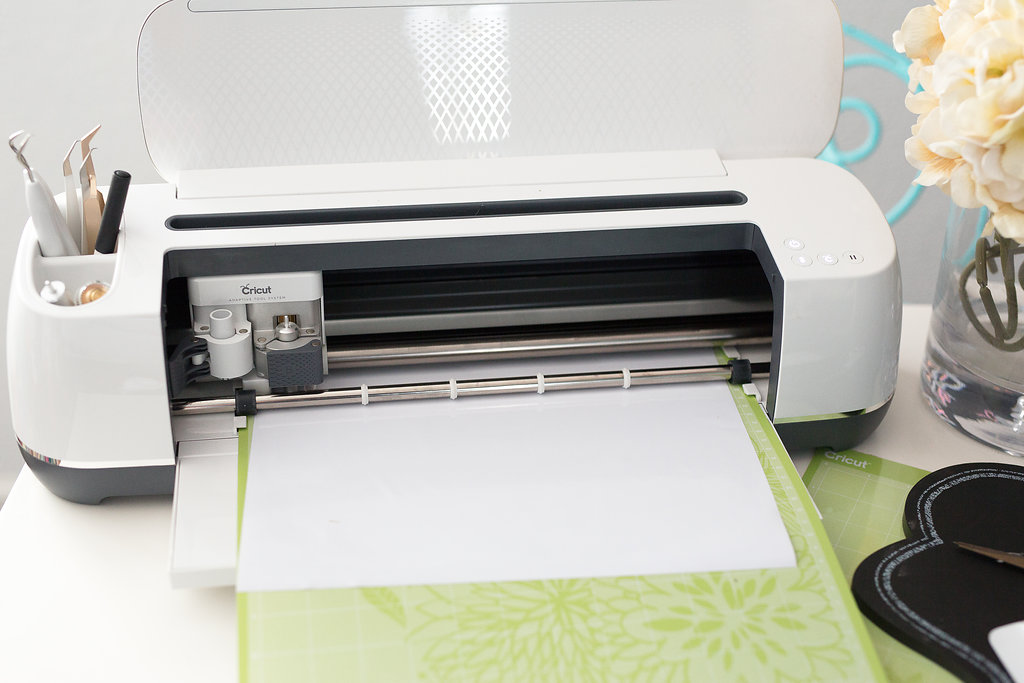
Next cut the top layer for the apple in red and then finally the second layer of the apple in green.
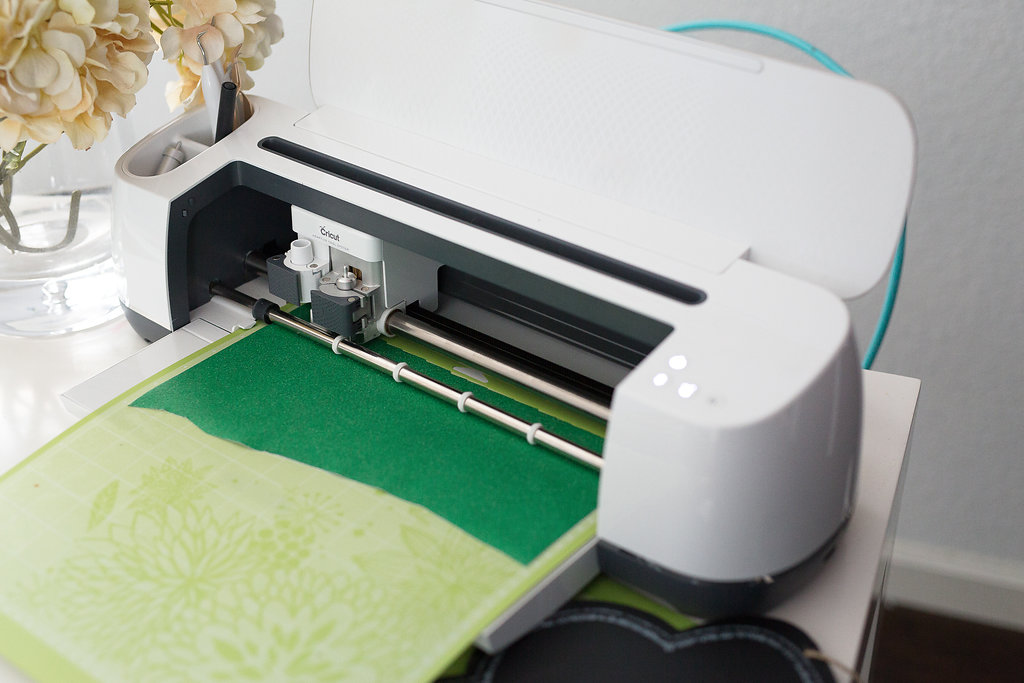
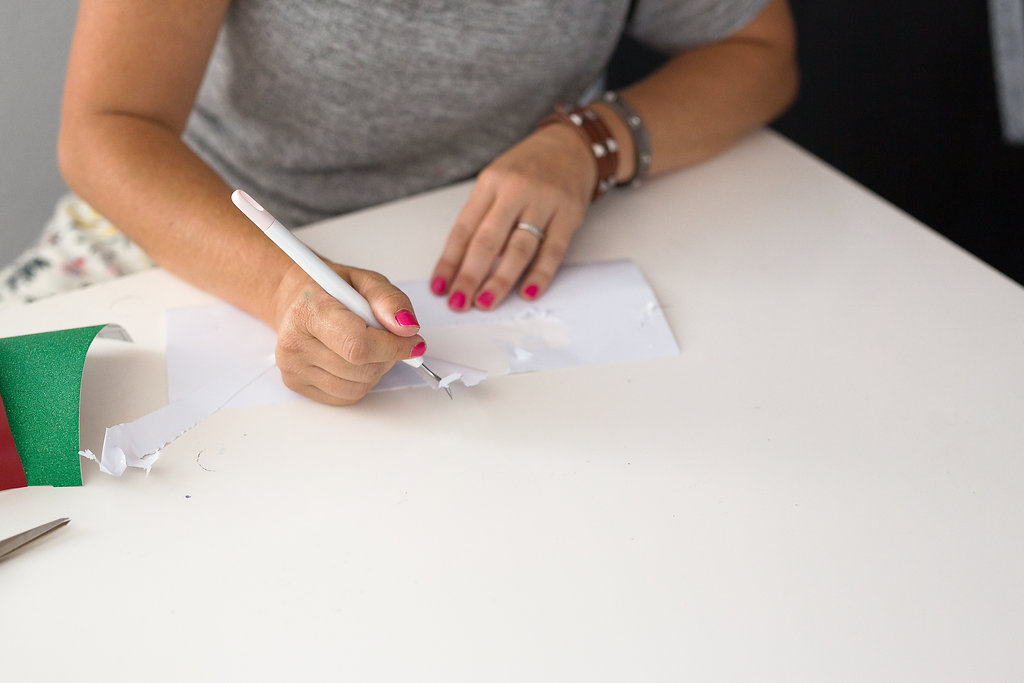
Once you have everything cut, carefully remove all the excess vinyl using your Cricut weeding tool to reveal your design!
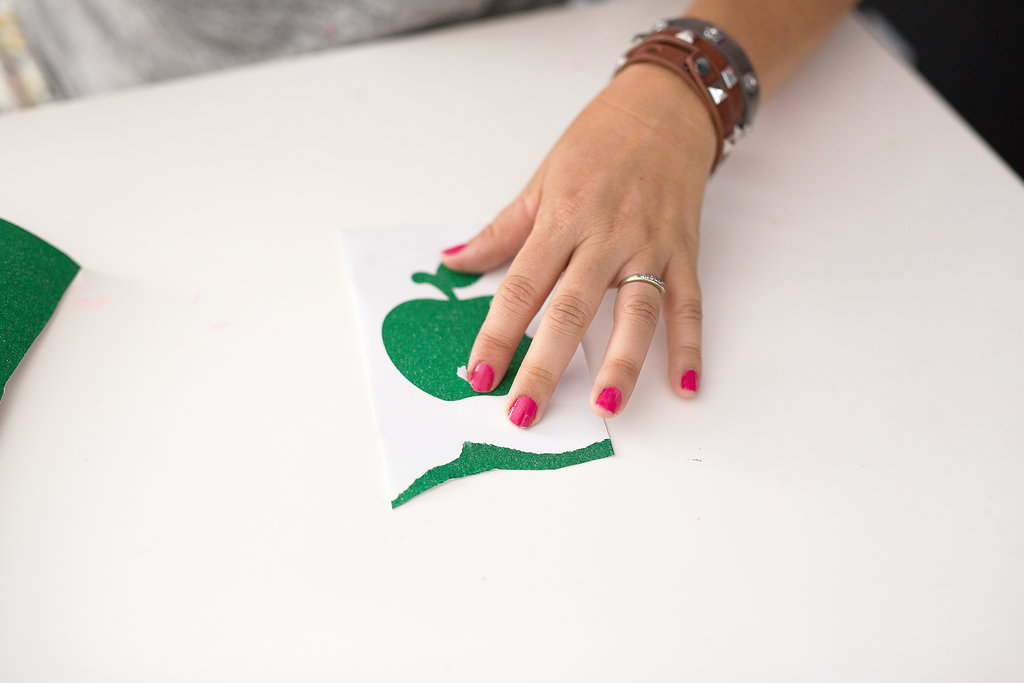

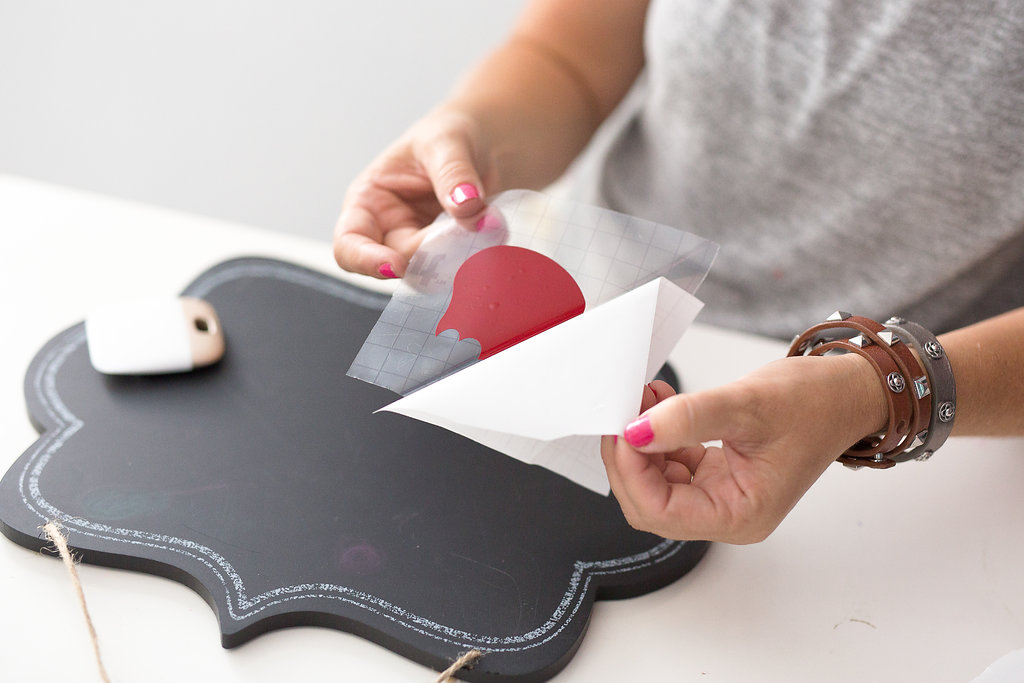
Now it is time to use the transfer tape to apply the vinyl to the chalkboard. Transfer tape is a positioning tool that allows you to transfer pieces in the same position that they were printed, so for example, you can transfer a whole word rather than trying to line it up letter by letter. It allows you to get precise placement of each element. You can learn more about using transfer tape in this video.
To lay the apple, use the transfer tape to apply the bottom green layer. Next lay the red apple piece on top of the green and finally transfer the “of” letters to the top. Use the Cricut transfer tape for all of these steps. TIP: Use the scraper tool to help apply the vinyl, it helps secure it to the surface.
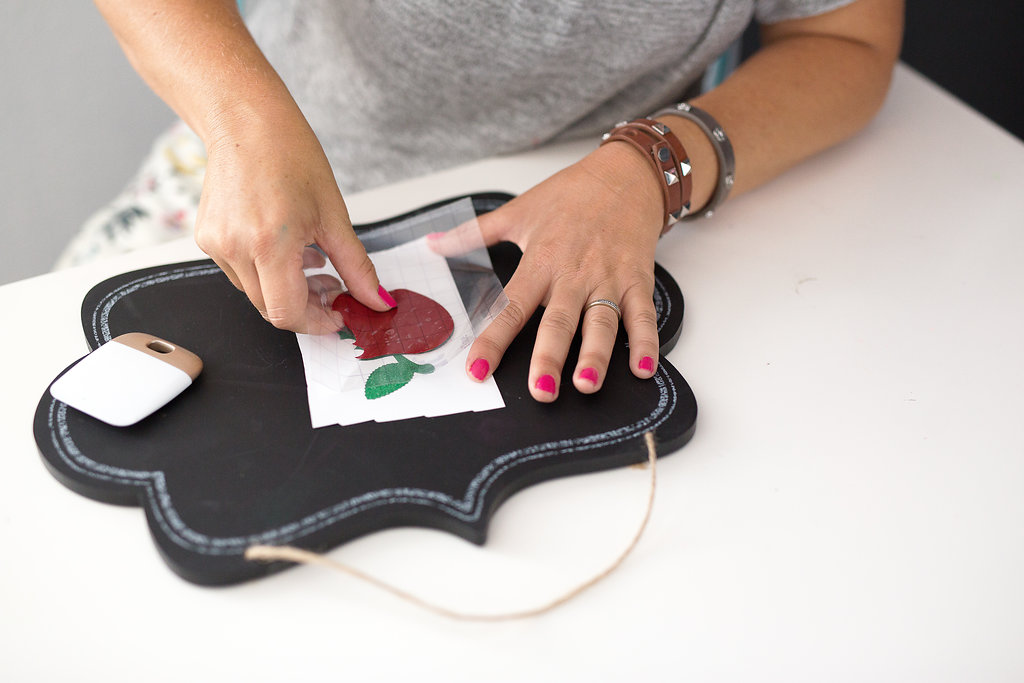
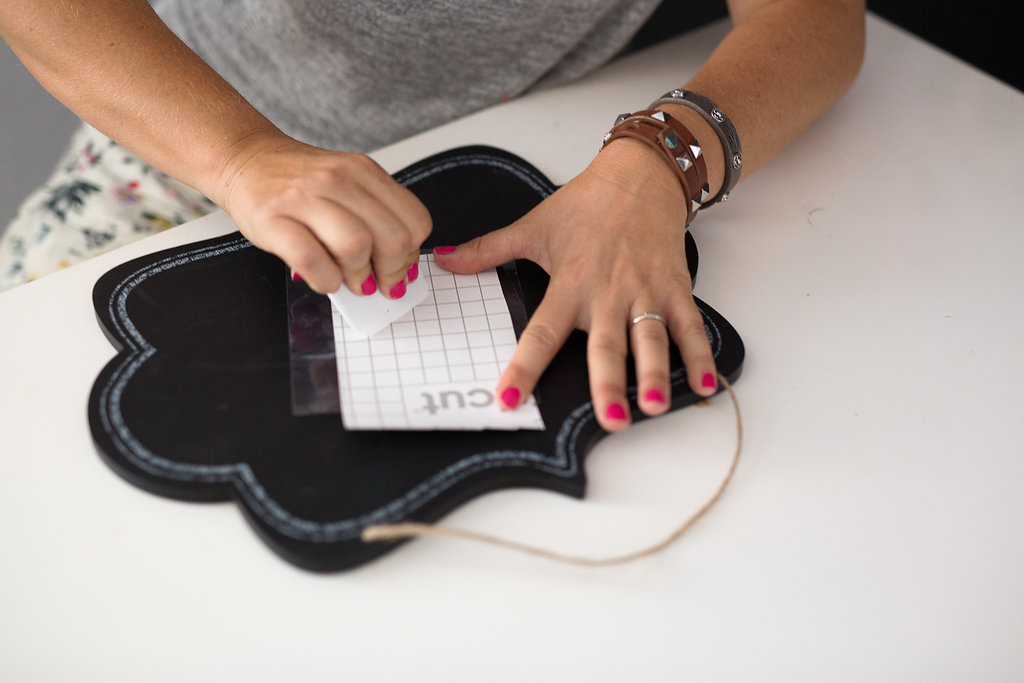
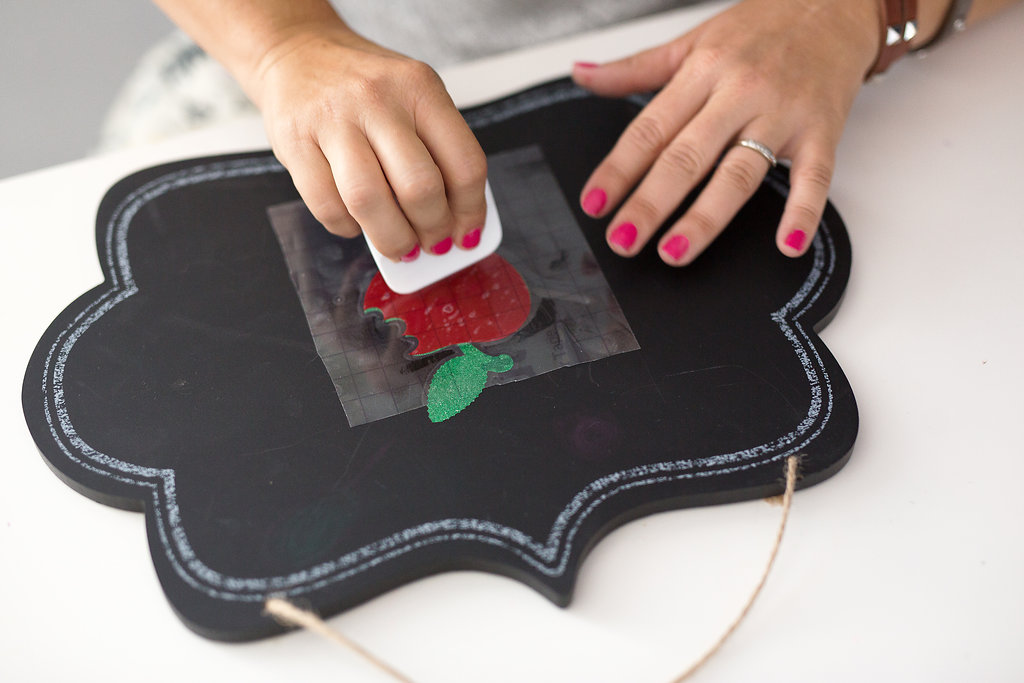
The final steps are to apply the grade and date to the sign. Once you’re done, you’re ready to capture the moment.
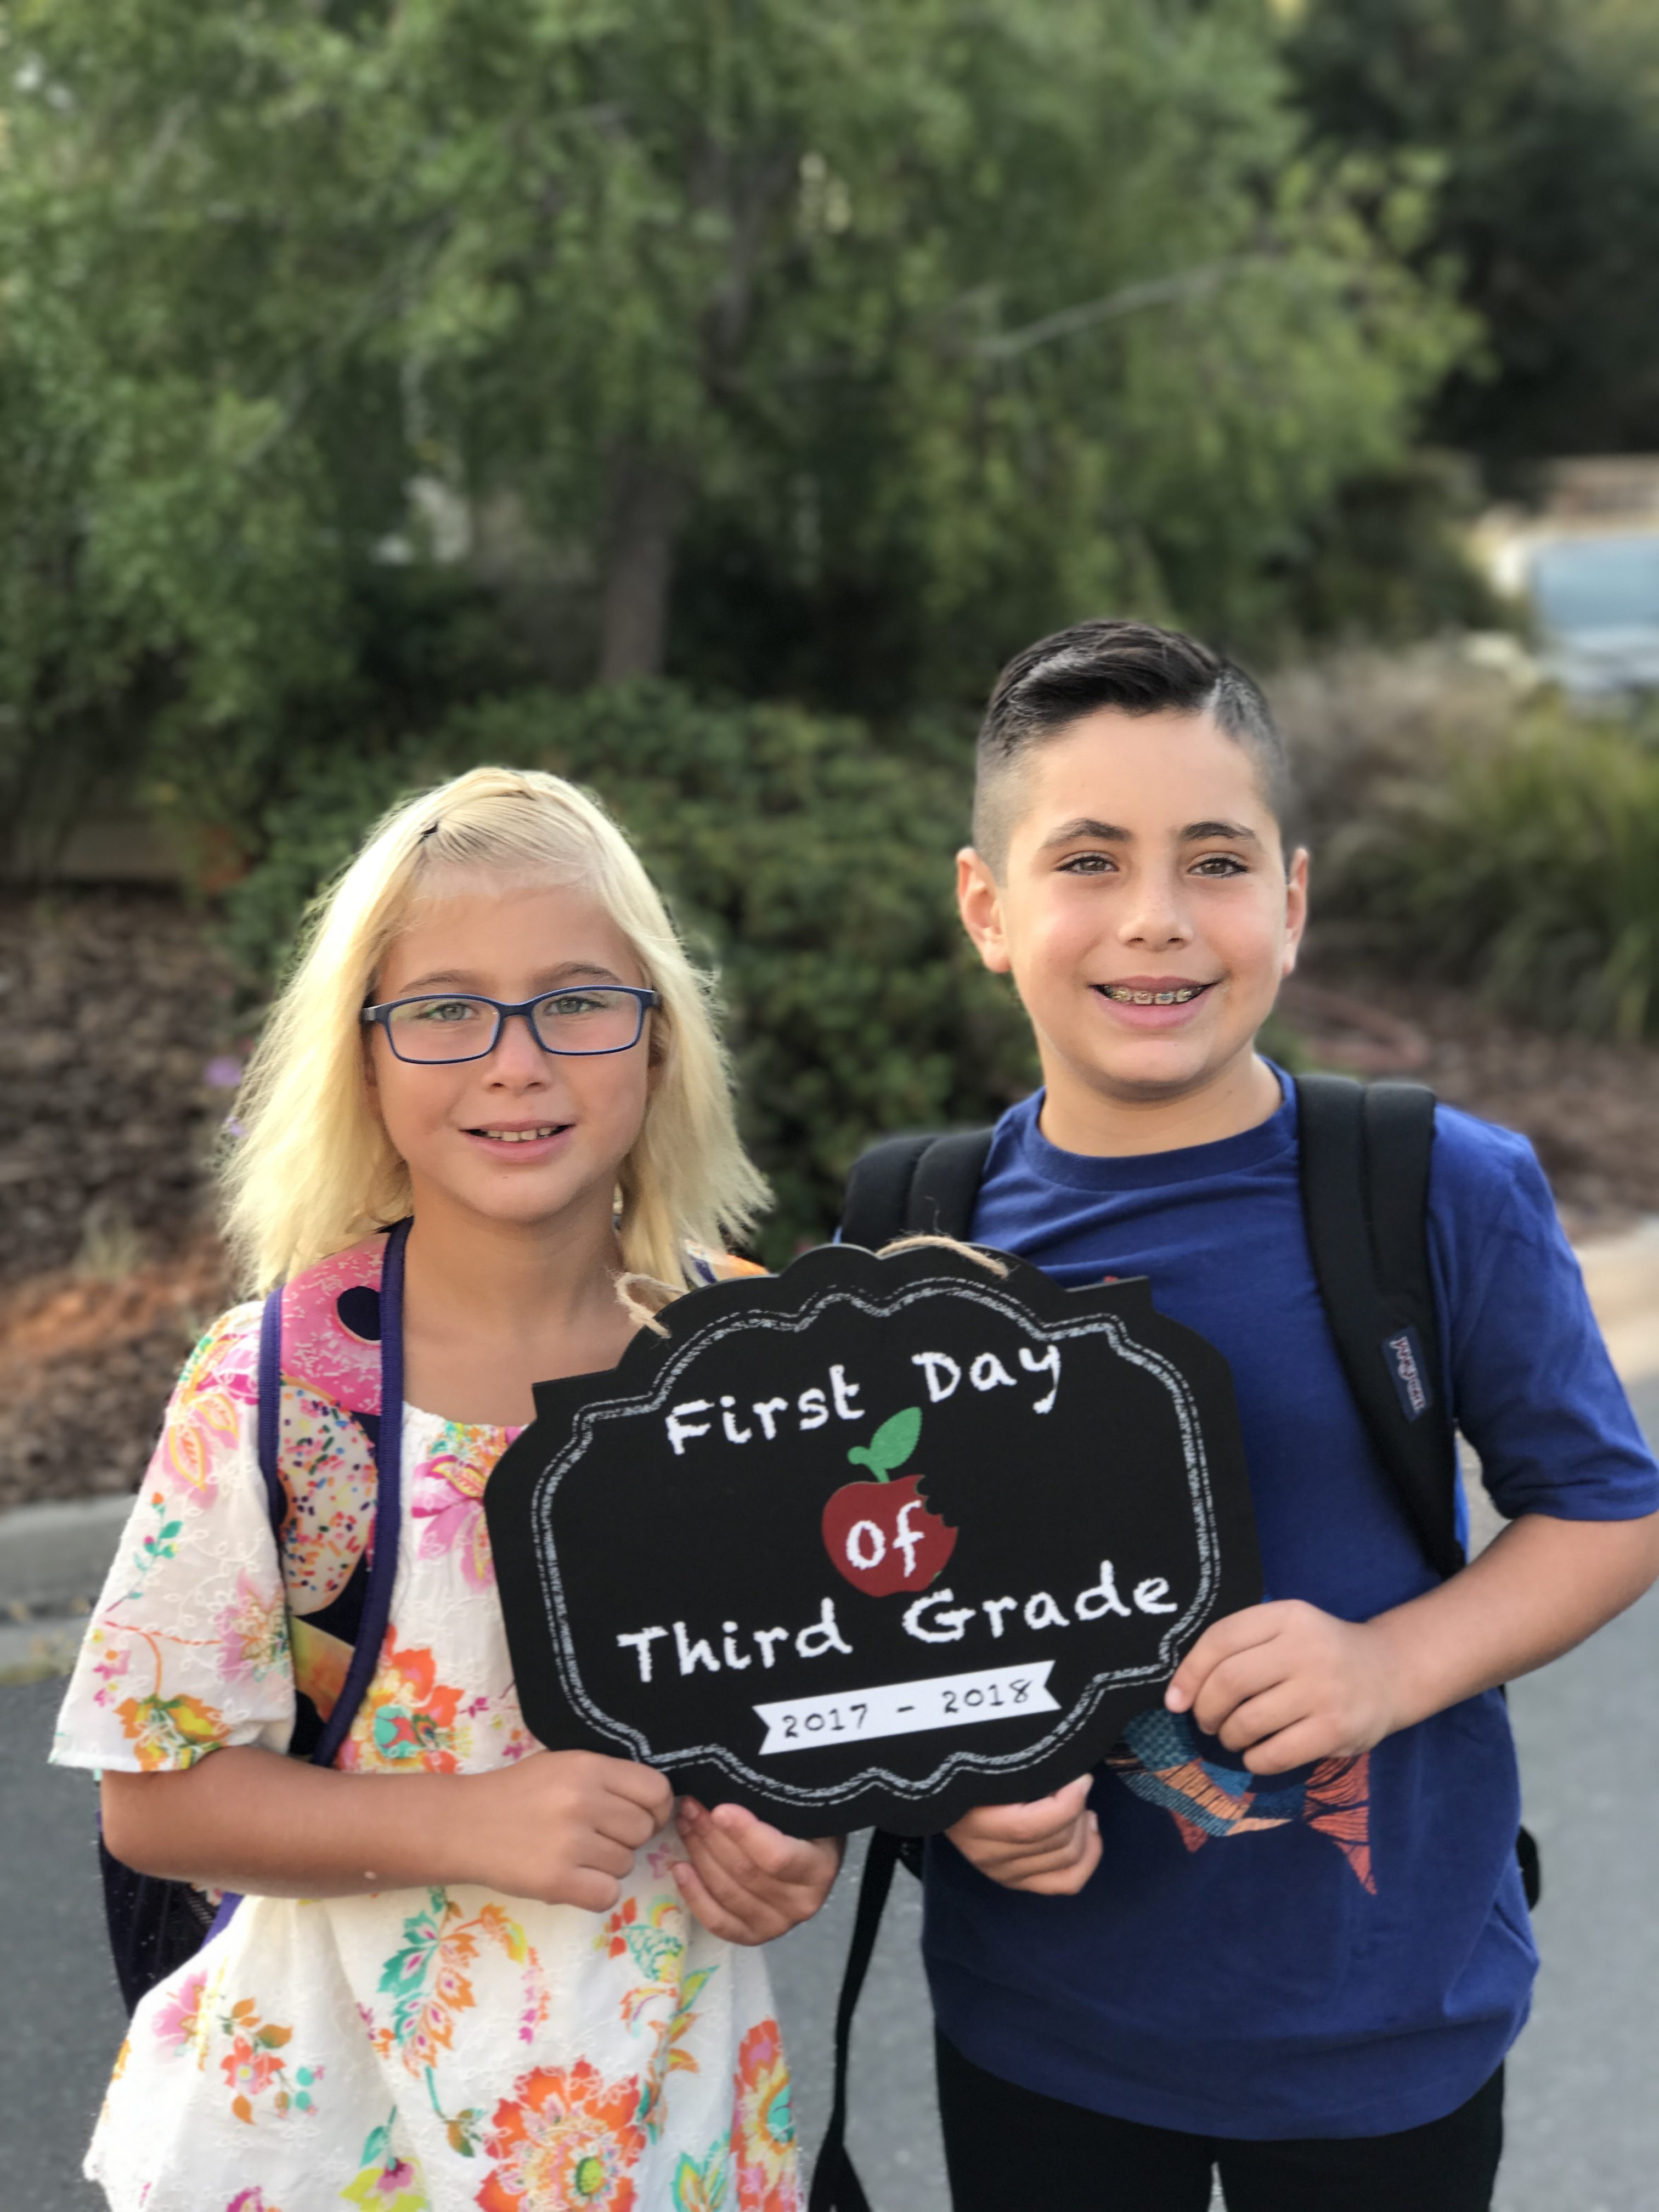
Don’t forget! We want to see all of your back-to-school photos. Use hashtag #PNBacktoschool.
SaveSave
SaveSave
SaveSave


Comments