Running out of ideas to keep the kiddos occupied during spring break? Need a rainy day project? Want to coax your three-year-old into chasing away all the yucky dreams? I have the solution! Make you own DIY dreamcatcher.
When my kiddos wake up from a bad dream, we usually tell them to flip the pillow to erase that bad dream. That trick can wear out pretty quickly, so it was time for them to make their own. With a quick trip to your local craft store, you can gather up some supplies for a fun day of crafting all while beating boredom. Plus, you can also throw in some color sorting and fine motor skills, all while opening up their creative minds.
 Materials: Embroidery Hoops, Washi Tape, Yarn in various colors, Feathers, Felt Balls, Beads, Felt
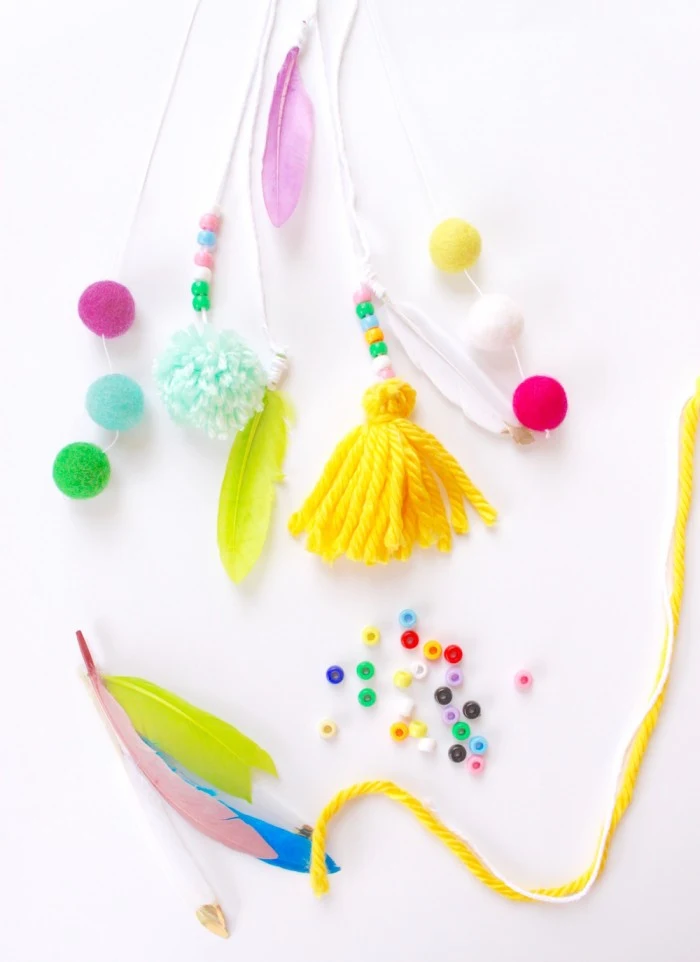
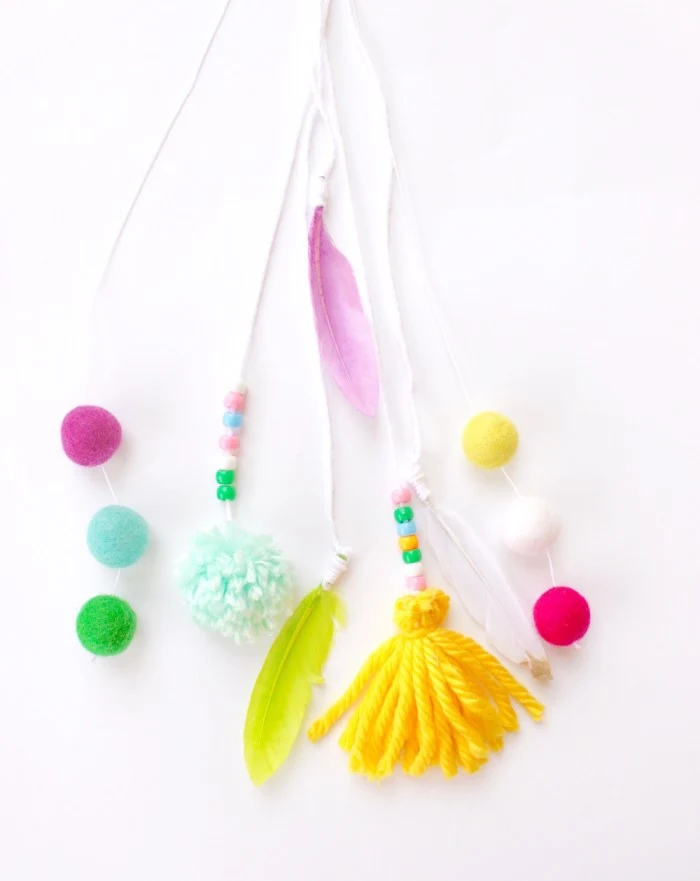
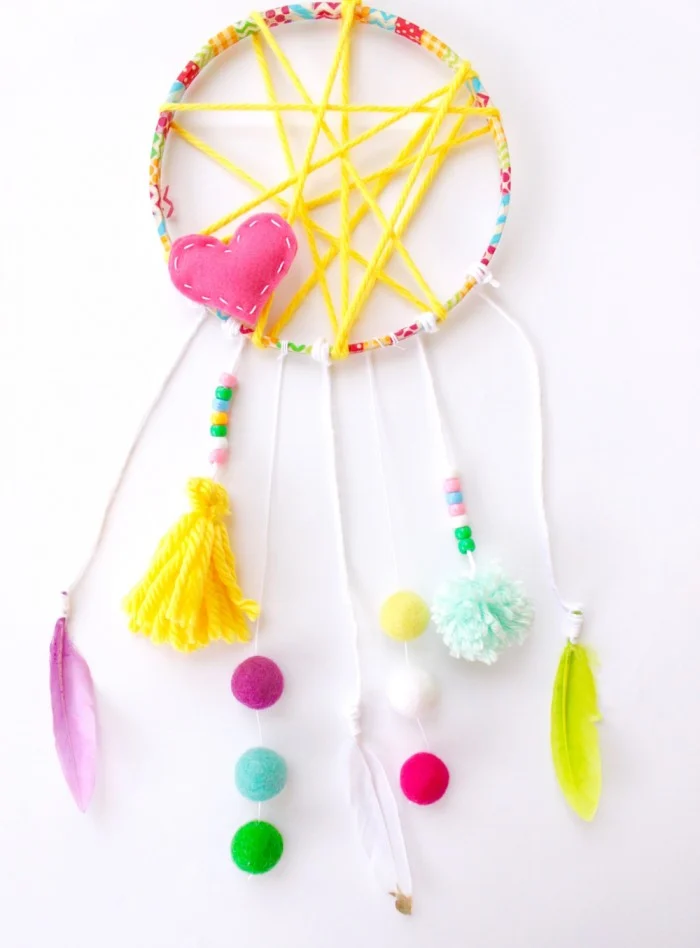
Lay out all of the supplies, and let your kids sort and pick through what they would like on their dreamcatcher. It’s a great opportunity to explore colors and textures. I made some examples just to give them ideas, but there are no rules, just fun! I used a variety of craft supplies and came up with what you see below—so fun, right???
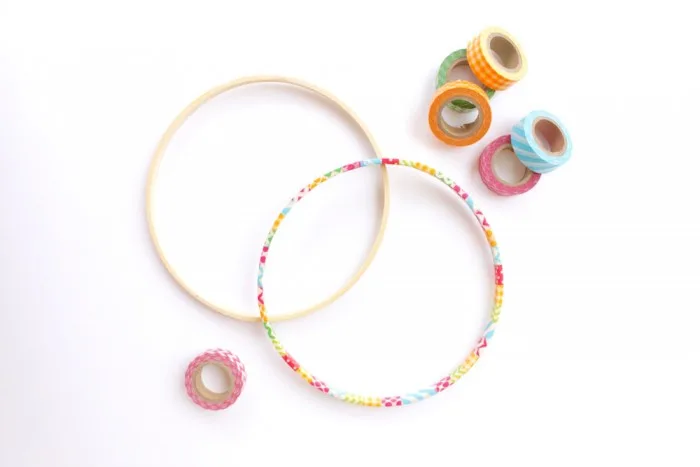
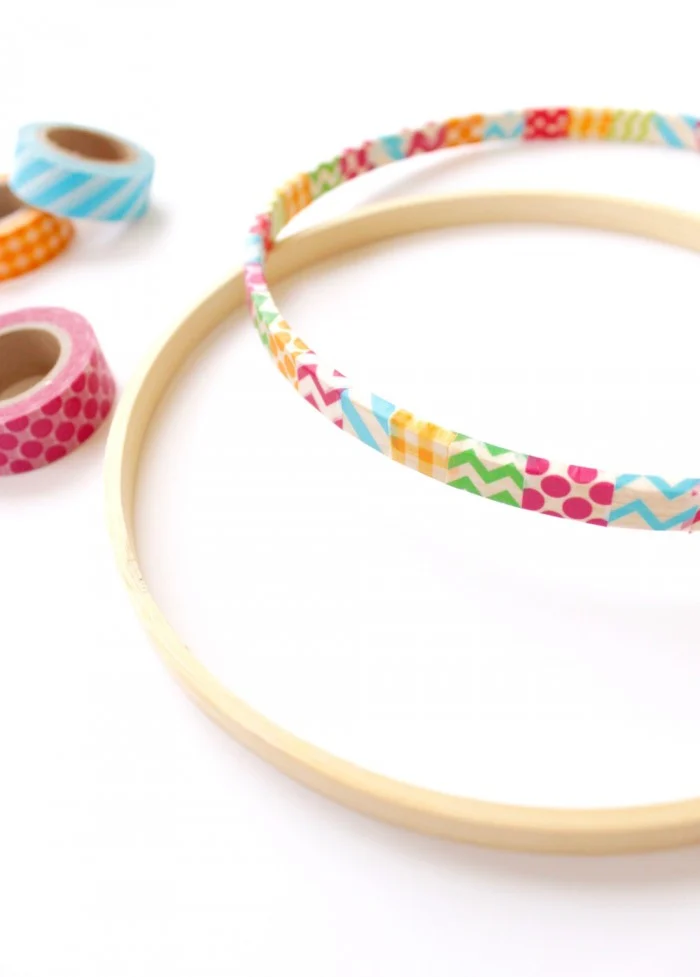
Next, we covered the hoops with cut pieces of washi tape. If this is too advanced for your littles, experiment with craft paint!
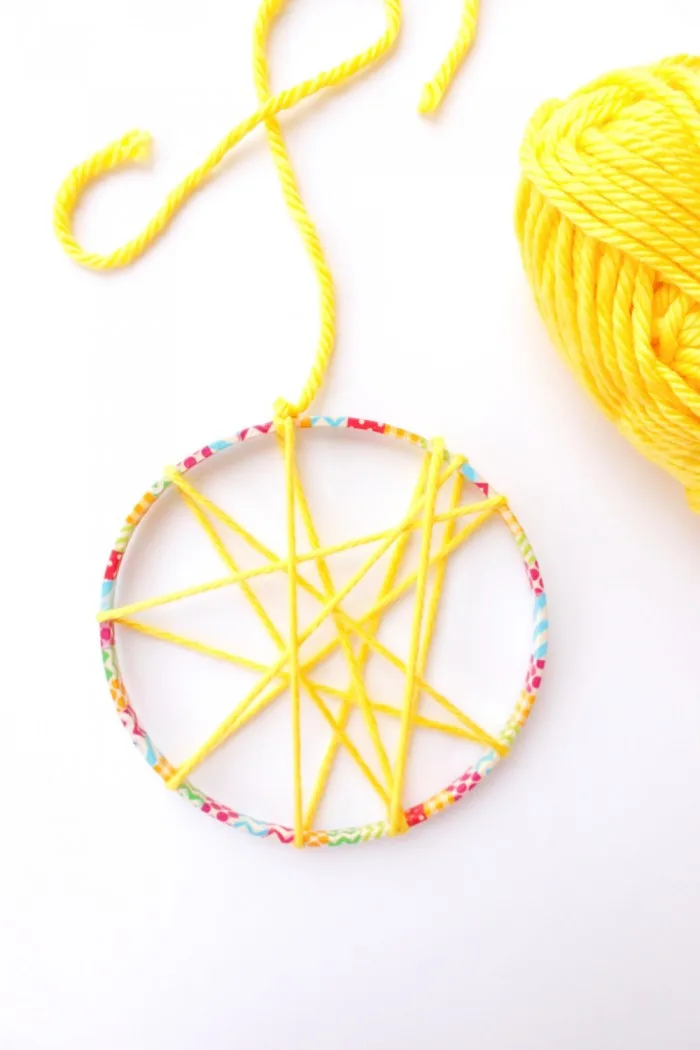
I pre-cut a bunch of pieces of yarn and had the kids put them on in whatever order and colors they wanted. Then I started wrapping yarn around the outside of the hoop in a web pattern and tied it to secure it.
Next, we tied on the dangles.
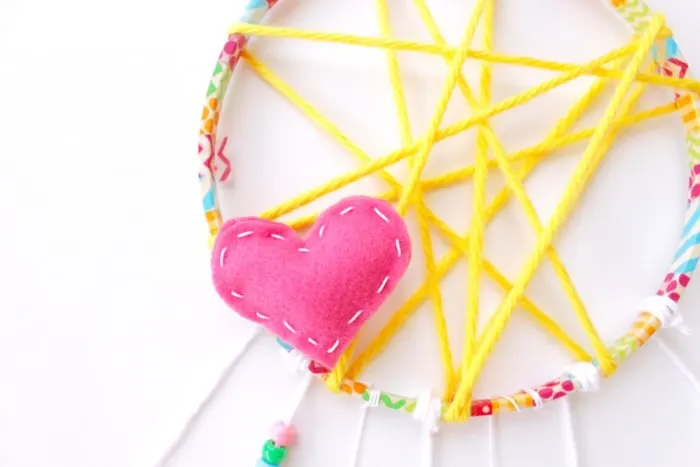
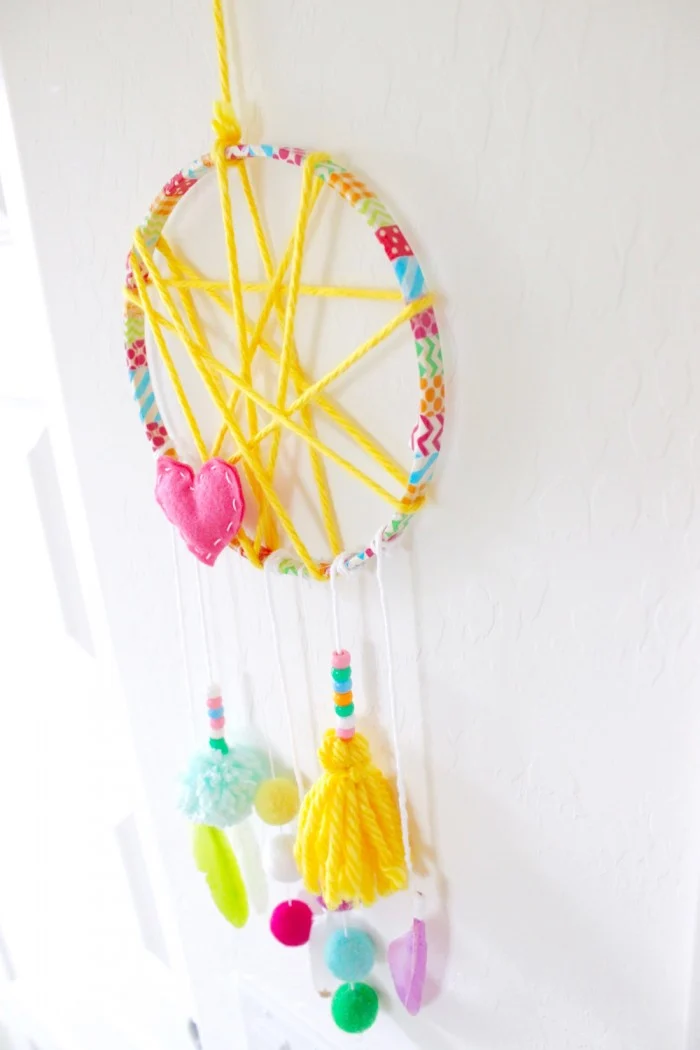
You can have fun making felt shapes. I sewed a felt heart for the sample dreamcatcher and thought it was such a sweet little embellishment.
Use a simple stitch to close it up after filling it with poly-fil if you want to add some extra dimension.
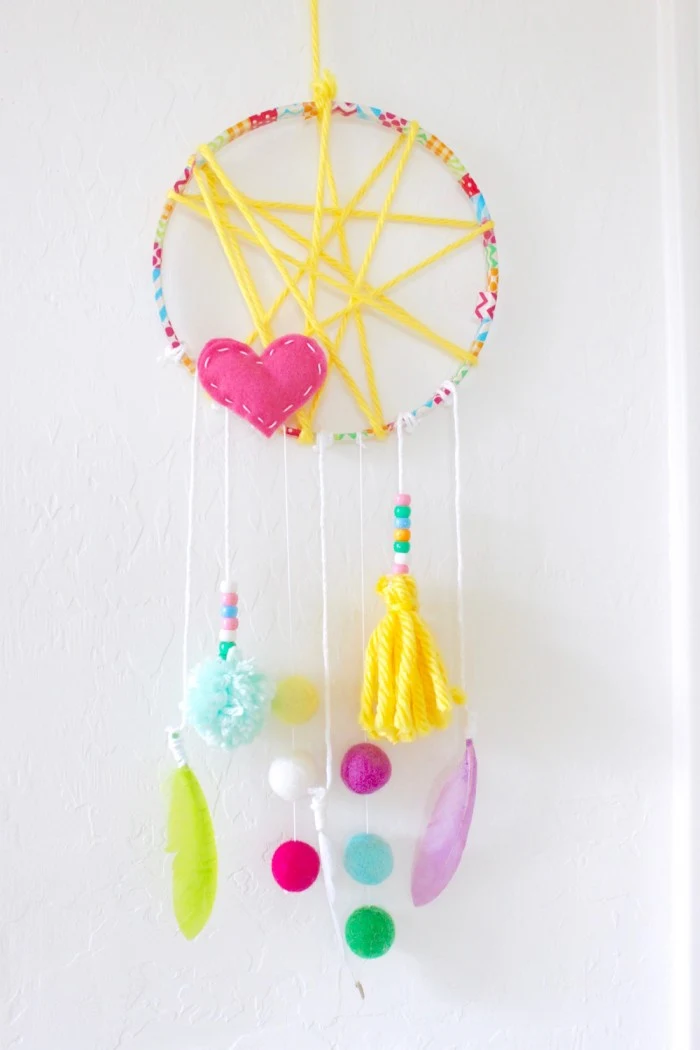
Here it is hanging up on the wall. I’m so in love with how it turned out!
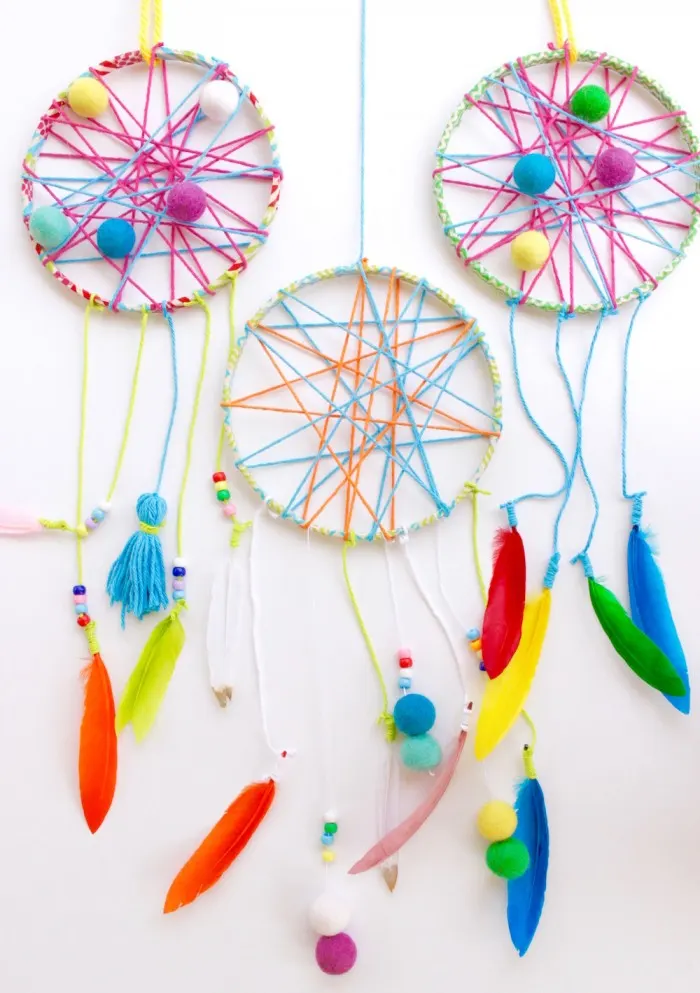
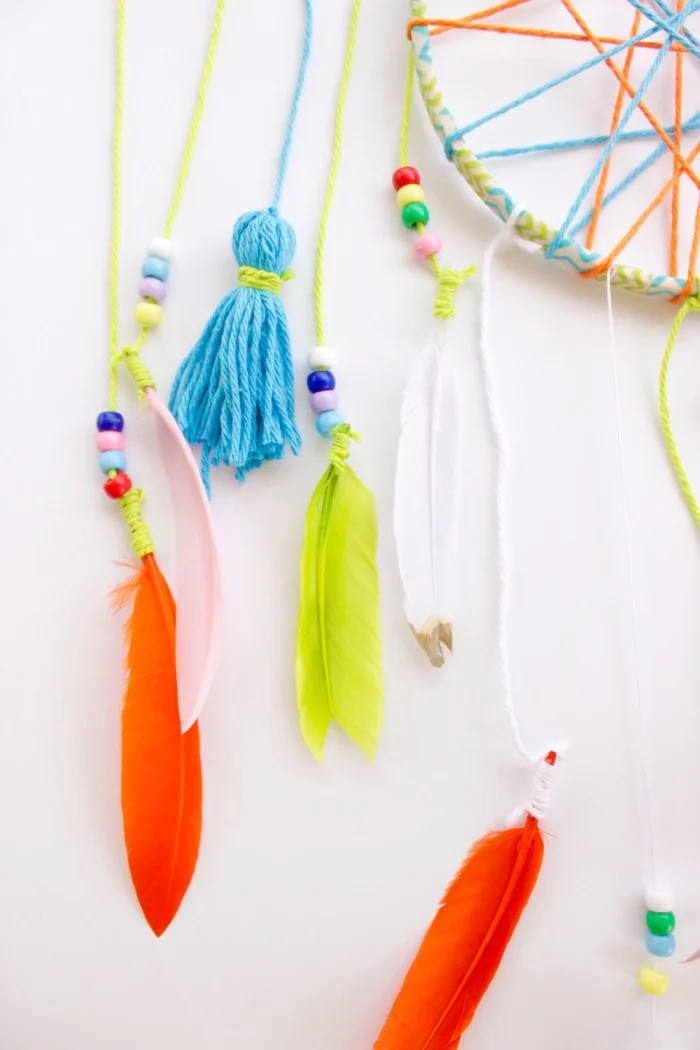
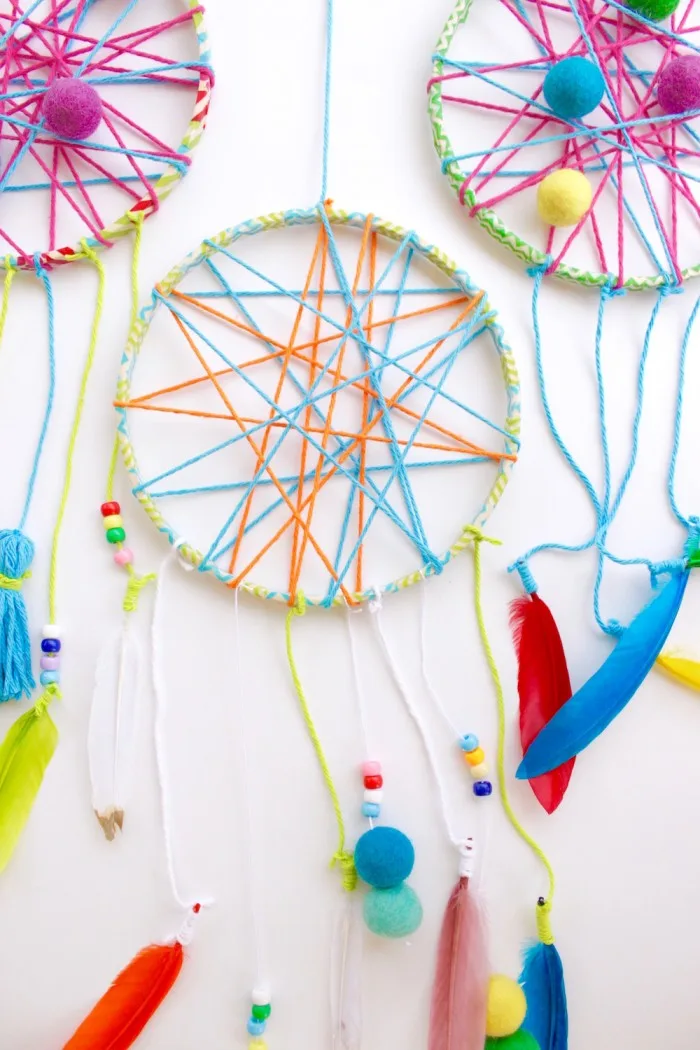
After my samples were complete, I wanted my boys to design their own. I LOVE the color combos they picked. They were so proud of their designs and couldn’t wait to go to bed to hang them up and see if they would work. I helped with the tying and such, but they had a blast making these.
Feeling inspired to make your very own DIY dreamcatchers?

The 20 Best Ideas for Diy Dream Catchers for Kids – Home, Family, Style and Art Ideas
Sunday 4th of April 2021
[…] Best DIY Dream Catchers For Kids from Start Catching Dreams with this Whimsical DIY Project. Source Image: projectnursery.com. Visit this site for details: projectnursery.com […]
Beste 20 Dreamcatcher Diy - Beste Wohnkultur, Bastelideen, Coloring und Frisur-Inspiration
Friday 19th of April 2019
[…] Beste Dreamcatcher Diy von Start Catching Dreams with this Whimsical DIY Project. Quellbild: projectnursery.com. Besuchen Sie diese Site für Details: projectnursery.com […]
DIYS For Girls To Make - 25 Colorful Ideas • A Subtle Revelry
Friday 20th of July 2018
[…] every little girl have a Dreamcatcher? I know I did! Remake the childhood magic with this, one of my all time favorite colorful DIYs for […]
Lisa
Sunday 7th of May 2017
My kids are going to LOVE doing this later this week. This is such a cute DIY and I love all your detailed ideas. We've made dream catchers before out of paper plates, but this one is just soooo much better. Thanks!
Edana
Friday 21st of April 2017
The dream catcher idea is super cute. When my daughter grows up and has scary dreams, I’ll definitely have a blast making these with her. I can picture her room full of it (maybe I’ll be the type of mom that says “okay darling, let’s make a dream catcher for each scary dream you have”). It will also be a great way to hone my daughter’s creativity and imagination. I’ll let her design on her own, choose the color pattern she likes and the decorations that will go with it. Now I’m excited to make one with her I n the future.