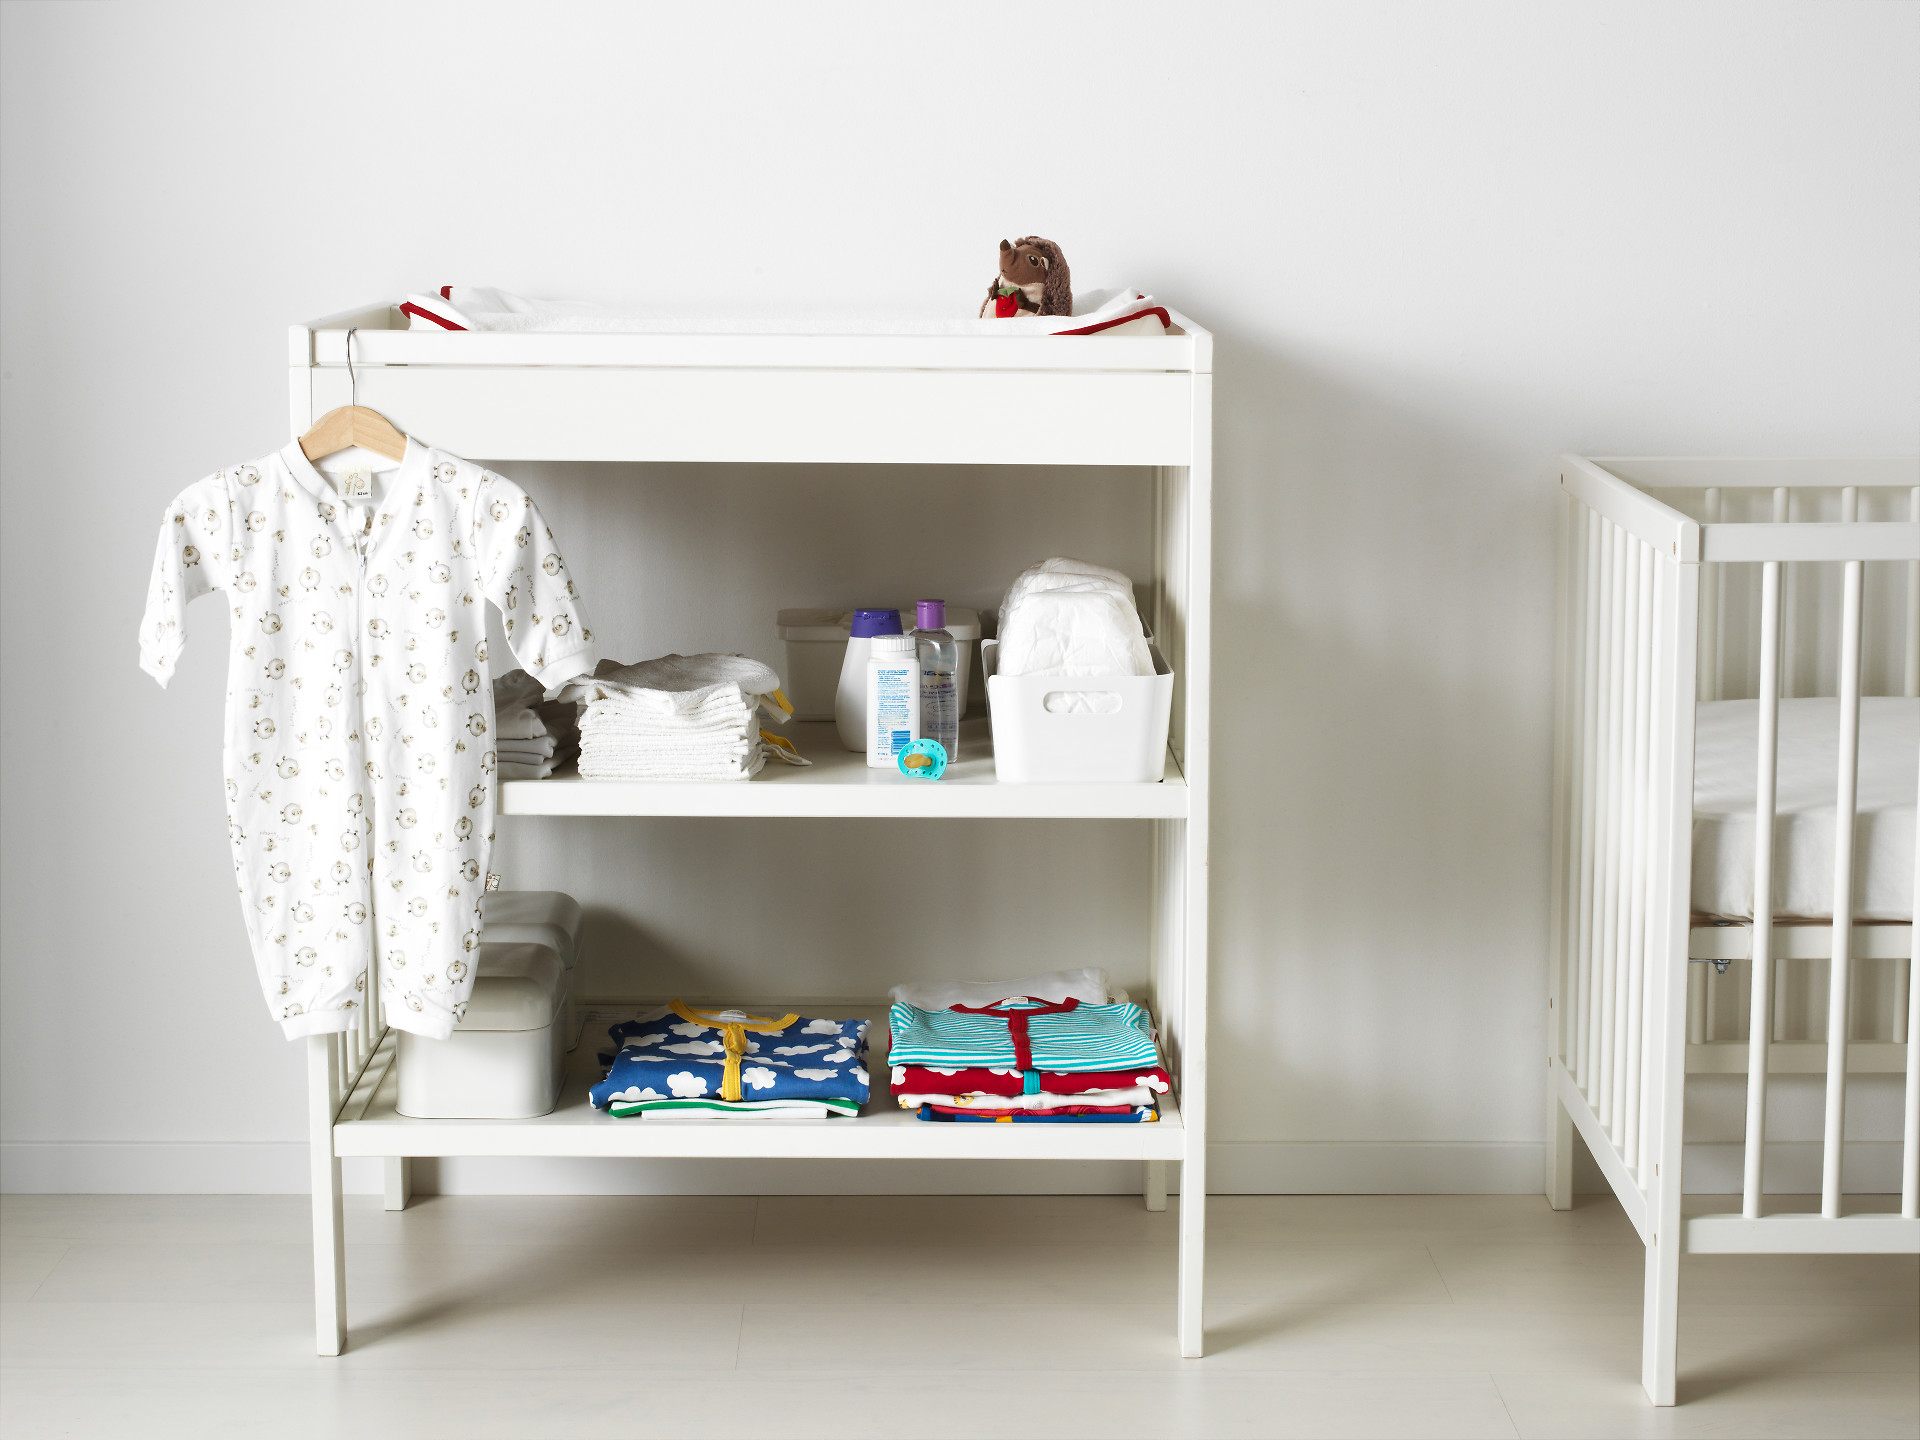
It seems like most things baby-related are so fleeting. As new parents, we await our little ones’ milestones for what feels like forever, staying wide-eyed and vigilant because if we blink, surely we’ll miss them. And it’s not just those special firsts that are here today, gone tomorrow—you might put your toddler to sleep in her crib one night and awake to the thud of your pint-sized acrobat climbing out. Cue the big kid bed! Or how about when your little one masters the fine art of using the potty? First you high five your significant other as you permanently remove “diapers” from your shopping list. Then you stare at the empty changing table, get a little teary-eyed as you think about how fast she’s grown and wonder what to do with that now-useless piece of furniture. Well, what if I told you that in one weekend with a budget of $50, you could repurpose it for another room in your home?
Reimagining how to use things is hardly a new concept, but you really have to think outside the box to figure out what to do with furniture that has such a specific purpose, like a changing table. I think by now you all know that I love a good DIY project, and I was recently invited to participate in the Parents magazine Blogger Decorating Challenge. The task: to totally transform and repurpose the IKEA Gulliver Changing Table into another piece of furniture that serves an entirely different function. My solution: a DIY bookcase to add some much needed storage to our office/playroom. Here’s how I did it and what you’ll need so that you can tackle this project too.
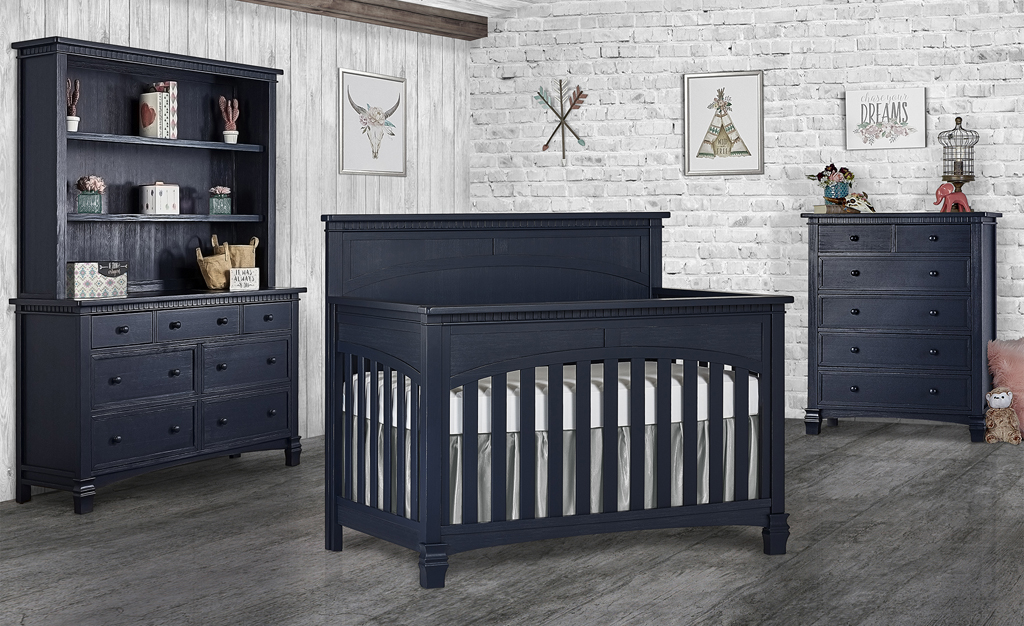
 Teepee | Hippy Rug | Storage Cube | Mint Throw Blanket
Materials: IKEA Gulliver Changing Table, sanded pine plywood (0.5″ x 4′ x 8′), birch edge tape, iron, pine board (0.5″ x 1.5″ x 3′), hammer, 80-pack steel finishing nails, tape measure, white spray paint (satin to match the finish of the changer), hand sander (or sanding block), drill, screw driver, (2) pulls, (4) solid brass mid butt hinges, corner braces, wall anchoring kit

Cut the cabinet pieces from the sheet of plywood to the dimensions on this diagram. I measured once and cut twice so you don’t have to—yes, you read that right. #DIYBloggerFail
If you own a table saw (or your husband bought himself one for Father’s Day last year, thankyouverymuch), you can cut the plywood yourself. Otherwise, you can sweet talk one of the employees at your local hardware store to cut it for you.

If you’ve never heard of iron-on edge tape before, let me explain. Solid hardwood is mega-expensive—plywood is not, and it’s available with a smooth, sanded surface that you can paint or stain. The catch is that the edges are unfinished (read: ugly), but iron-on edge tape is a simple solution to give those rough edges the look of solid hardwood. Think of it as kind of a permanent mask for your plywood.
Apply the iron-on edge tape to the edges of your cut pieces of plywood that will be exposed—instant makeover! Here’s what you’ll need to cover:
– two short sides and one long side of the top piece
– one long side of each side piece
– one long side of the bottom piece
– all four sides of each door
If the edge tape is slightly wider than your board, you can trim the excess using a utility knife. Give the edges and seams a once-over with a hand sander to ensure a smooth finish (a sanding block will also work if you don’t have a hand sander).


And now we assemble! Holding your boards perpendicular to one another with the edges aligned, nail one side piece to the bottom piece with the nails spaced approximately 3” apart. Make sure that the edges of the board that you covered with the edge tape are exposed—remember that the unfinished edges of the plywood are rough, so you won’t want them to show on your finished piece! Repeat the process with the other side piece, then put the top piece in place, and nail it to each side. Voila—you’ve made a big box!
Lay your box face down, and position the back piece in place. Nail it to the box all around the perimeter, stopping periodically to make sure that the box is square. Stand the cabinet back up, find the center point and nail the pine board to the cabinet from the top and the bottom.

Determine where you’d like your hinges to be placed, and chisel out 1/8” from the edge of the door and the inside of the cabinet for each hinge so they can be inset. Confession: I just kinda hacked and scraped until the hinges would fit. It wasn’t pretty, so I found this tutorial on how to cut out notches for you—follow it! It’ll be much easier, I promise.
Time for every DIYer’s favorite party of a project—spray paint! Holding the can approximately 12″ away from the wood, apply the spray paint to the cabinet and both doors in even, overlapping strokes.

After the paint has dried, determine where you’d like the pulls to be placed, and drill a hole (or holes) for each one. Screw the hinges onto the door and then to the cabinet and attach the pulls.
Set the changing table on top of the cabinet, and attach the two pieces together by adding a corner brace to each leg of the changer (not pictured). And since all furniture poses a tipping hazard, secure the top to the wall using a wall anchoring kit. You can pick this up at IKEA for free when you purchase your changing table or have one sent to you for a previous purchase.
Style your DIY bookcase with your favorite accents, and fill the cabinet with office supplies, games, toys and more. You can hardly tell it was once the place where you changed countless diapers, right?


I’m honored that Parents magazine is featuring my DIY bookcase in their May issue, on newsstands today. Check it out to find my project and other amazing ideas for transforming and repurposing the IKEA Gulliver Changing Table.


Comments
Abifan Elkiky
This is surely another great way to improve home especially kids’ room in this matter. I too have a blog about AIO Home Ideas http://home.maureengreencny.com/.
Hmmmm.. your site is a very inspiring one among so many.
Thanks for sharing :)