Nursery bedding has come a long way. Now more than ever, parents have options beyond the plain white, pink, blue and polka dot crib sheets that previously dominated the market. But sometimes those adorable trendy printed sheets can be out of your budget or you simply cannot find the perfect Star Wars-themed bedding for your mini Jedi. The good news is that even if you’re a beginner behind the sewing machine, you’ll find it’s a snap to DIY crib sheets as unique as your nursery style. Learn how to make crib sheets below!
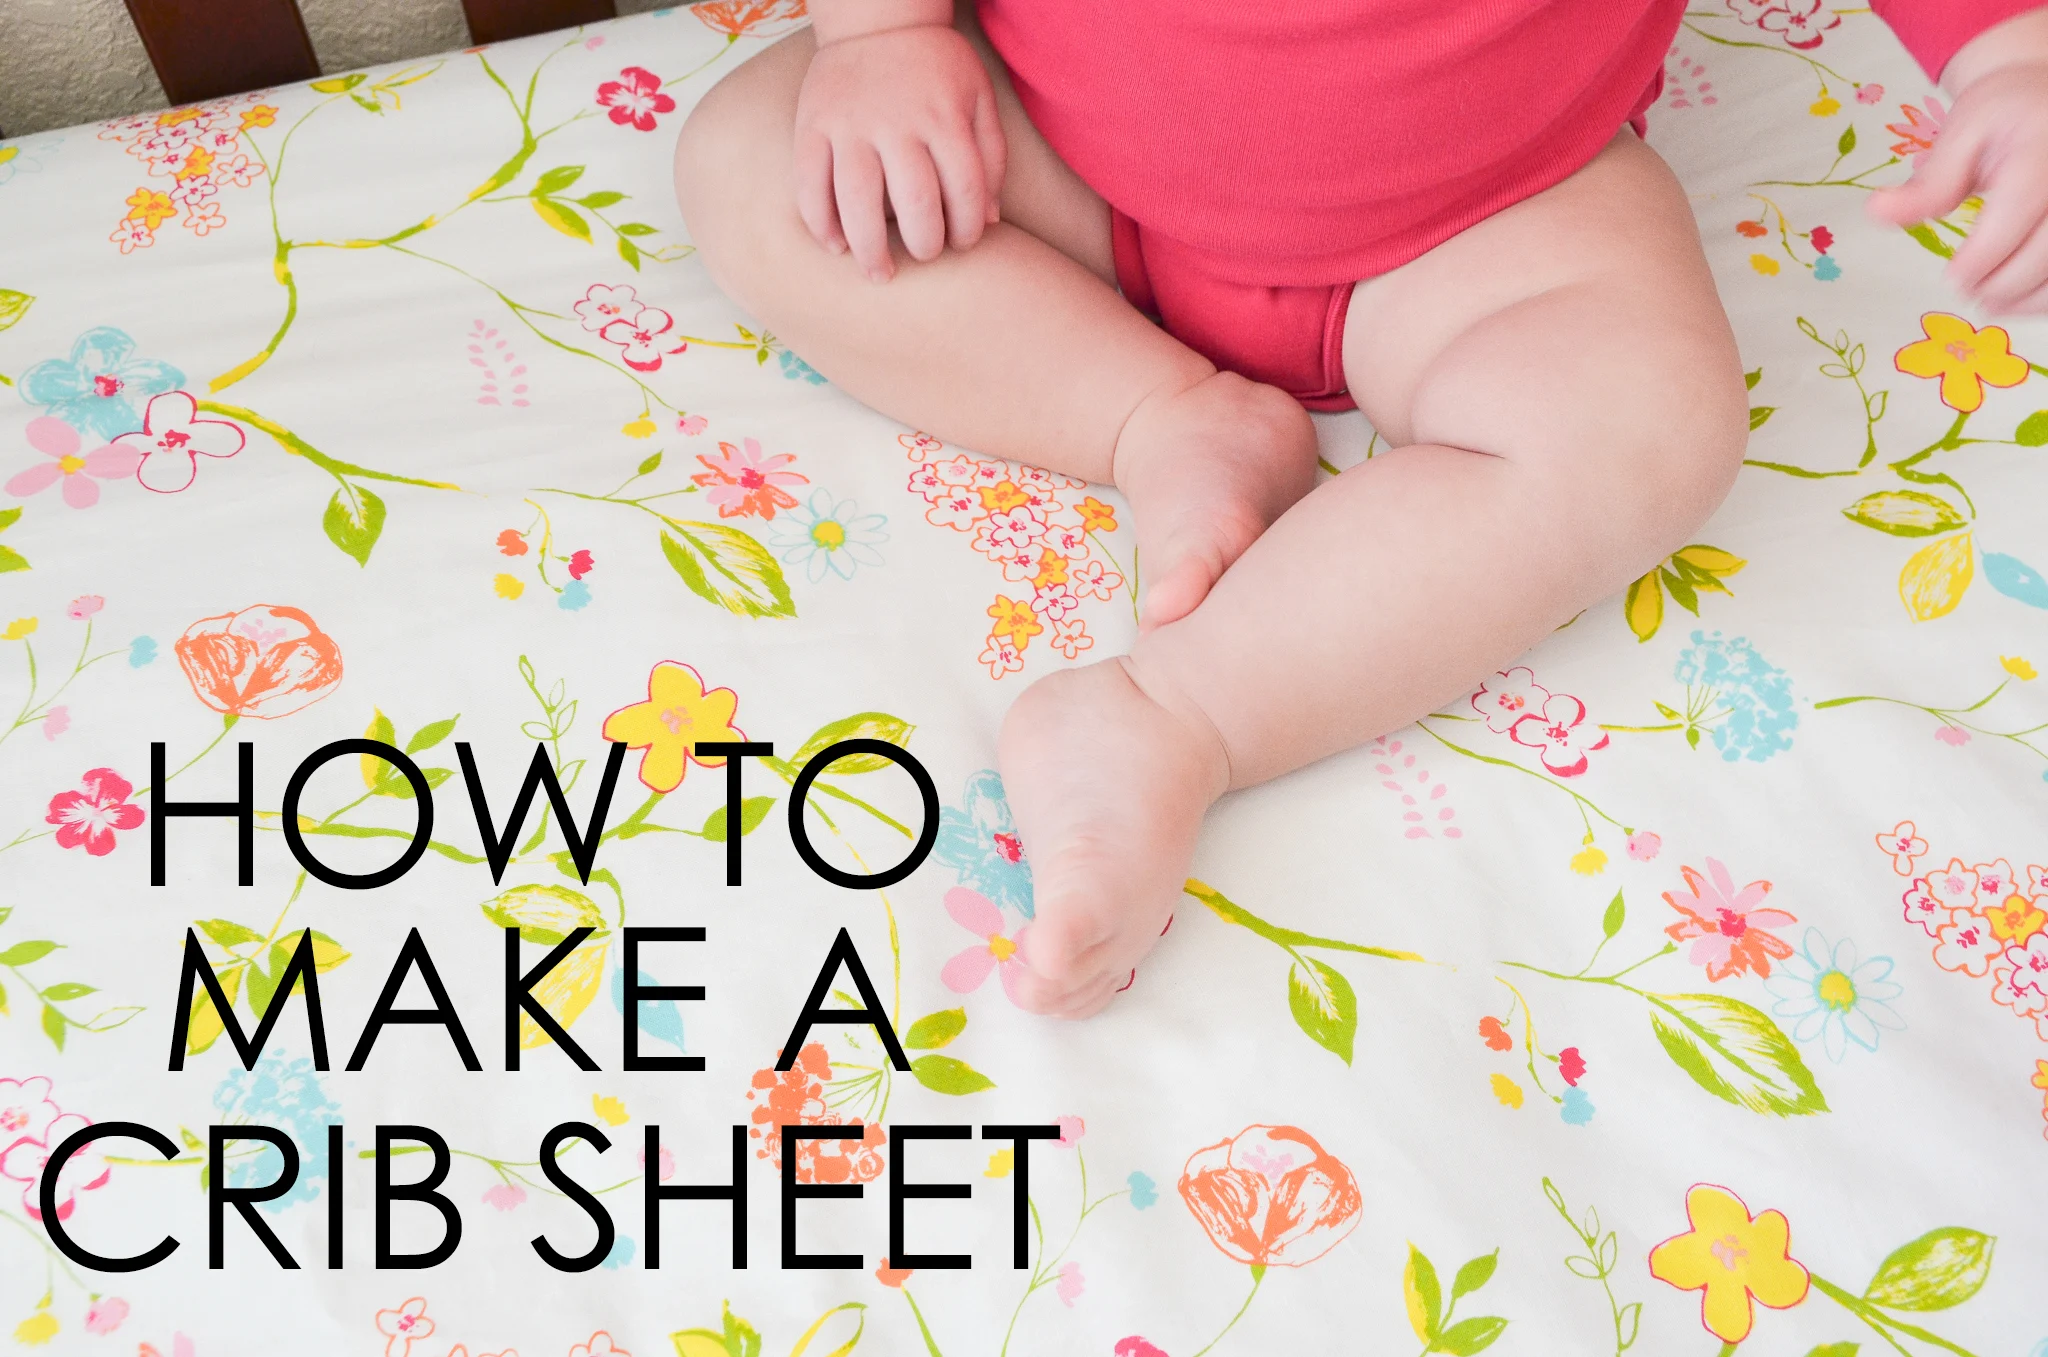
Materials: two yards of fabric (minimum 44″ width), 80″ length of 1/4″ elastic, cardstock (or poster board), two small safety pins, sewing machine, thread, scissors, iron
Please note that the following tutorial fits standard U.S. crib mattresses 27-28″ wide, 51-52″ long, and 3-6″ deep and should not be used on any other size mattress.
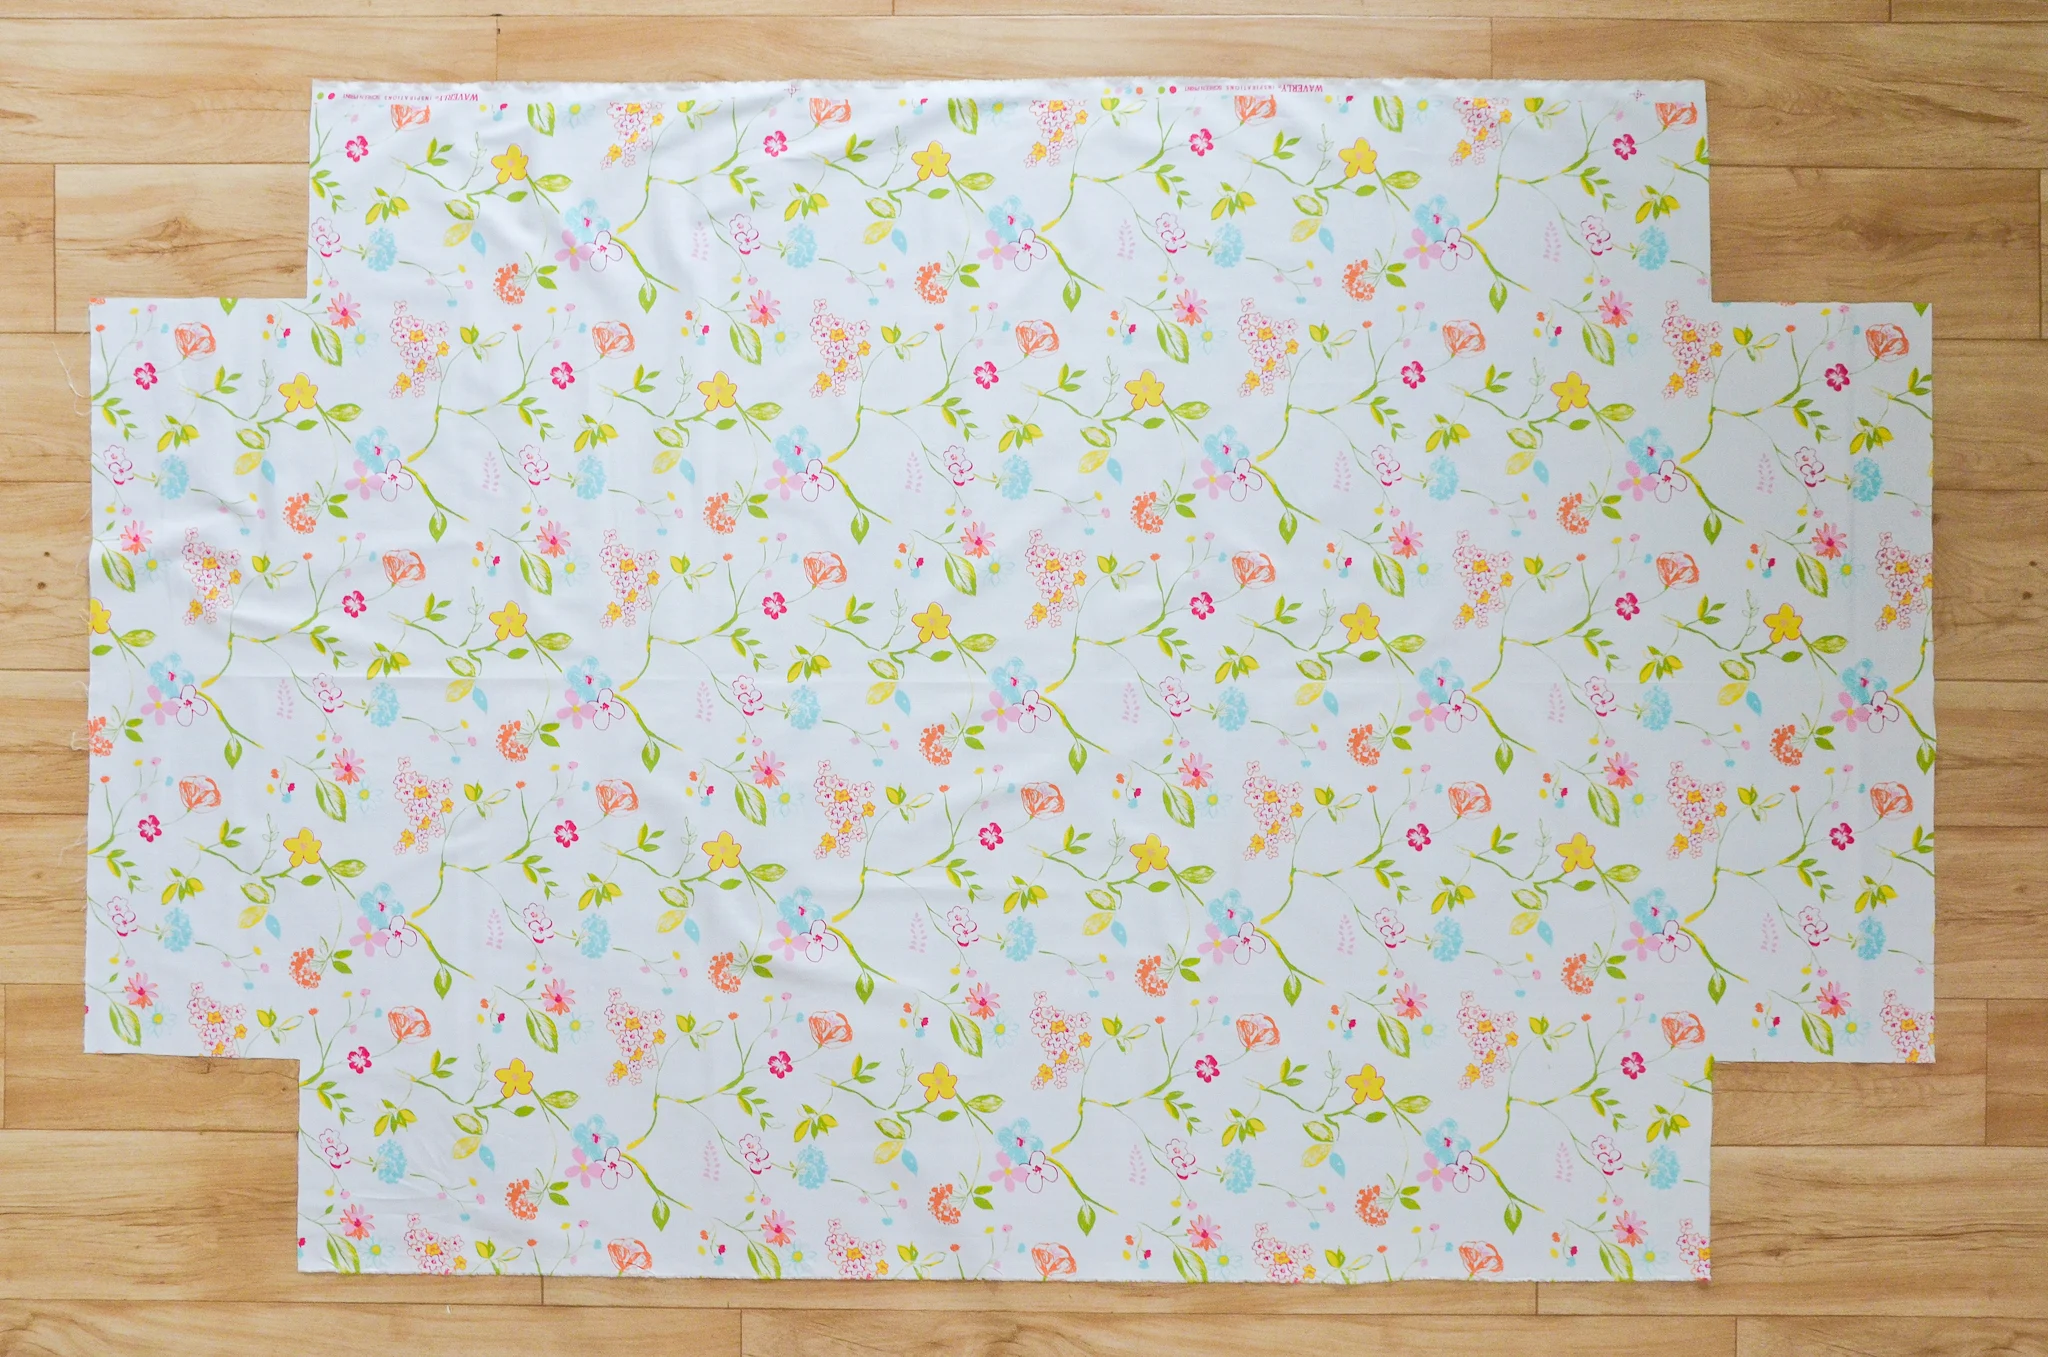
Begin with a fabric rectangle that measures 68″ x 45″. If your fabric comes 44″ wide, that’s okay too—just be sure to keep the salvage edges intact for maximum width.
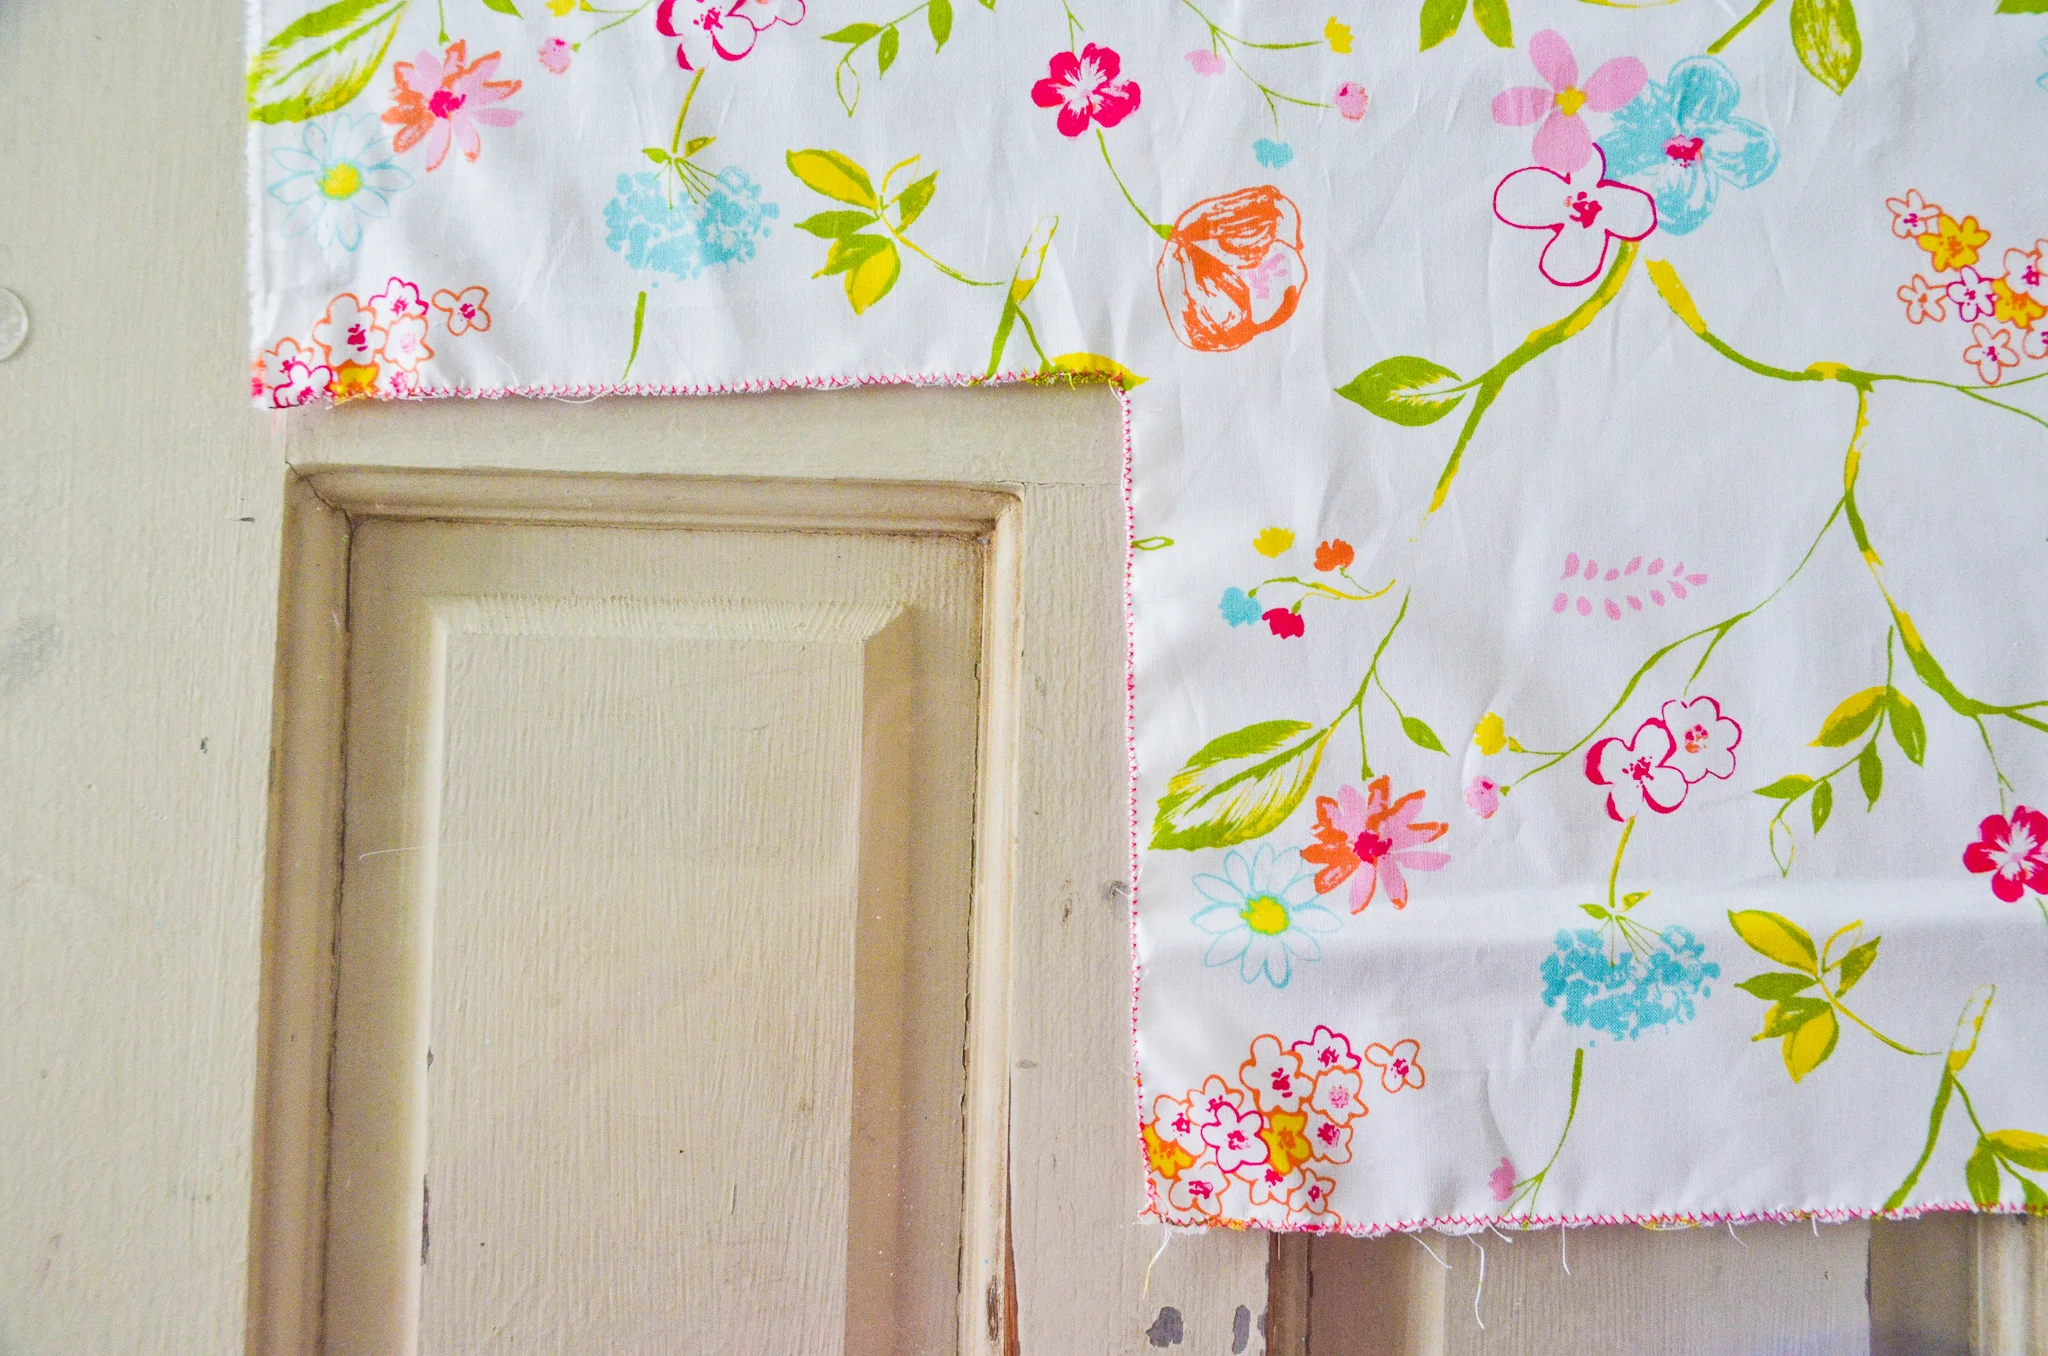
Cut an 8″ square template out of cardstock or poster board. Align the template with one corner of your fabric, trace and cut out the corner.
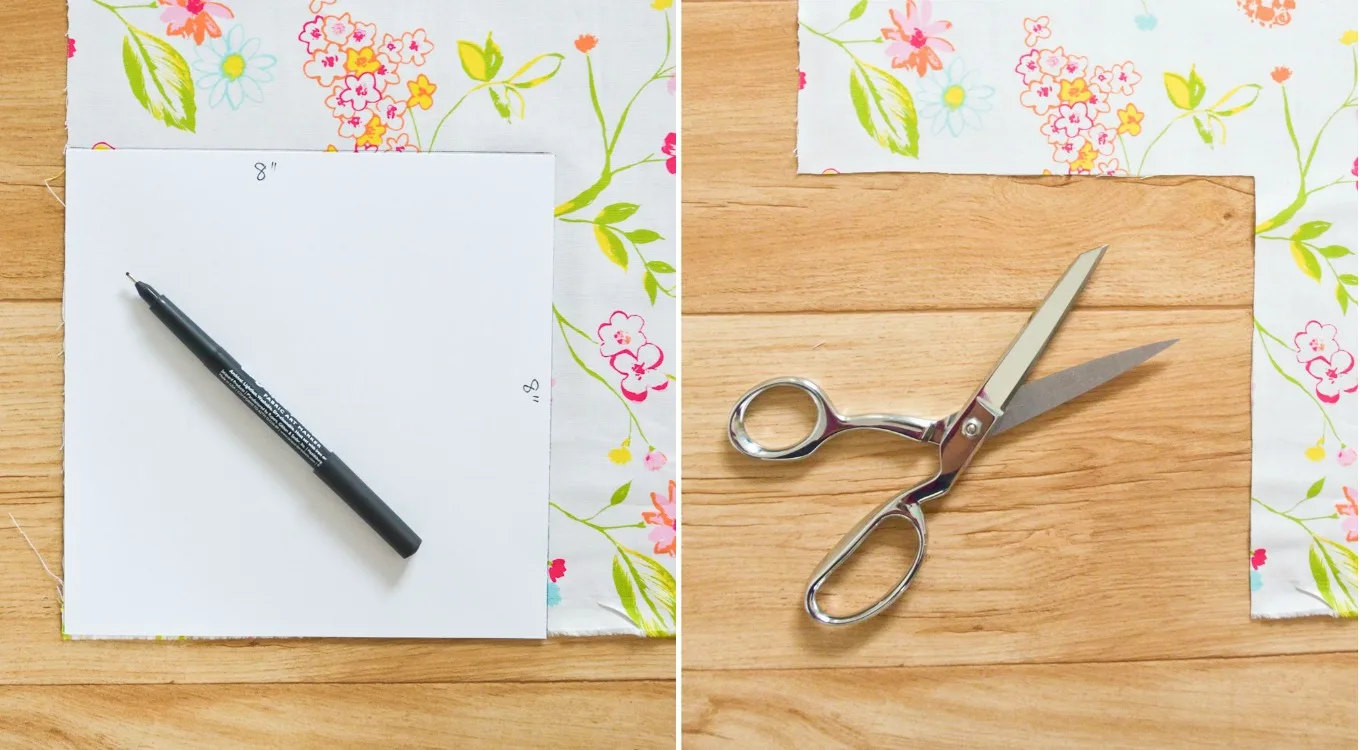
Repeat on the remaining three corners until your fabric looks like this.
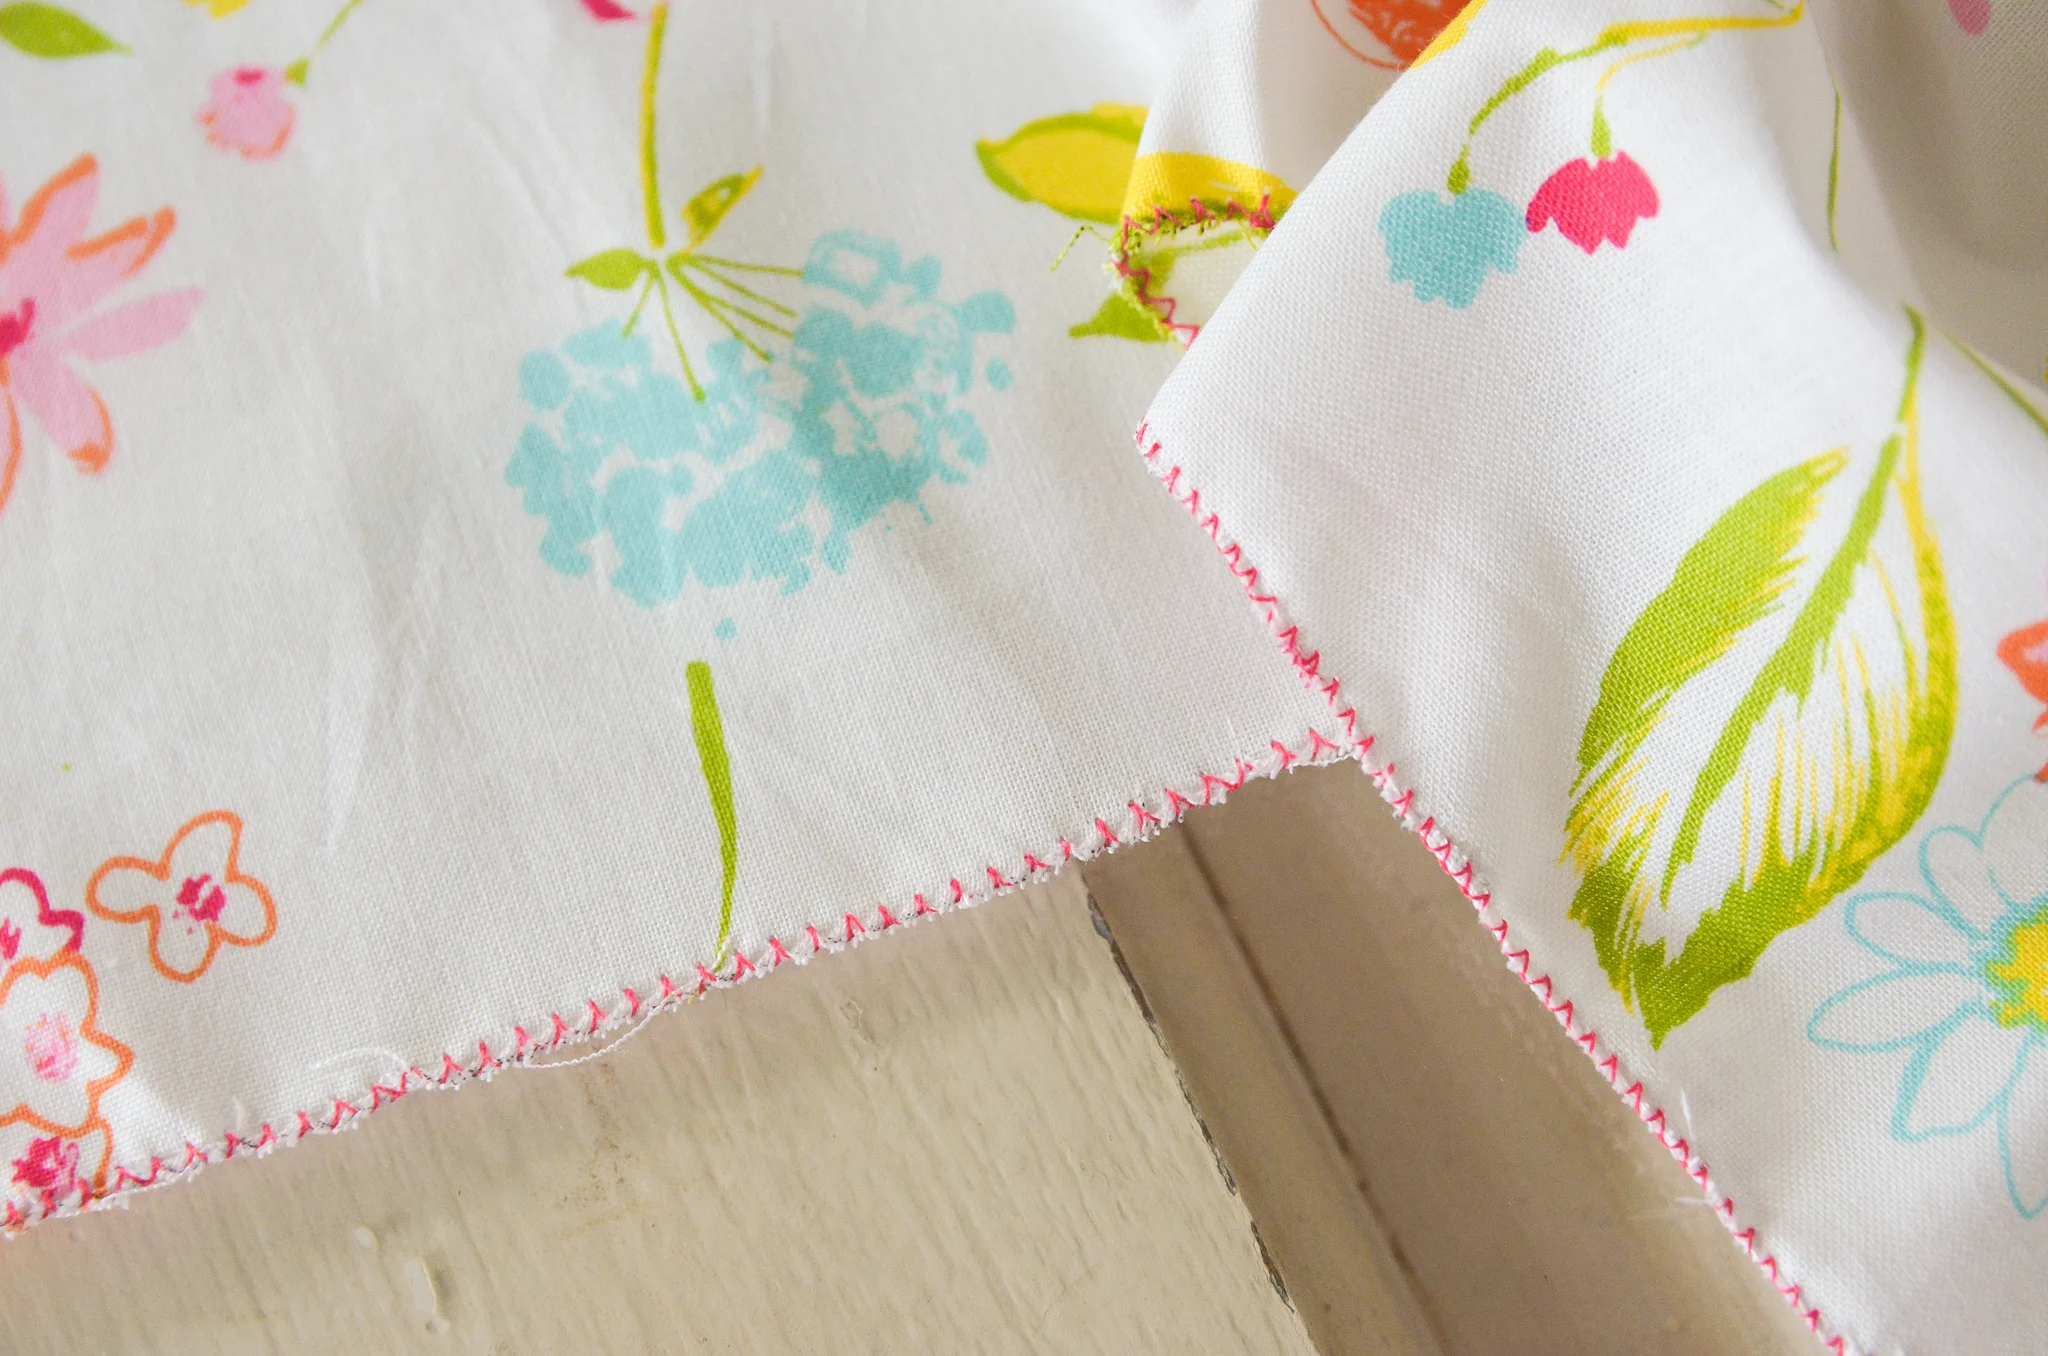
Run a zigzag stitch around all the raw edges of your fabric to prevent fraying. (I used bright pink thread for easy visibility, but you’ll want to use thread that coordinates with your fabric.)
If you are worried your fabric may shrink significantly when washed, you can wash your fabric before moving onto the next step.
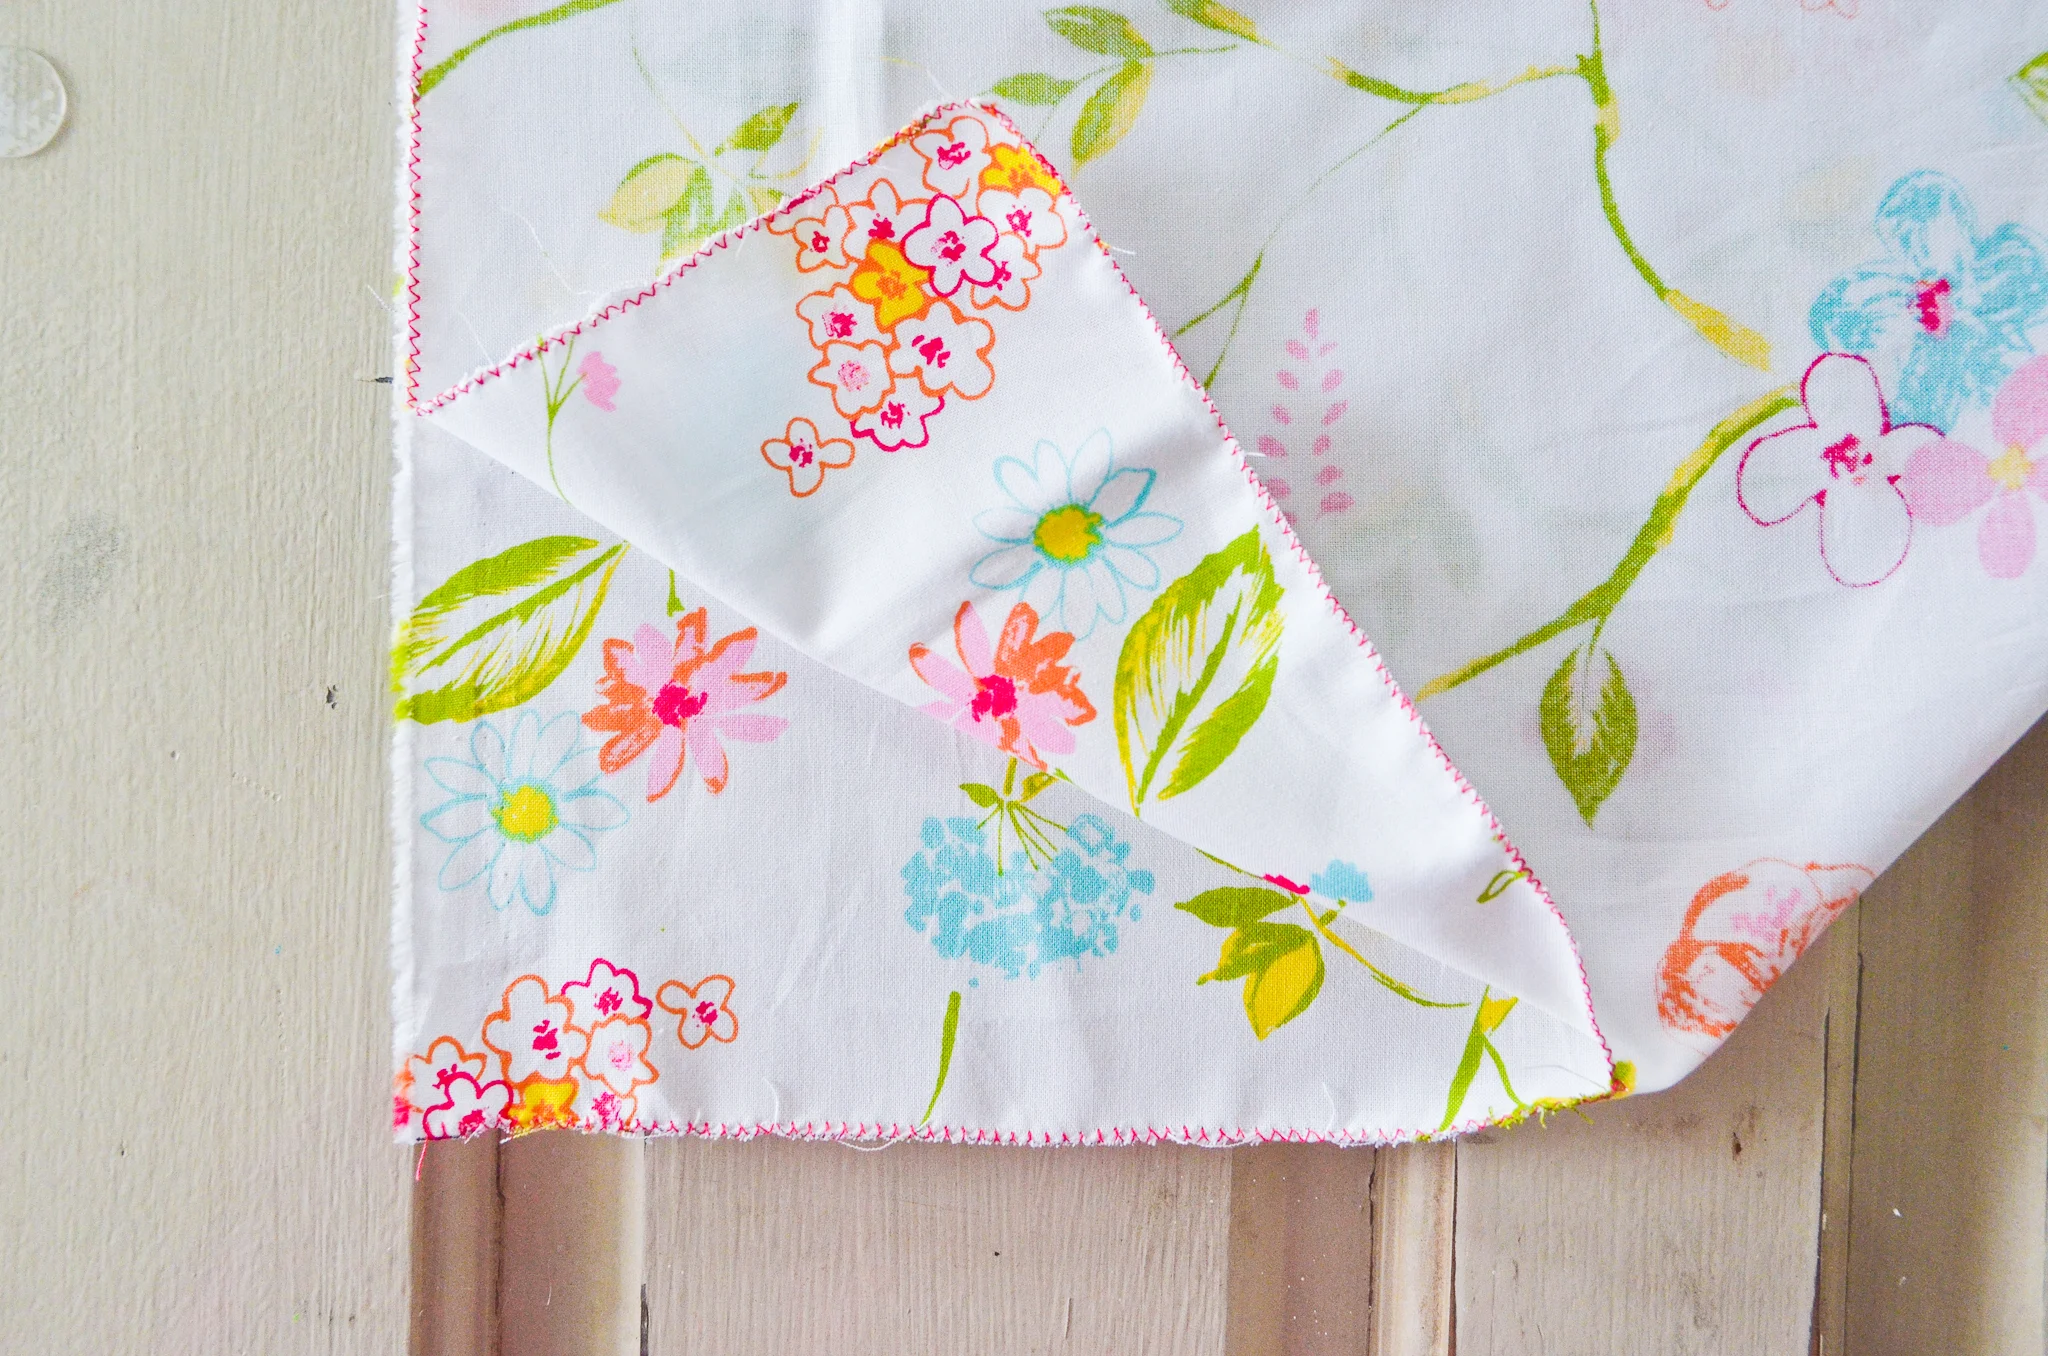
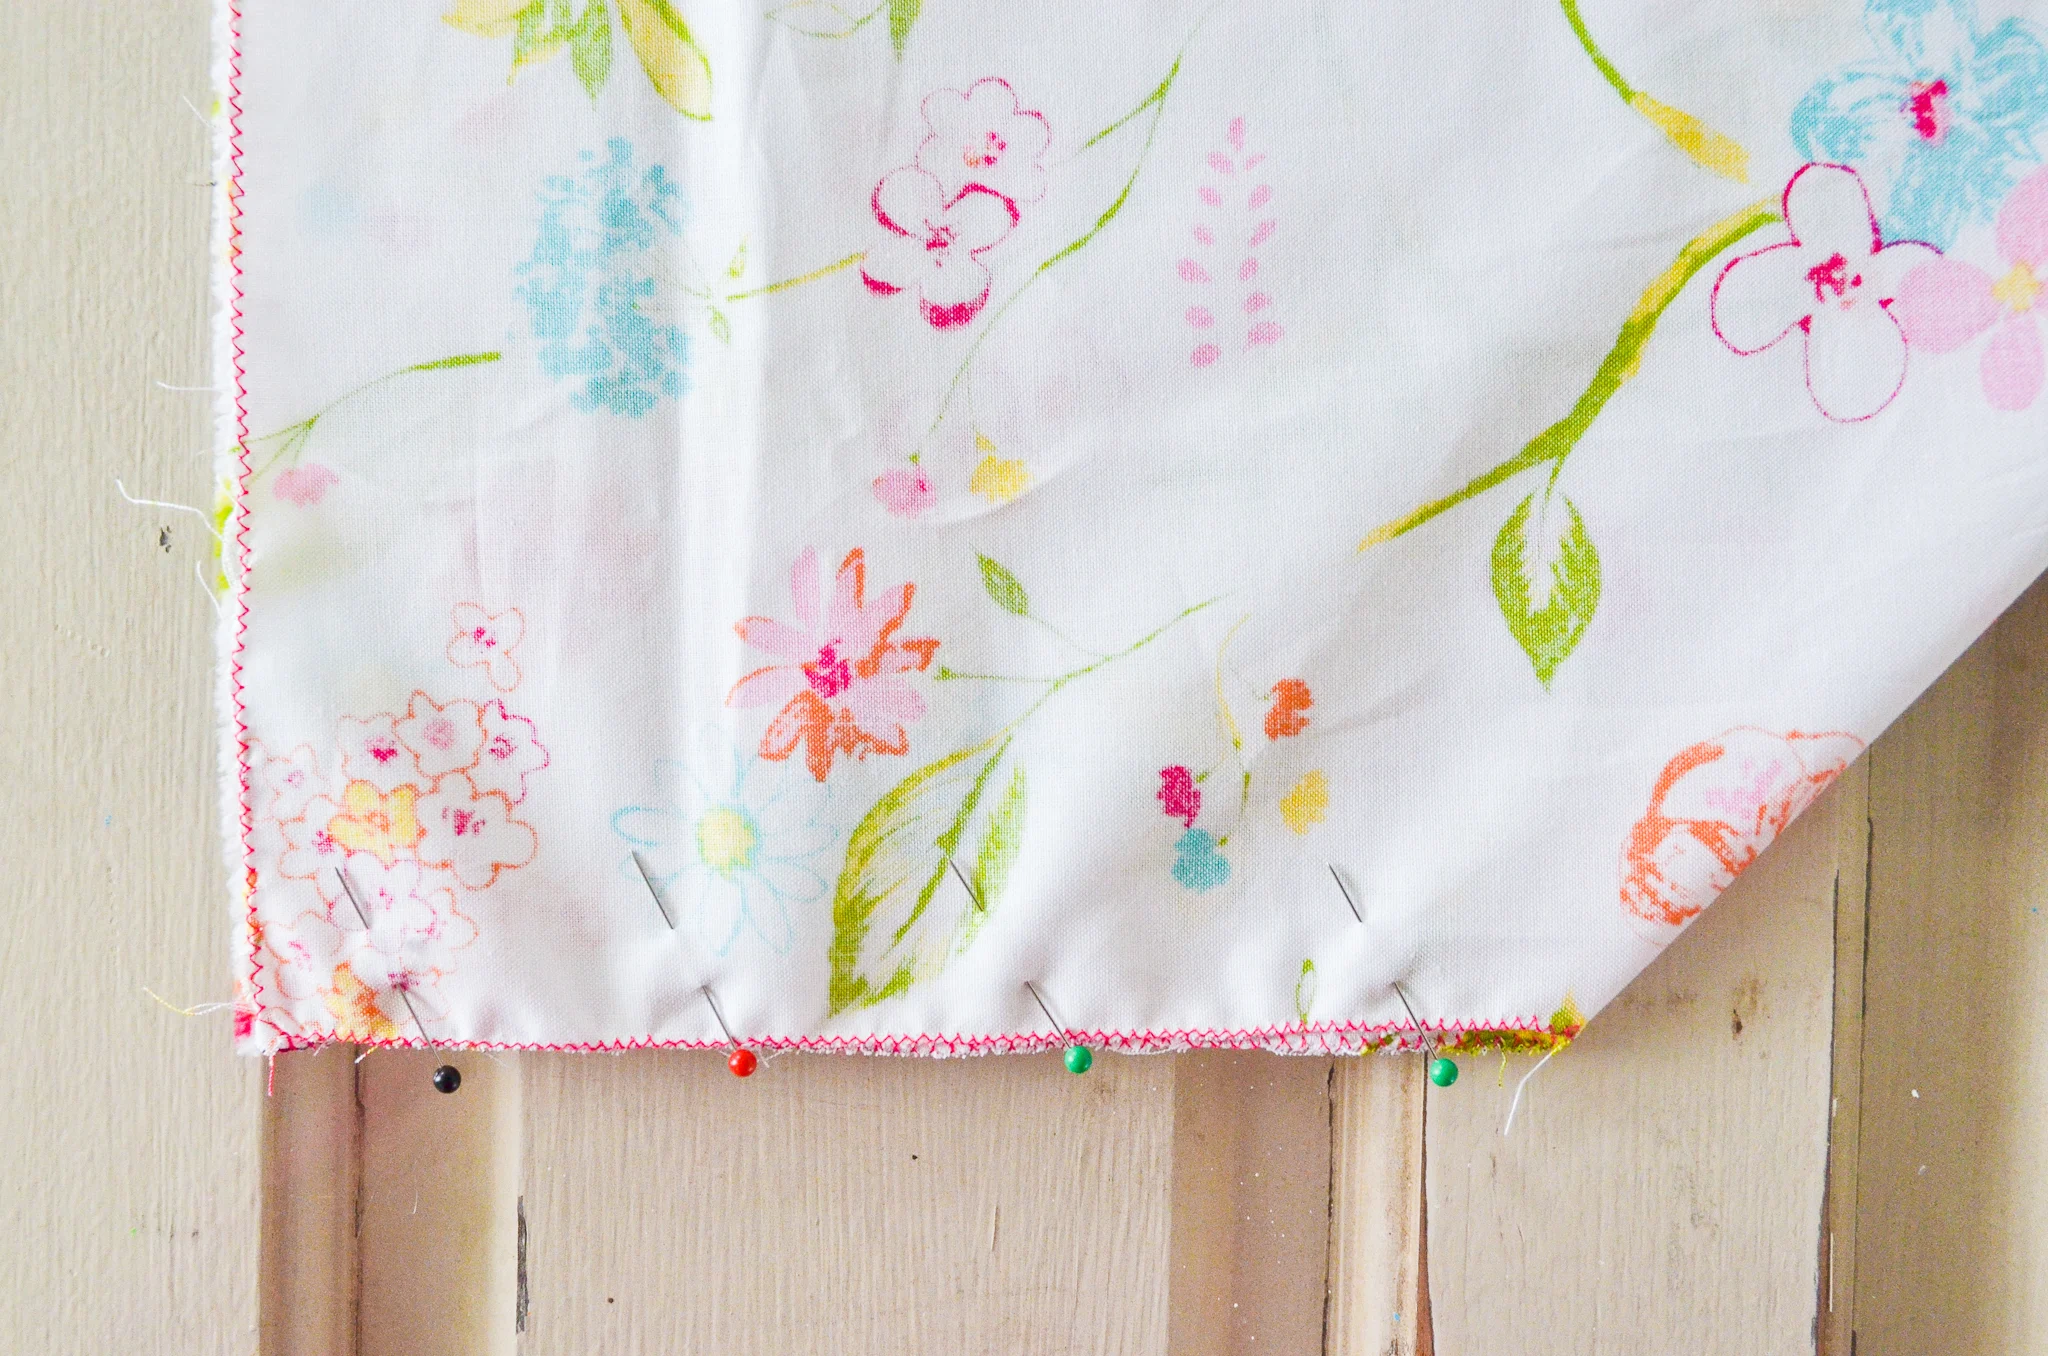
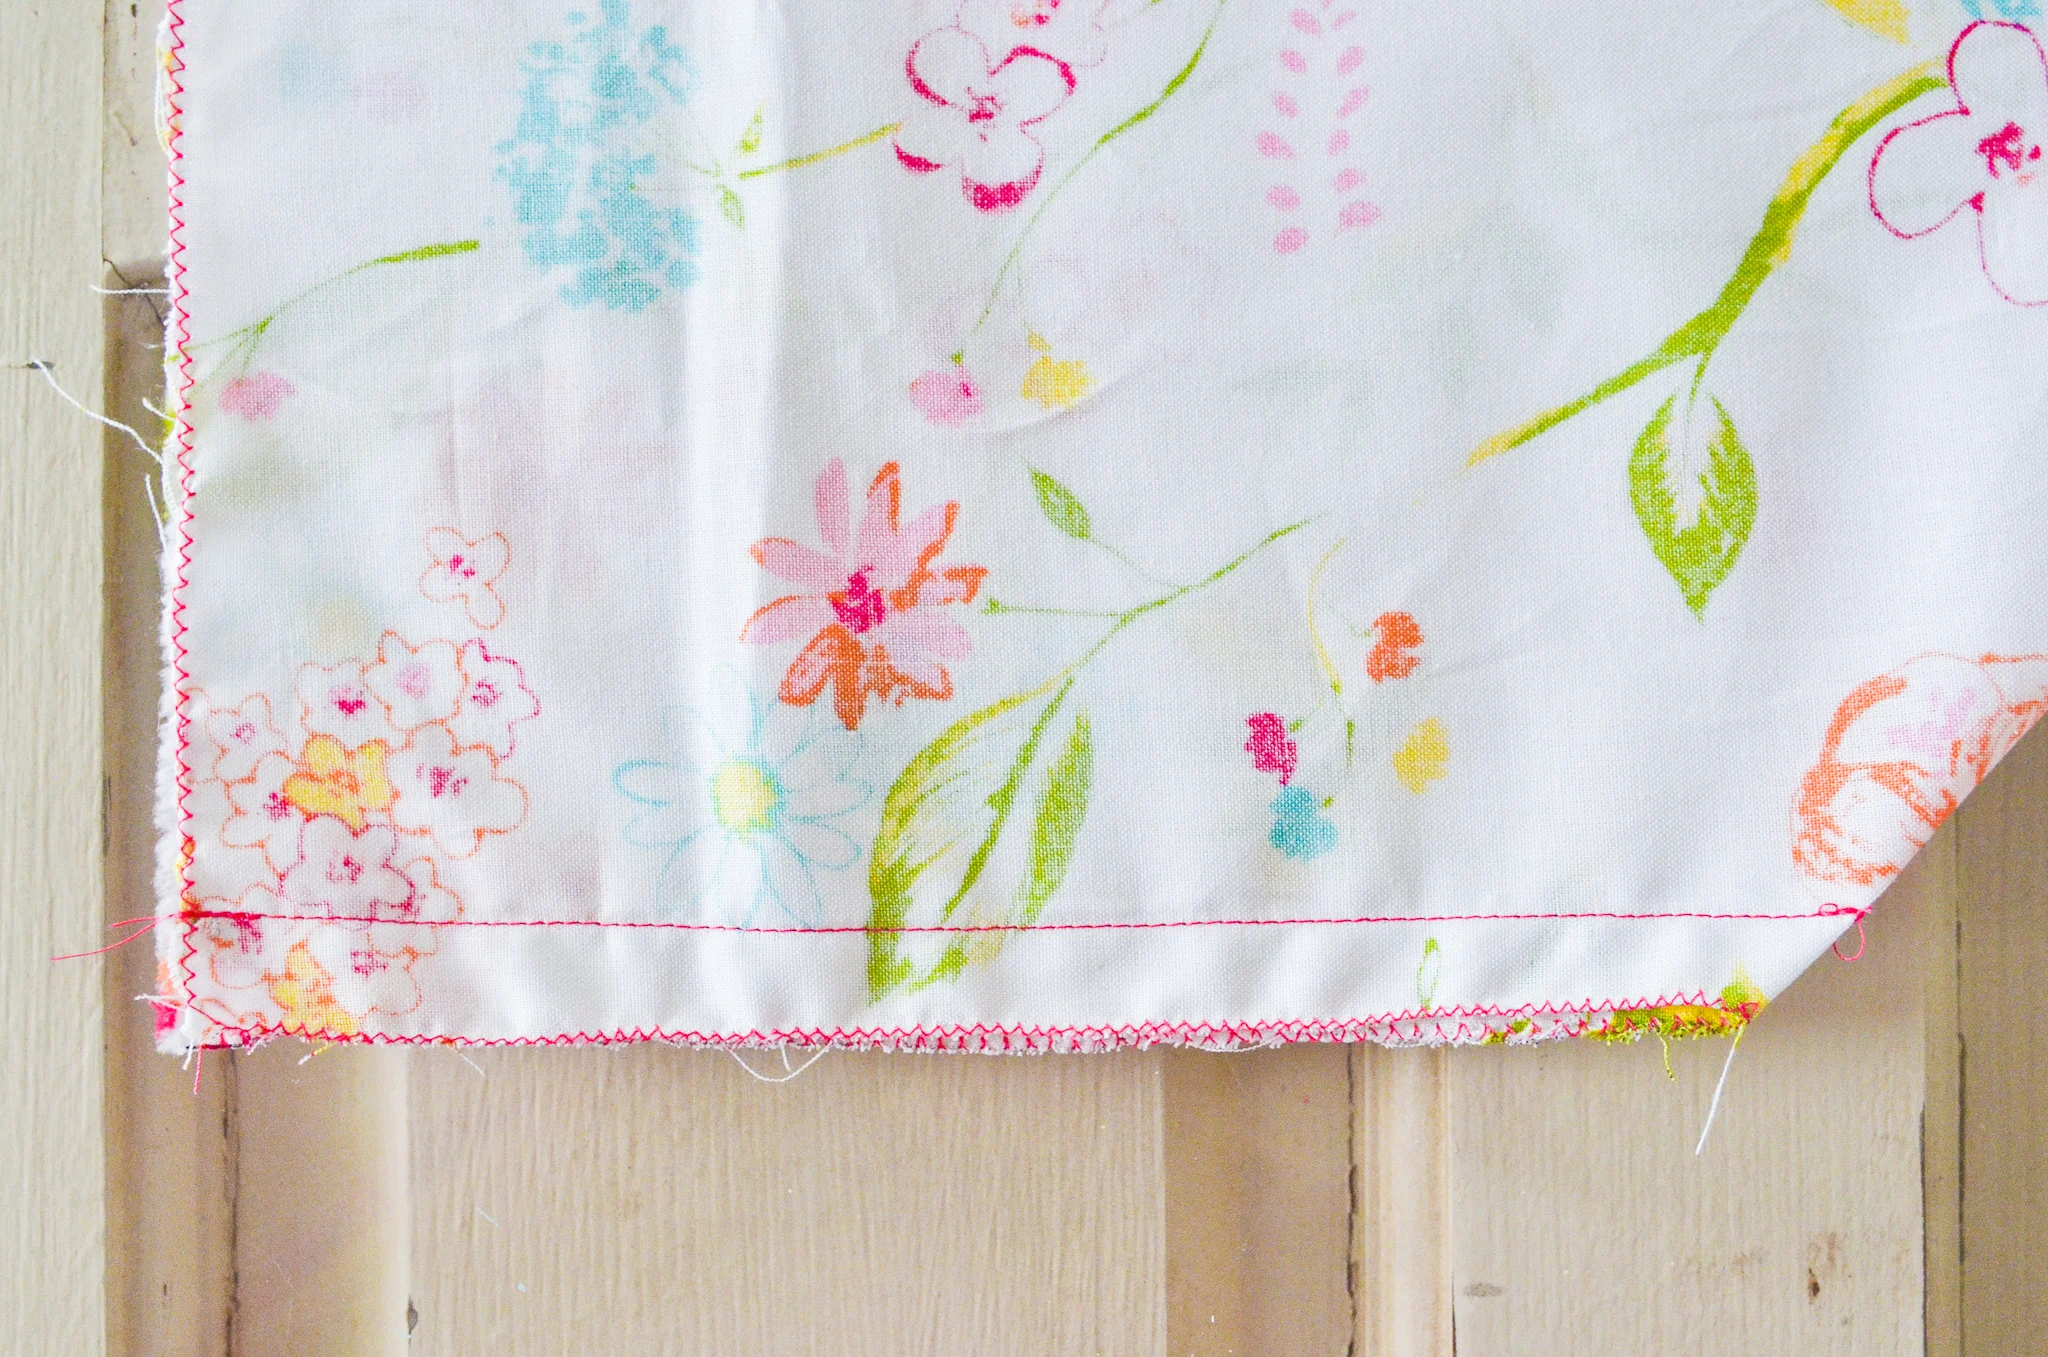
Align the edges of your cut corners, right sides of the fabric together. Pin and sew the corner with a 5/8″ seam allowance. Do this on all four corners. Don’t forget to back-stitch the beginning and the end of your seam for strength.
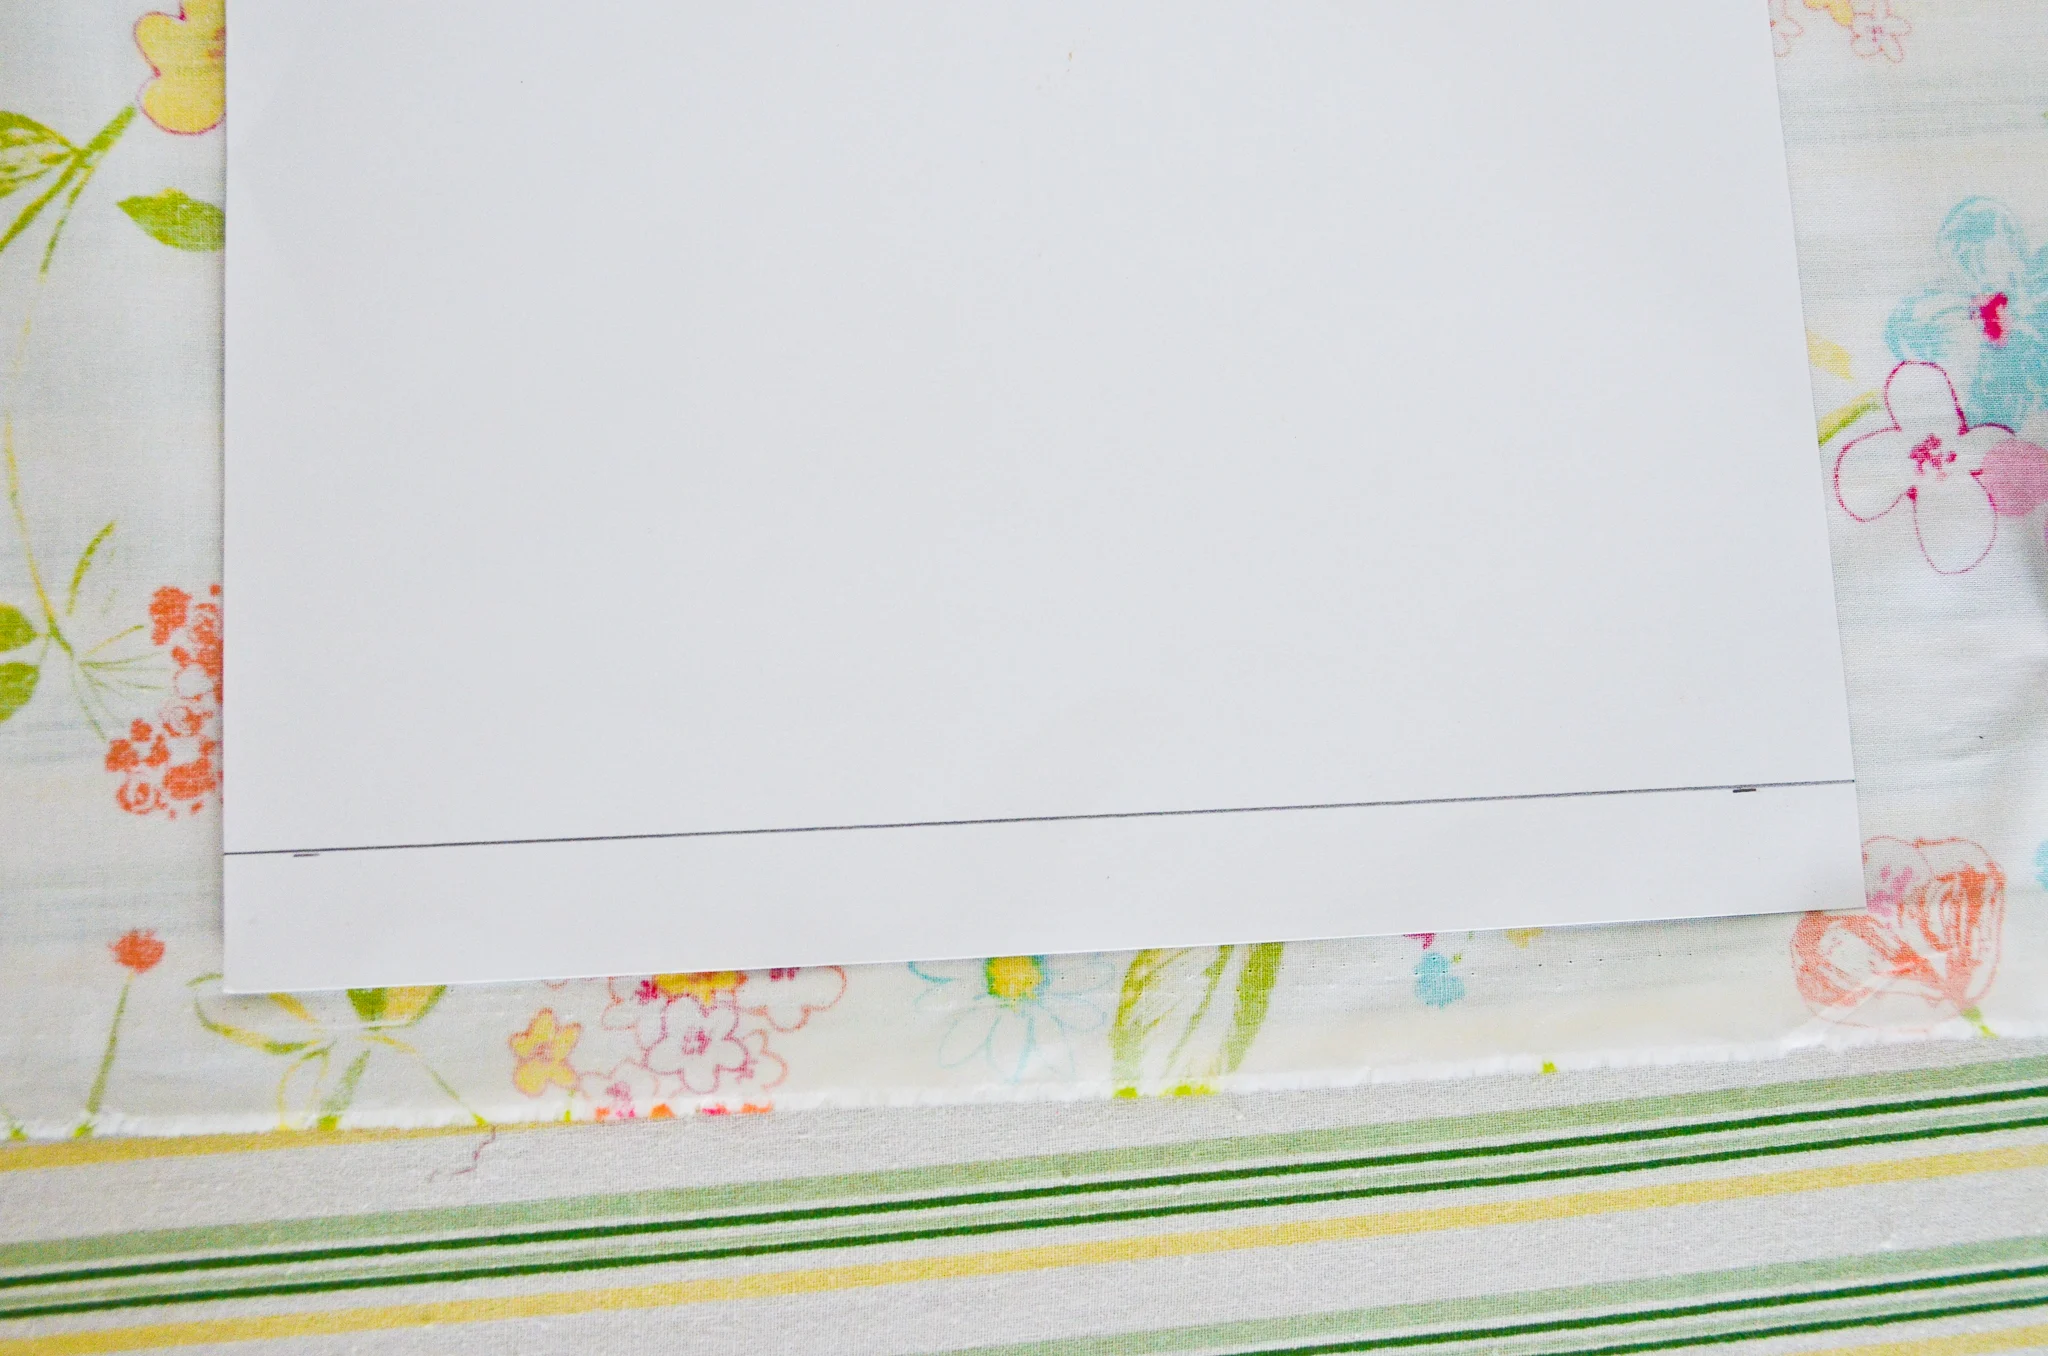
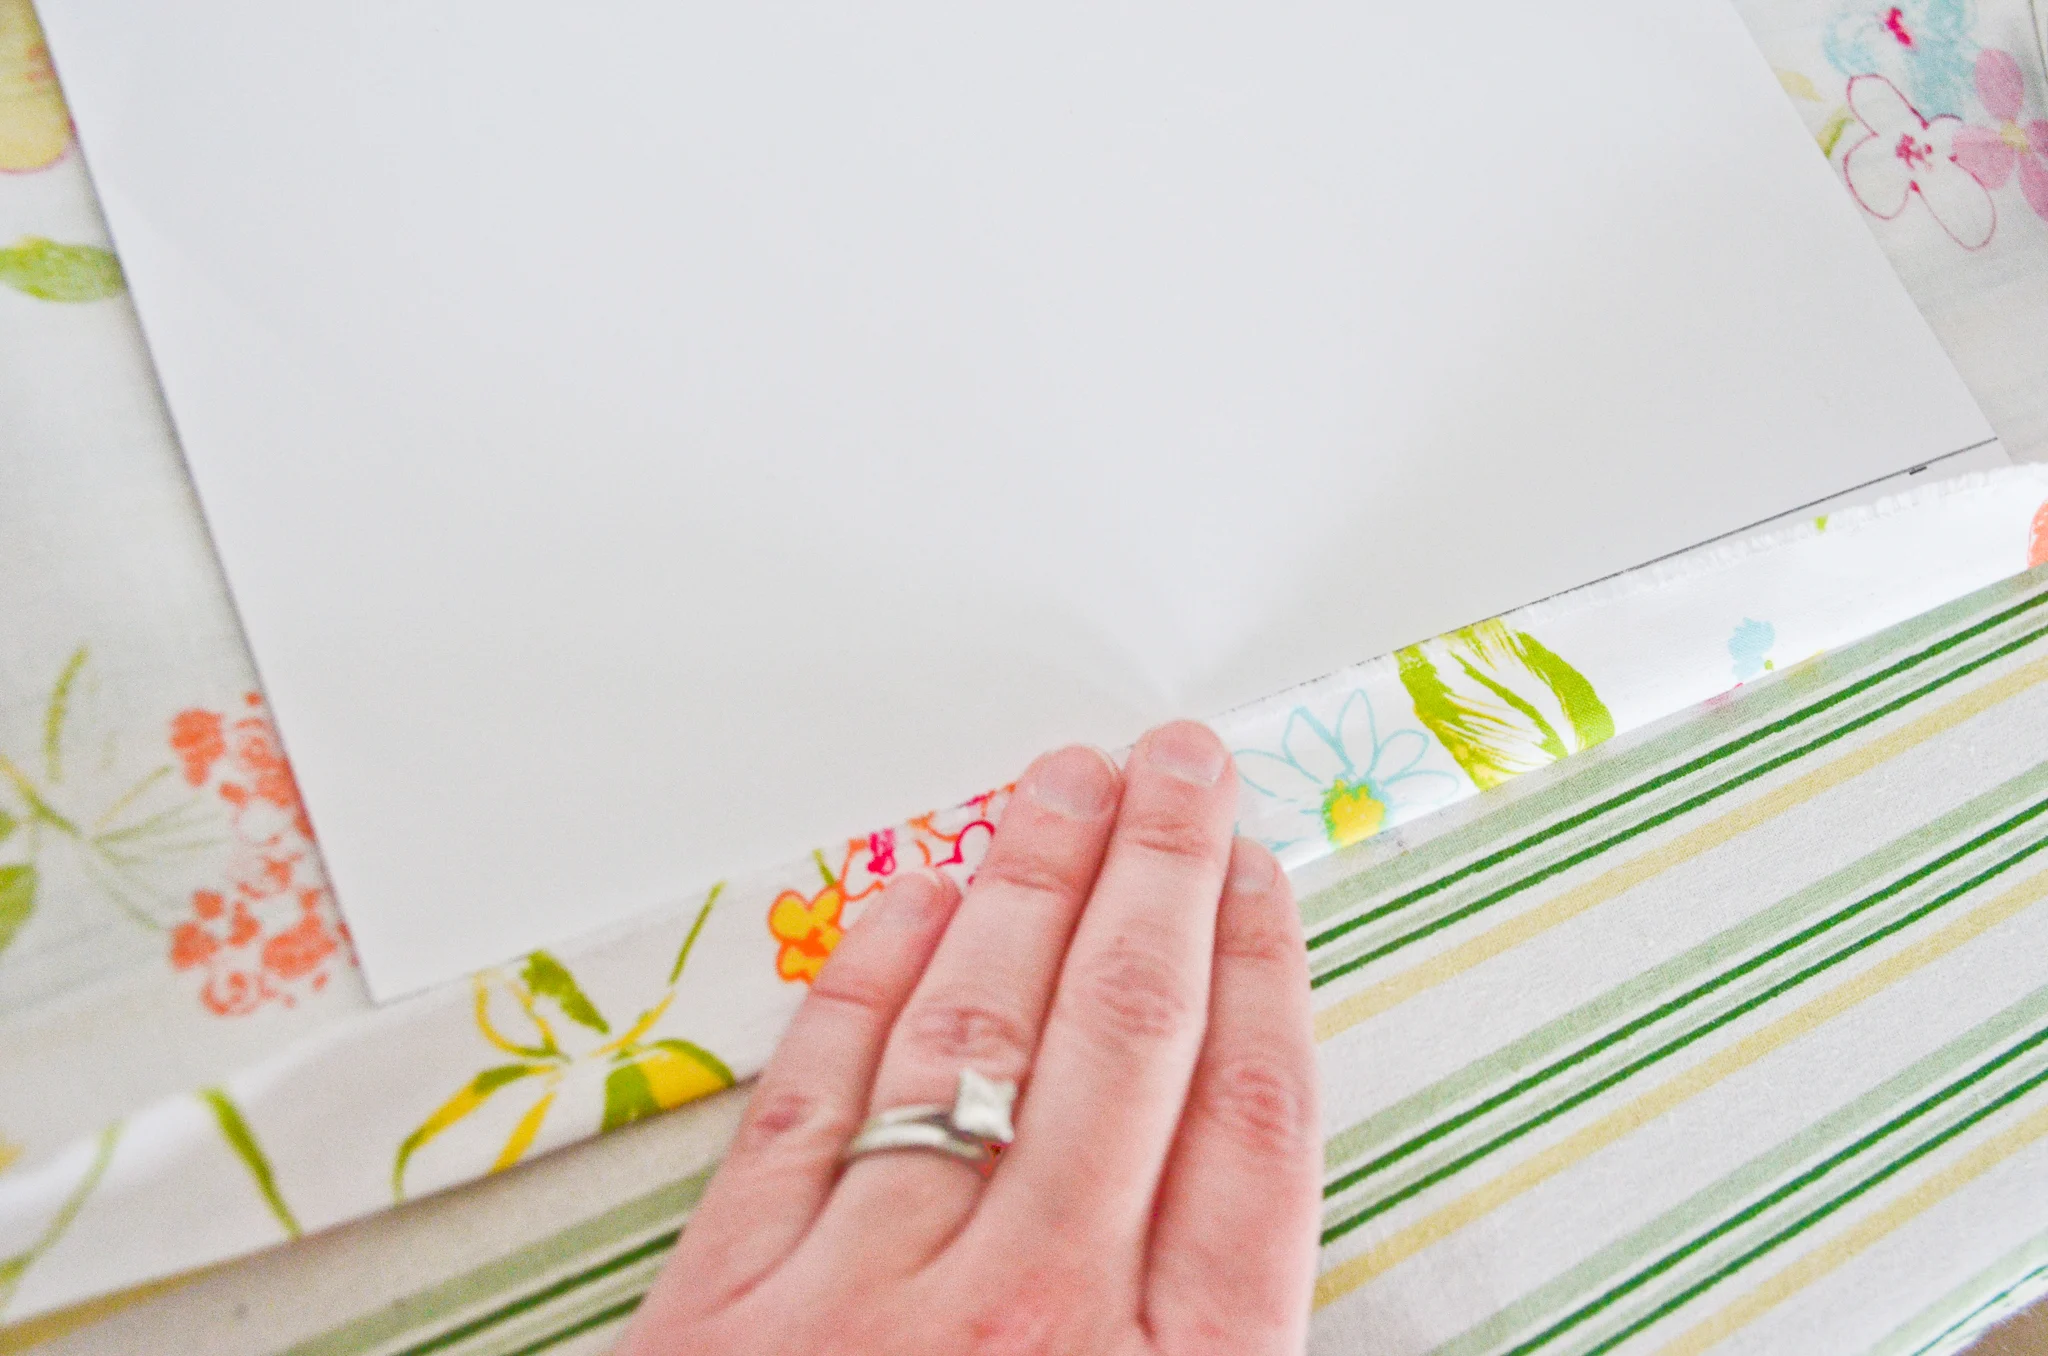
Next, you’ll need to create a small casing along the edge for the elastic. Use a hot iron to crease a 5/8″ flap around the entire edge of the fabric (wrong sides together). One easy way to quickly iron a consistent crease is to draw a line 5/8″ up from the long edge of a piece of cardstock. Then fold the fabric against the edge of the cardstock template up to the line, and press with your iron.

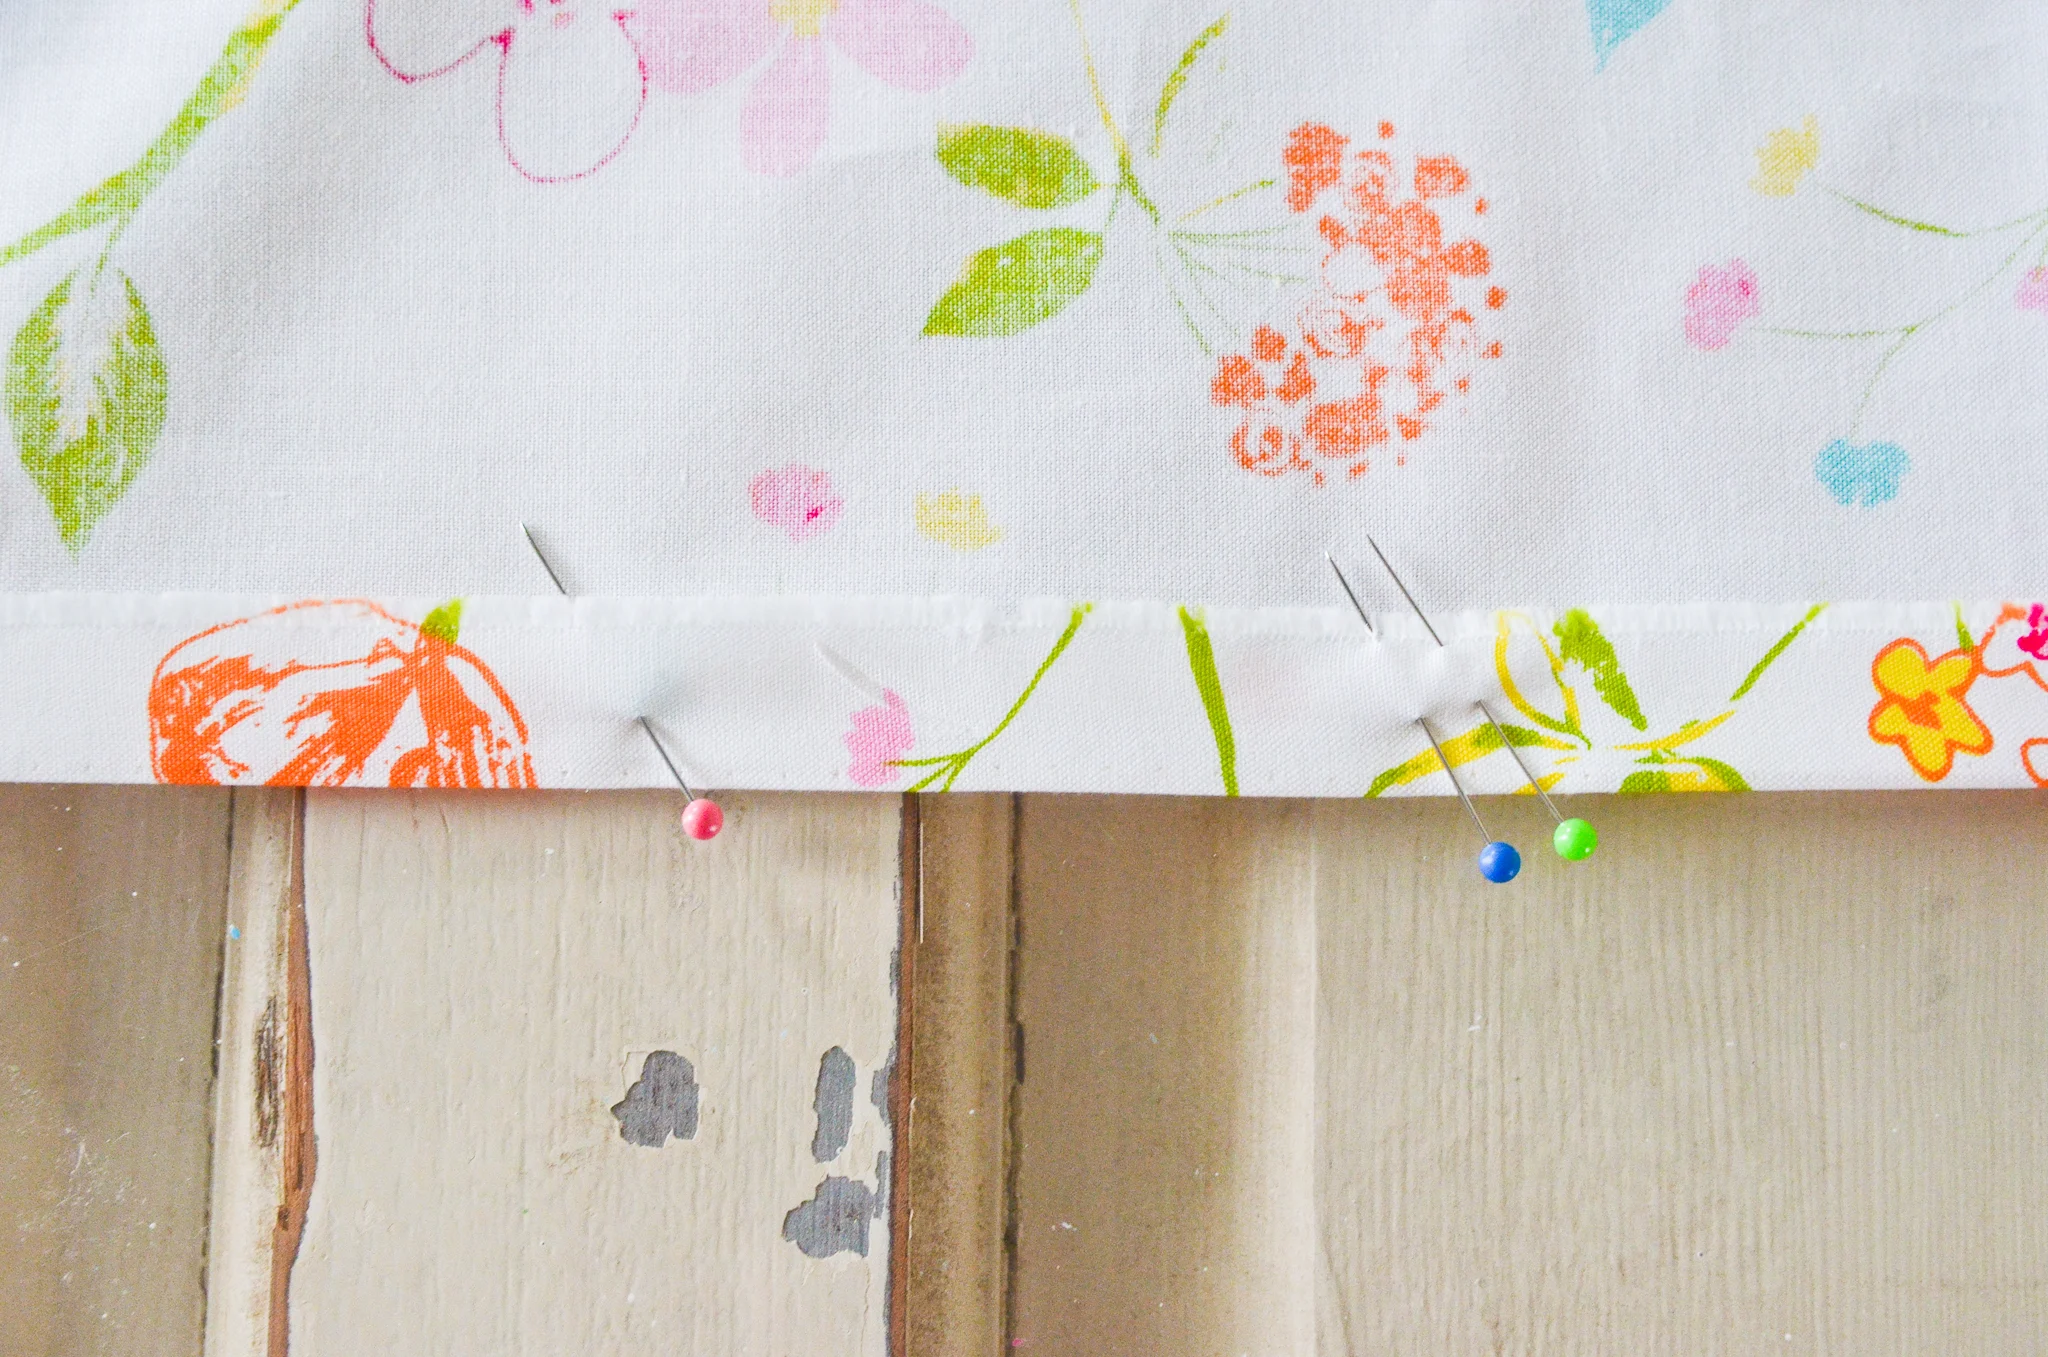
After creasing the entire edge, at the center of one long side, mark a starting point (one pin) and stopping point (two pins) that are 2″ apart.
Because you ironed the casing flap, you won’t have to pin around the entire sheet—it should fold over nicely on its own as you sew. Starting where you marked the fabric with one pin, sew all the way around the sheet (wrong sides together) with a 1/2″ seam allowance.
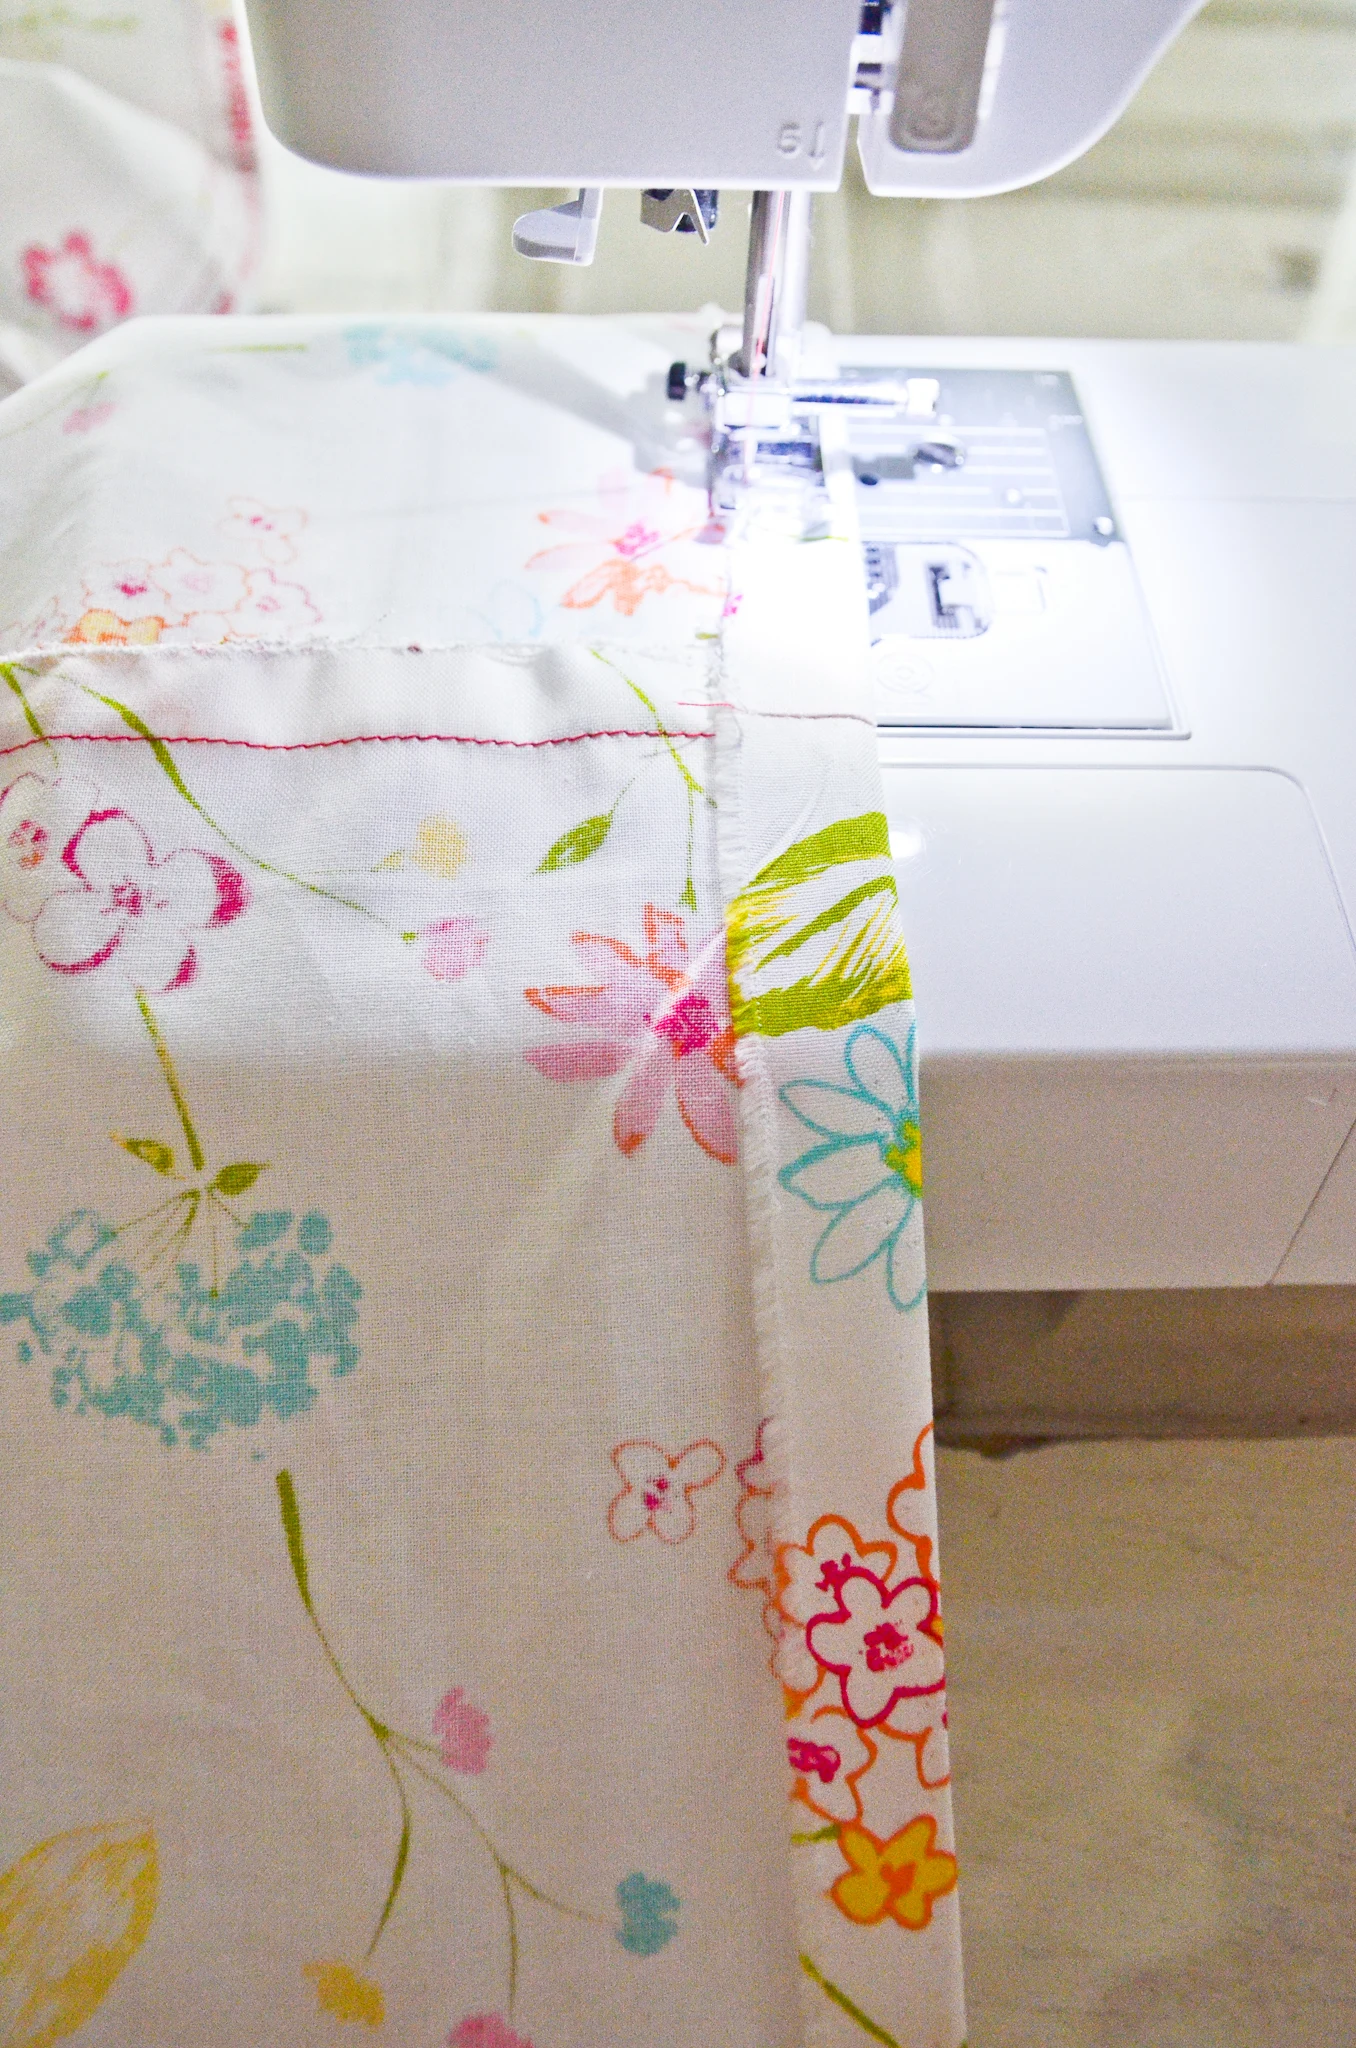
Stop at your two pins mark, leaving a small opening in the casing.

Cut an 80″ length of 1/4″ elastic. Pin one end to the sheet (so it doesn’t pull through) and attach another safety pin to the free end.
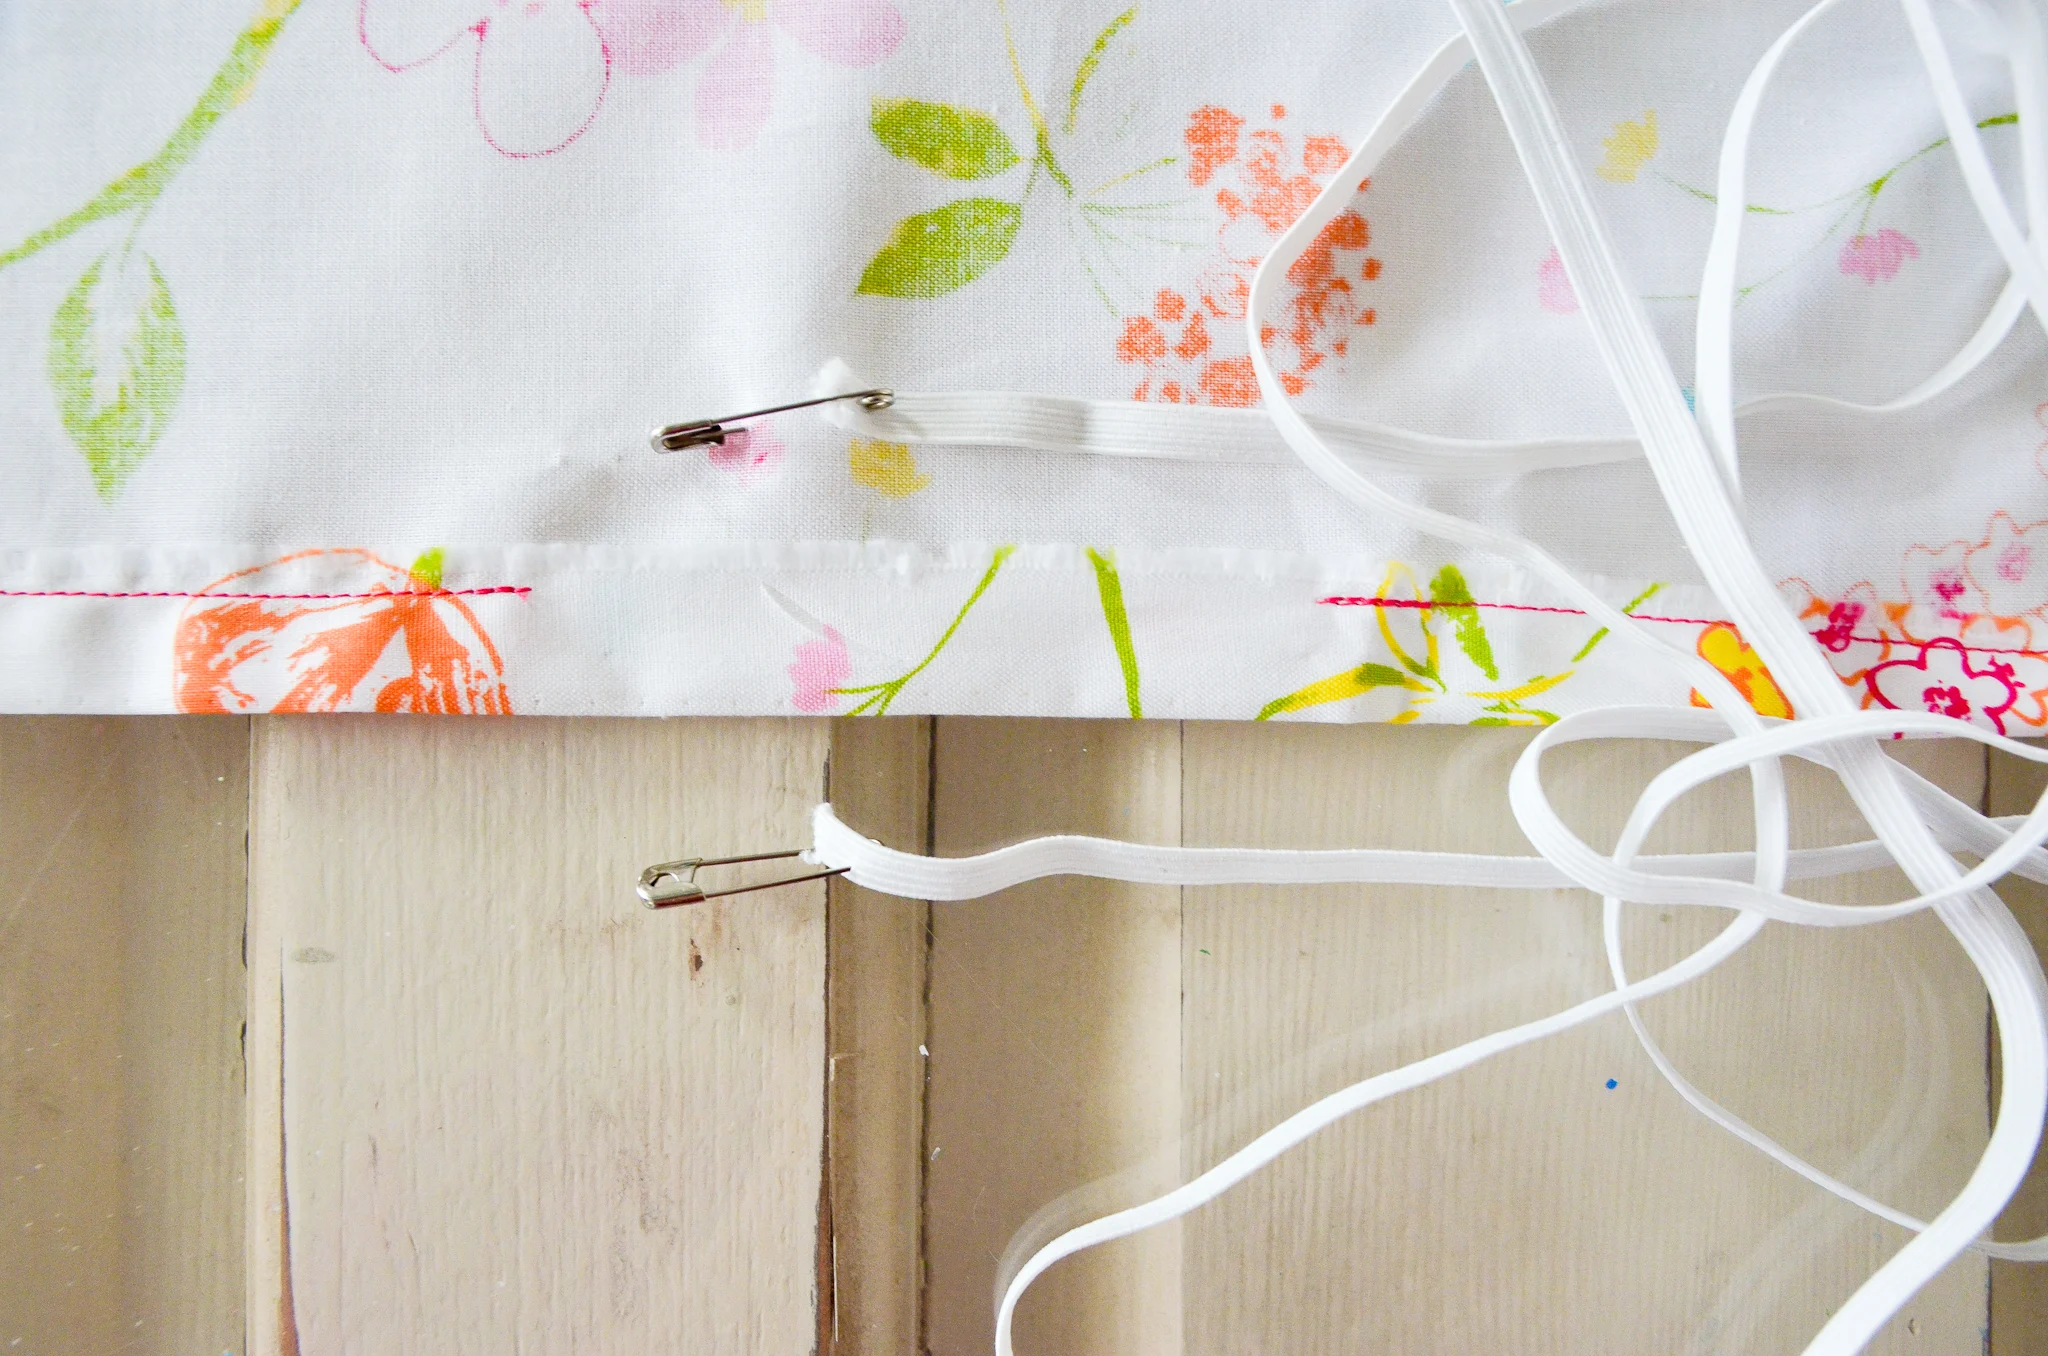
Insert the free end of your elastic into the casing and thread it all the way through to the other side of your opening.
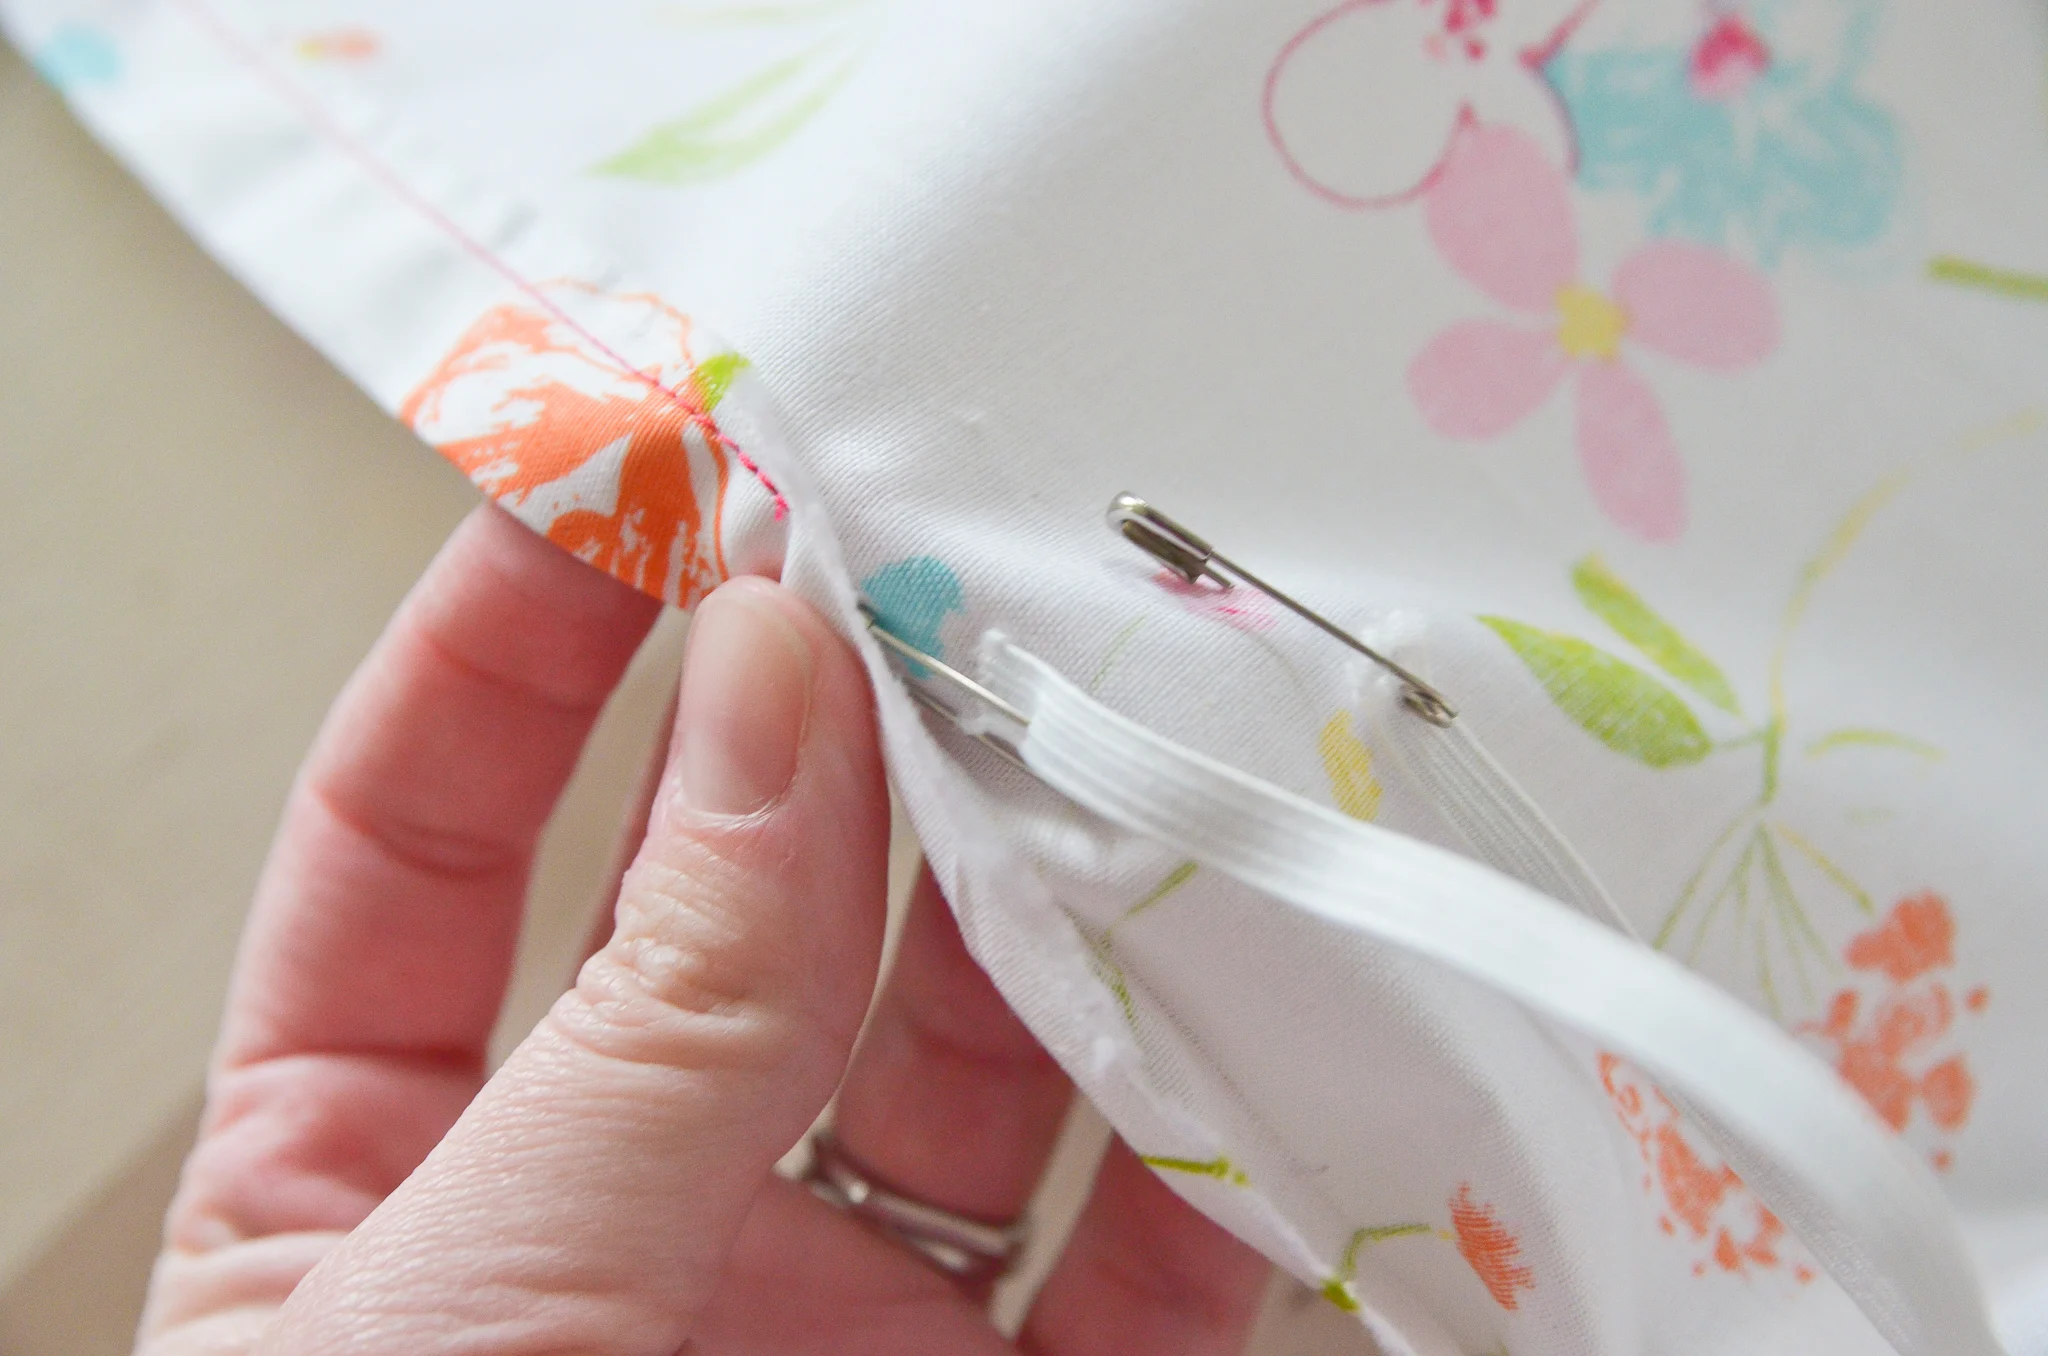
Overlap your elastic ends about 2″. Sew them together a couple times with a tight zigzag stitch.
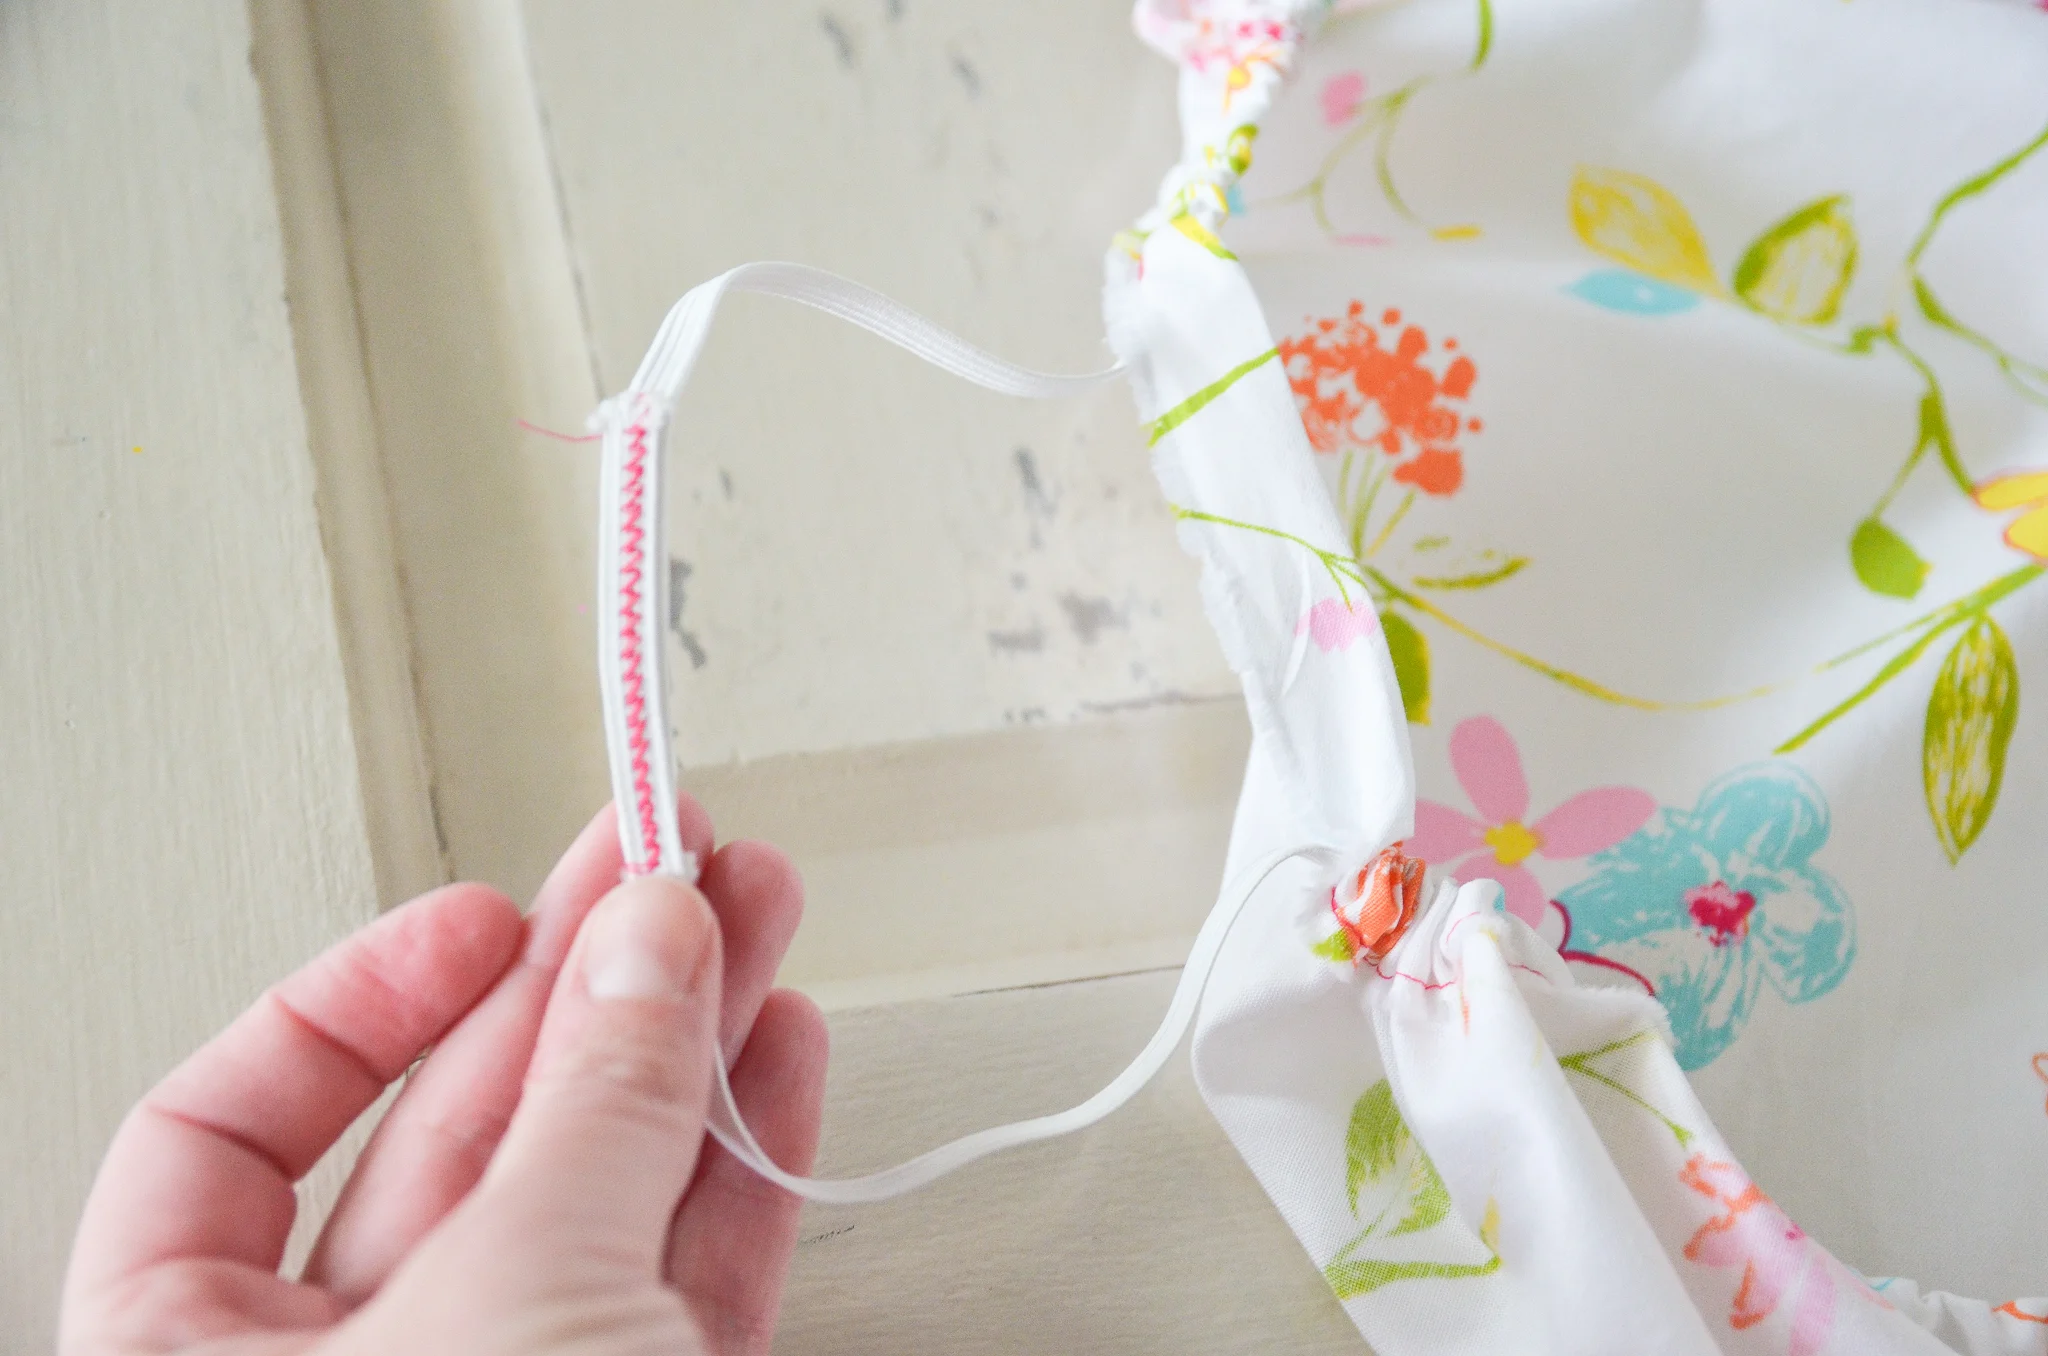
Pull the elastic back into the casing and sew the opening shut.
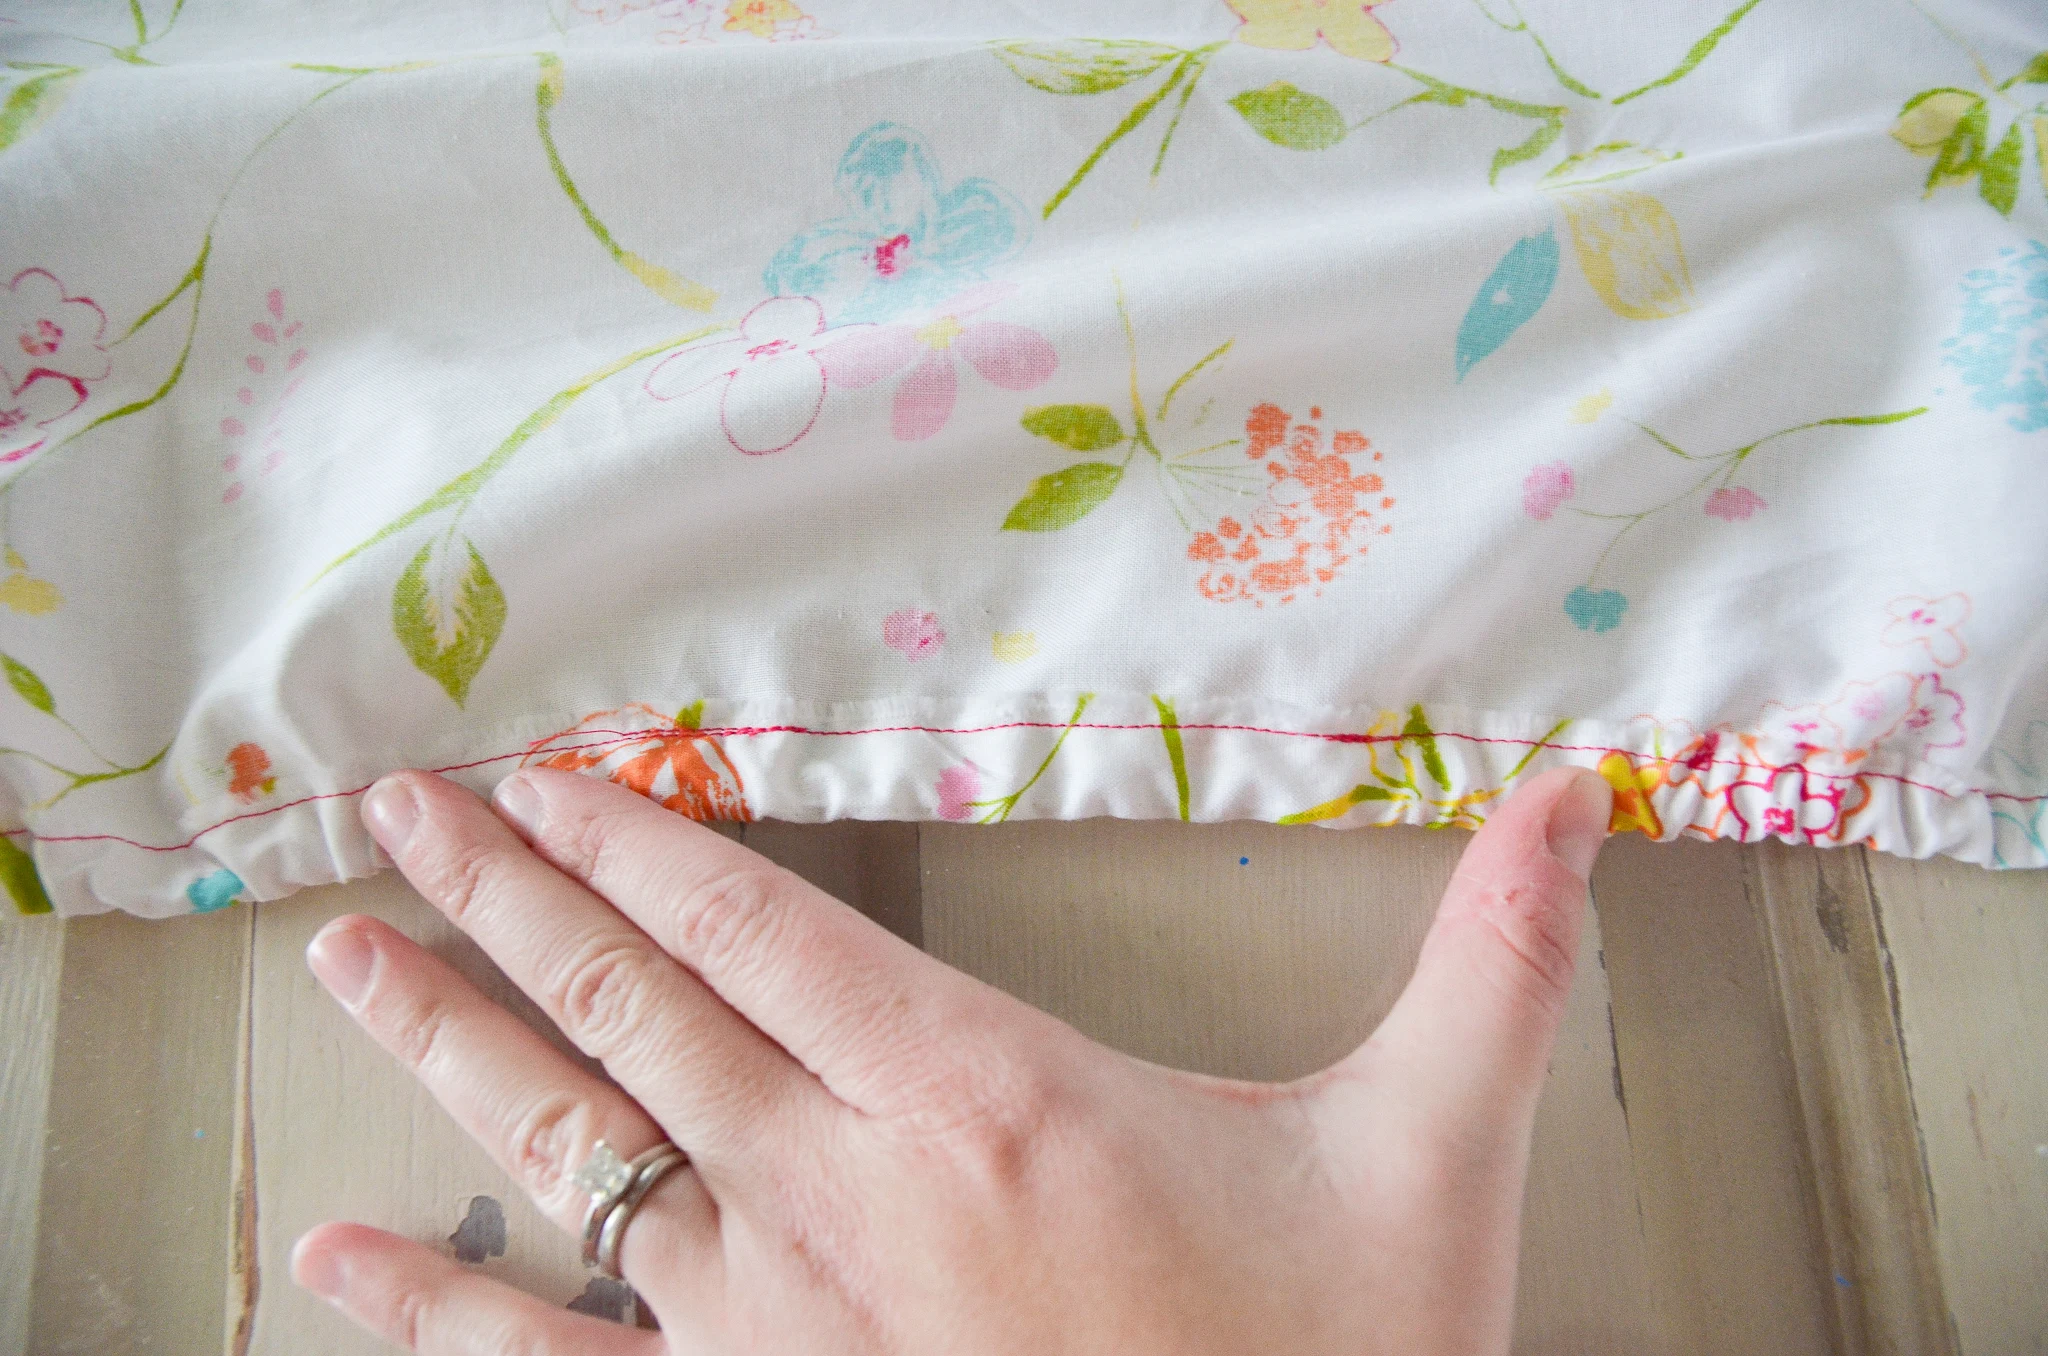
All done! Your new crib sheet should fit snugly, with the gathered elastic edges tucked neatly underneath the mattress. Never place an infant in a crib with loose bedding.
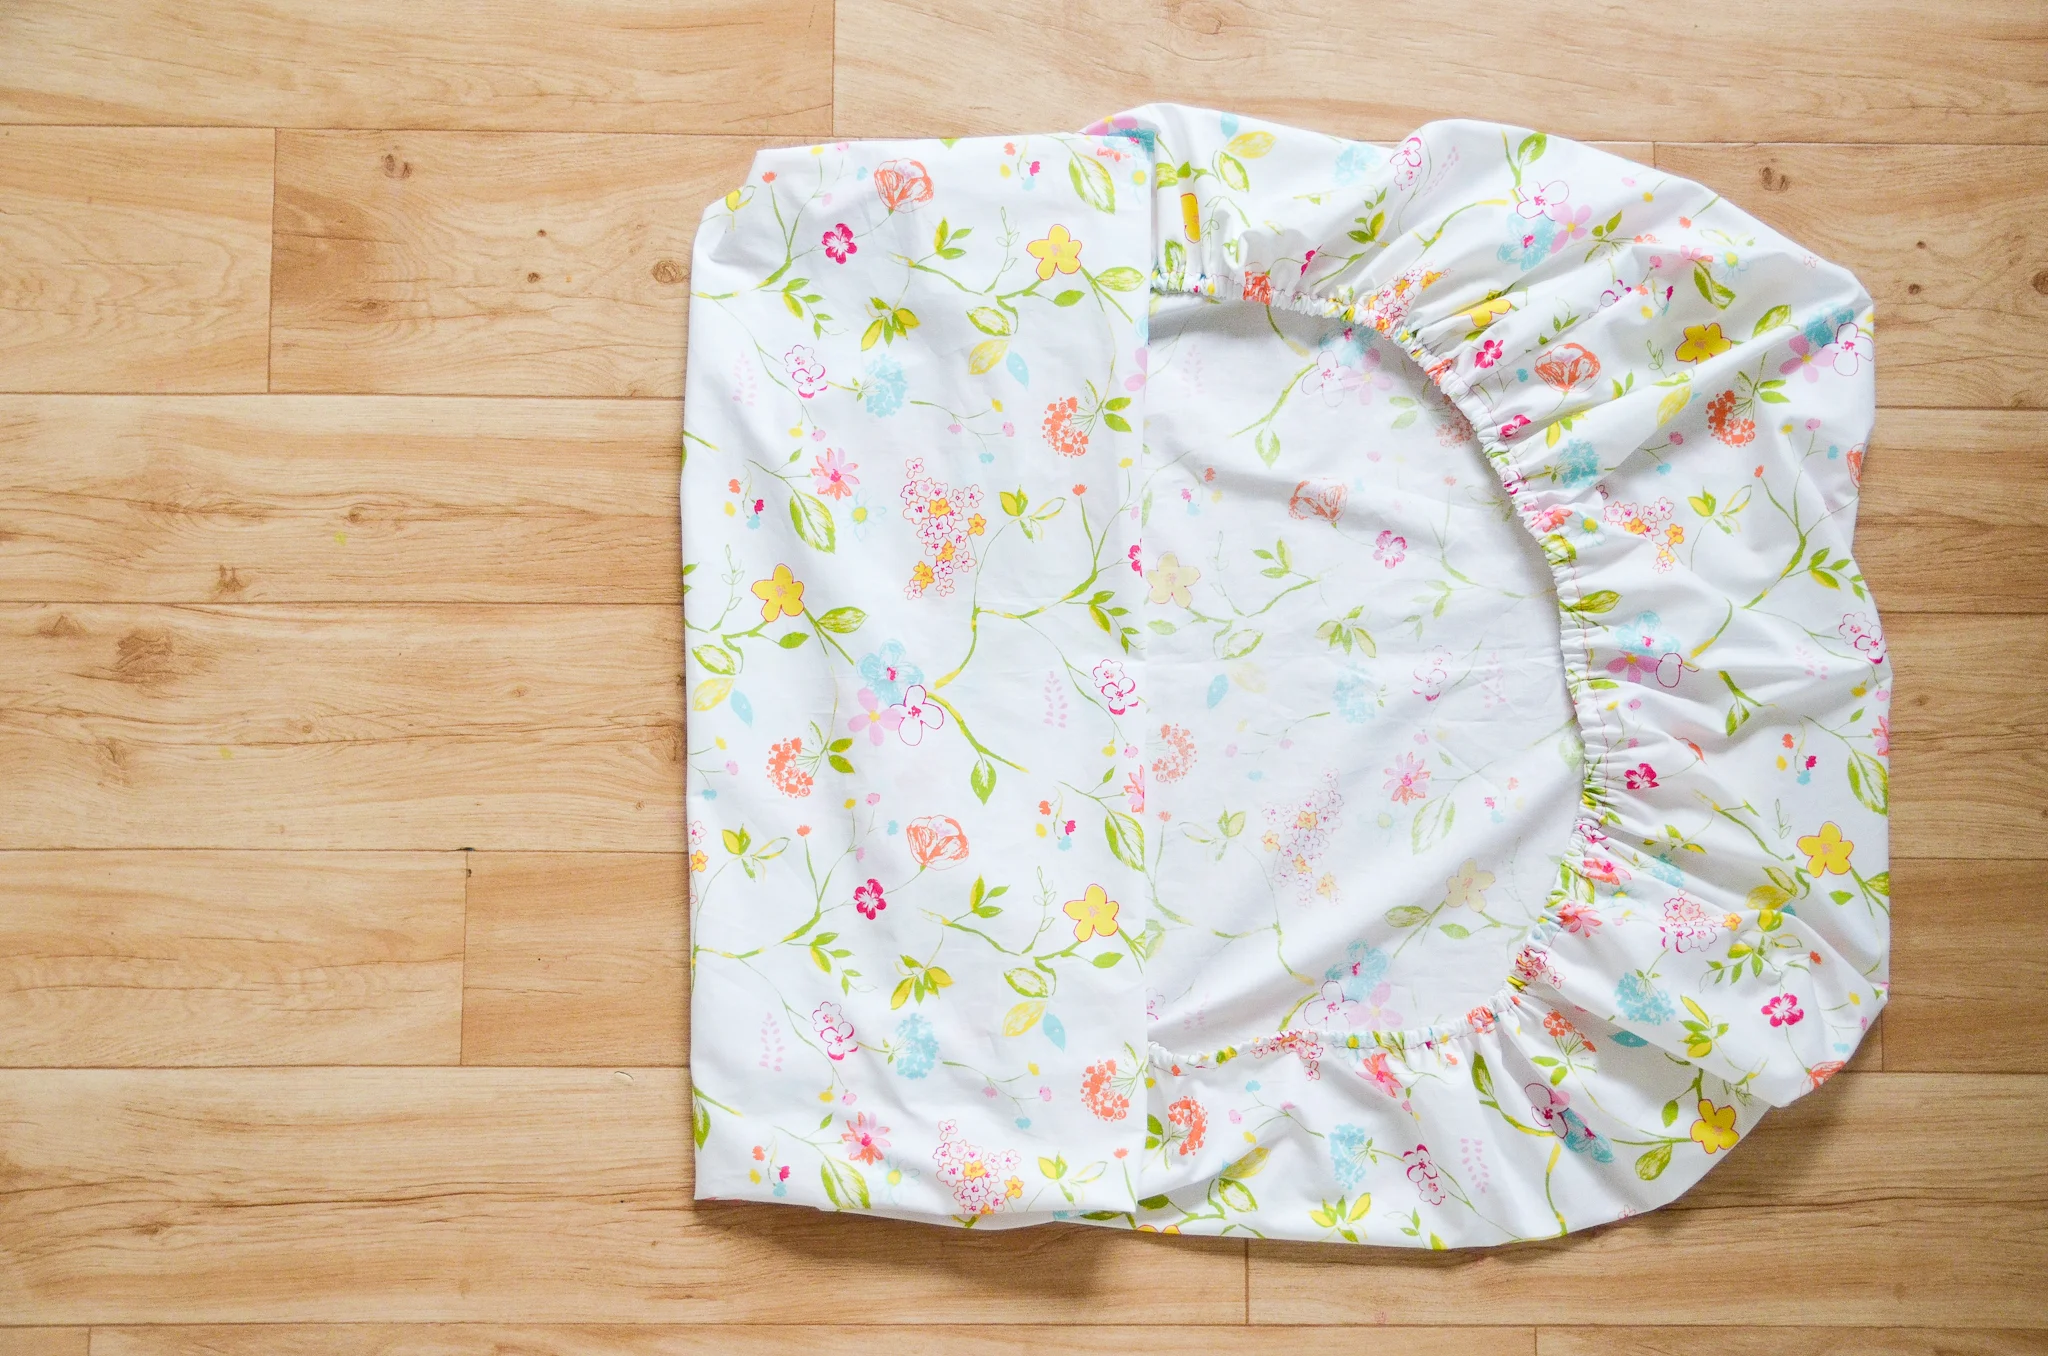
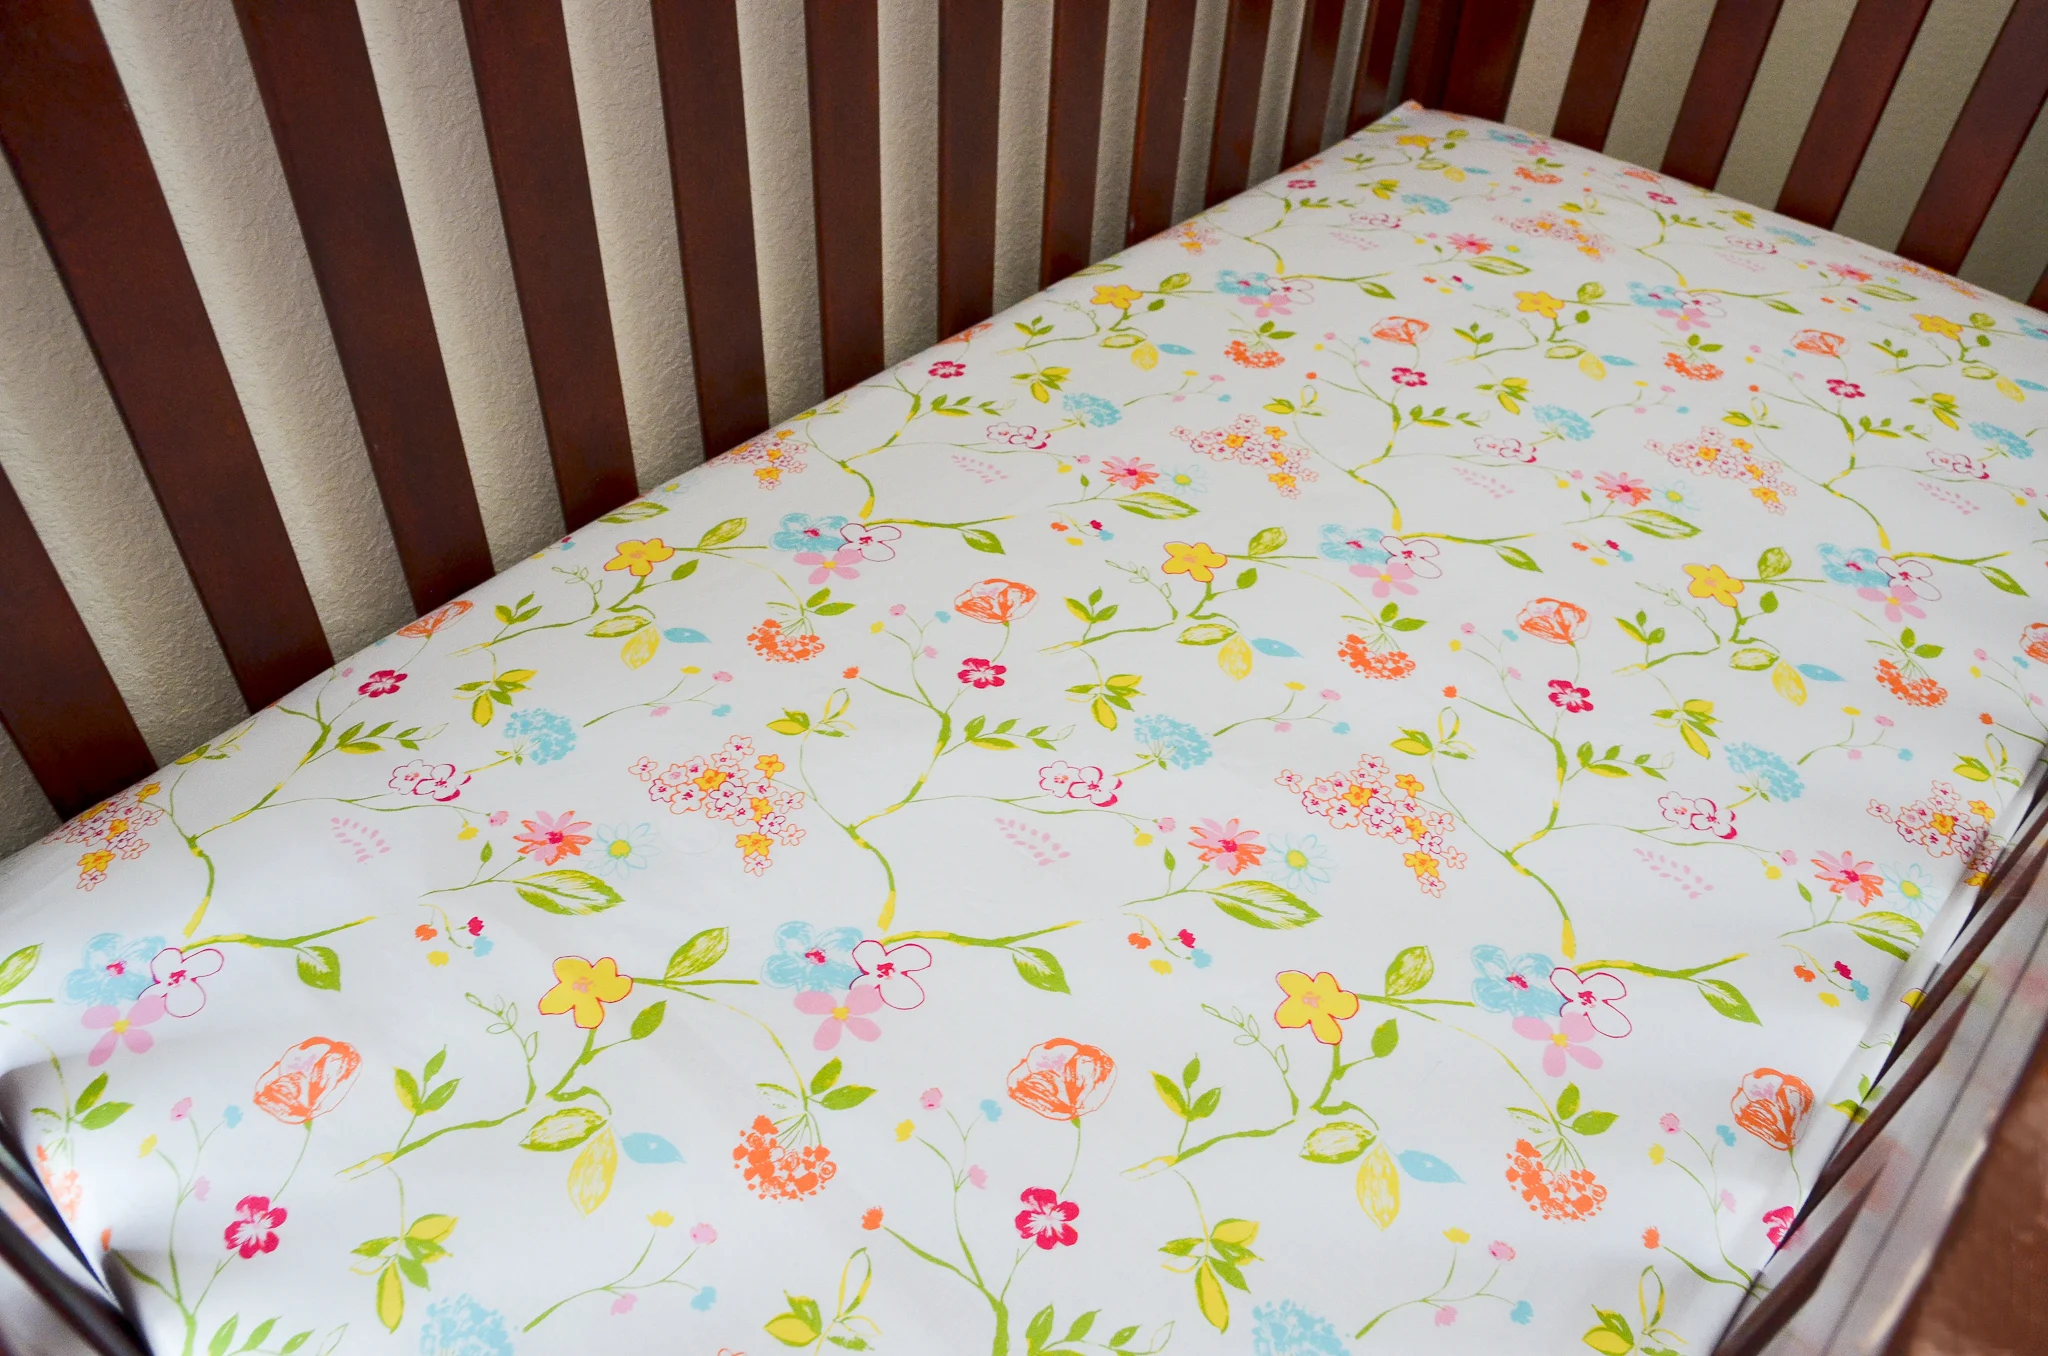
The best part about this project, other than its simplicity, is that the possibilities for customization are literally endless! And now that you know how to make a crib sheet, you also know how to whip up a custom toddler bed sheet—it’s the same size mattress. Happy sewing!

Dinika Amaral
Saturday 15th of July 2023
Fantastic instructions. I made my daughter a magic unicorn fitted sheet. The only thing I’d do is make the width wider… 48”. Otherwise, great. Thanks!
15 Free Crib Sheet Pattern - How to Make a DIY Crib Sheet
Friday 15th of October 2021
[…] You are puzzling about making a crib sheet that will spice up the whole nursery decor theme? Follow the complete guides here to make one according to your preferences. The sewing tutorial is just perfect for beginners, and you need 2 yards of 44″ wide fabric, an 80″ length of 1/4″ elastic, and a sewing machine to sew this crib sheet. Begin the project with the fabric rectangle having 68″ x 45″ dimensions. projectnursery […]
Toby Thompson
Sunday 16th of August 2020
Would you recommend any adjustments to the size of the fabric if using a stretch knit fabric (cotton lycra/spandex knit)? Thank you!
Michelle
Wednesday 19th of June 2019
Hi there. I'm working with a slightly smaller mattress (and in cm's). So that I can adjust accordingly, how much extra (in inches is fine) do I need to figure on both the width and length? My mattress being 11cm/4.5" thick, I assume I should still cut an 8" square from each corner? Or would you advise on adjusting this too? Thanks so much for the feedback!
Deborah
Wednesday 2nd of January 2019
I wish I had understood (and fully thought through) the math before cutting my sheets (I am making eight of them). The really important part is that the finished corners be 28" apart for the width and 52" apart for the length. Makes sense, right? Since the mattress is 28" by 52" .
Each of my fabrics was a slightly different width after washing and before cutting. Two of them were only 40" wide. What I should have done instead of just lopping off the 8" corners was this - - fold the fabric lengthwise with selvages together. Measure 14" in from the fold and mark. Then figure out what is left of the width. in my case, that was only 6" . This is the size of the square. Before cutting the square, you have to recalculate the length. It should be twice the length of the square plus 52" . In this case, 2 x 6 = 12" + 52" = 64". So . . . adjust the length, cut out the 6" square corners and finish as shown.
I'm not suggesting using fabric this narrow! Especially if your mattress is thick. I'm just emphasizing how important the 28" and 52" measurements are and it is important to keep them in mind when measuring and cutting!
One thing I did to try to preserve as much width and length as possible was run wide double fold bias tape all along the bottom and used that for the elastic casing.
Thanks for posting the tutorial! My sheets are gorgeous!!!