Okay, here goes, you guys. Today’s the day that I get to share with you what I’ve been working on for the past YEAR. Yes, you read that right. It’s been nearly one full year from the time that I first shared my design board for my then unborn son’s nursery until today, the day of the big reveal.
Everett’s nursery was truly a labor of love. Designing this space was a huge challenge for me because while I’m far from a girly girl, my style definitely sways more feminine. And of course there’s the small matter of having both a toddler and a baby to contend with while trying to pull together a room full of DIY projects. But you know what? The end result is worth all the blood, sweat and tears that went into creating this space and every emotional breakdown I had along the way when I’m rocking my baby to sleep in the beautiful nursery that represents me, my husband, our family and all of our dreams for our little man. So without further ado, I give you Everett’s vintage modern boy’s nursery.
 Paint Color | Rug | Curtains | Curtain Rods | Bamboo Blinds
The design for the space started with that stunning bohemian rug—I fell in love with it at first sight and knew that I had to find a place for it in my home. I was about seven months pregnant at the time with no nursery plans to speak of, so Everett’s room was the natural place for it to land. Plus, the design is totally my jam and I knew (or at least I hoped!) I could design a killer nursery around it.
When I first shared my design board with you, we were hoping to transition my daughter out of her crib by the time we were ready to move Everett into his nursery so that he could use it. But toddlers don’t always follow the timeline you’ve set for them, do they? So we let Emmi stay in her beloved crib for a bit longer than planned, and I’m glad she put up a fight because we ended up with a new crib that fit perfectly into Everett’s nursery design. I think the dark stain strikes just the right balance with the vibrant colors in the rug, and I loved adding my own touch to the crib with a custom upholstered end panel. Stay tuned for the tutorial!
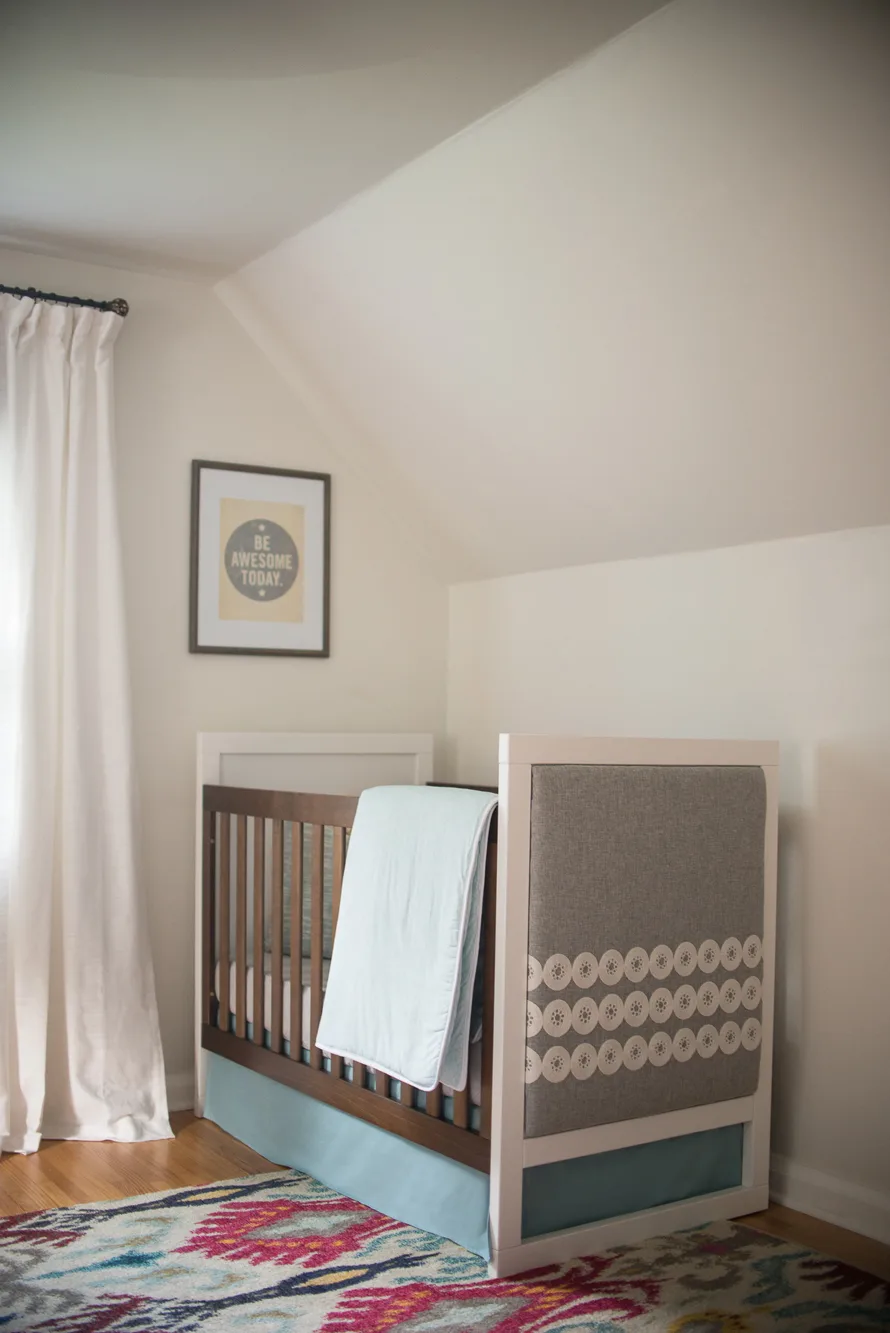 Be Awesome Today Art Print | Crib | Crib Sheet | Crib Skirt | Comforter (similar)
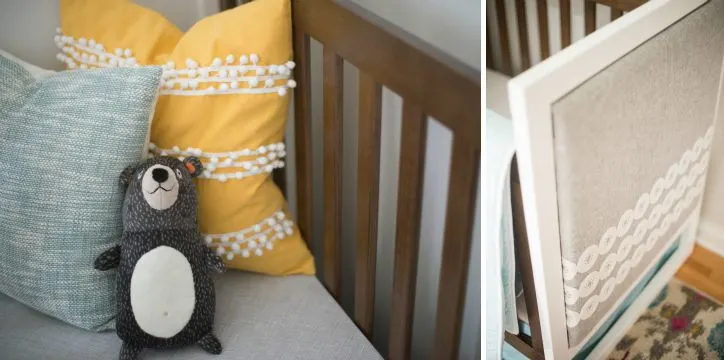 Textured Blue Pillow | Yellow Pom Pom Pillow
While I love so many details in the space, the real feature is the stunning herringbone pallet wall that my husband created. We had been using this room as our bedroom up until Everett’s arrival, and he had built a dresser into the wall to maximize the space since our bed all but filled the room. The only problem was that after that project was said and done, the drywall around the dresser drawers kept cracking. My husband has been dreaming about installing a pallet wall to hide the cracks ever since, so we finally decided to make that dream a reality.
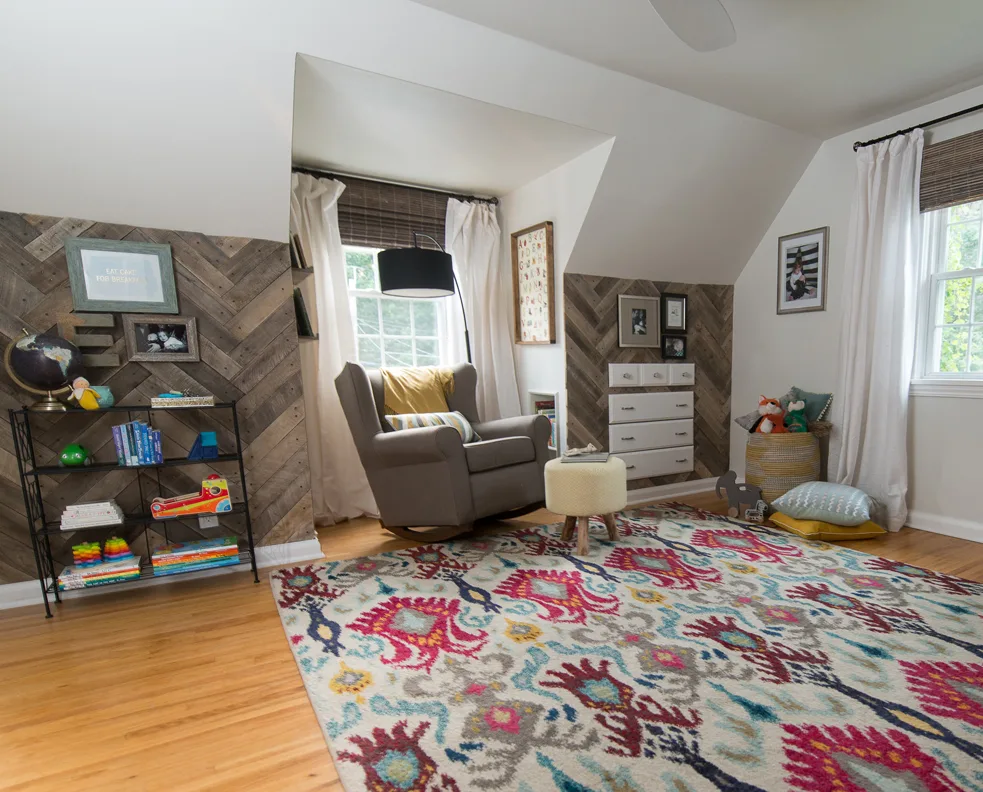 Metal Bookcase | Woven Basket (similar and similar) | Blue and Yellow Pillows
Now I tend to—how can I put this delicately?—complicate things. What started as a plan for a simple pallet wall quickly evolved when my husband had to cut the pallets into small pieces because the nails were so rusted that he couldn’t pull them apart. When he showed me the pile of 18″ long pieces of wood, my first reaction was, “So much for the pallet wall!” because I just couldn’t envision a regular pattern of identical pieces of wood. I mean, the idea of a traditional pallet wall is that it’s imperfectly beautiful, right? But then I started laying the pieces out on our driveway in a desperate attempt to make it work, and when I started arranging the herringbone pattern, I knew that was it. My husband reluctantly agreed to my grand plan, and although I think he was cursing me throughout the 40+ hours that it took him and his father to complete the wall, we are both so in love with it.
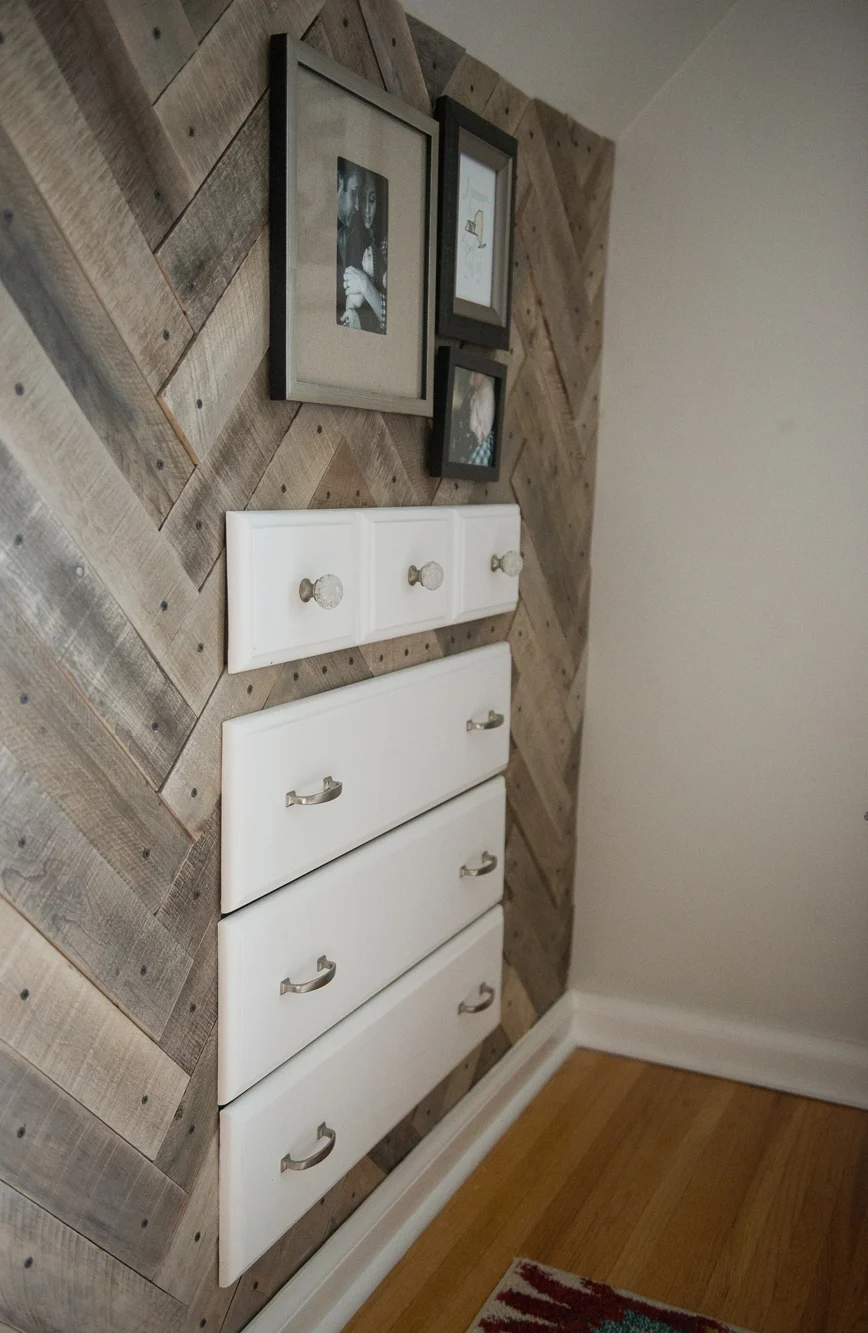 Antique Silver Frame | New York Letterpress Print
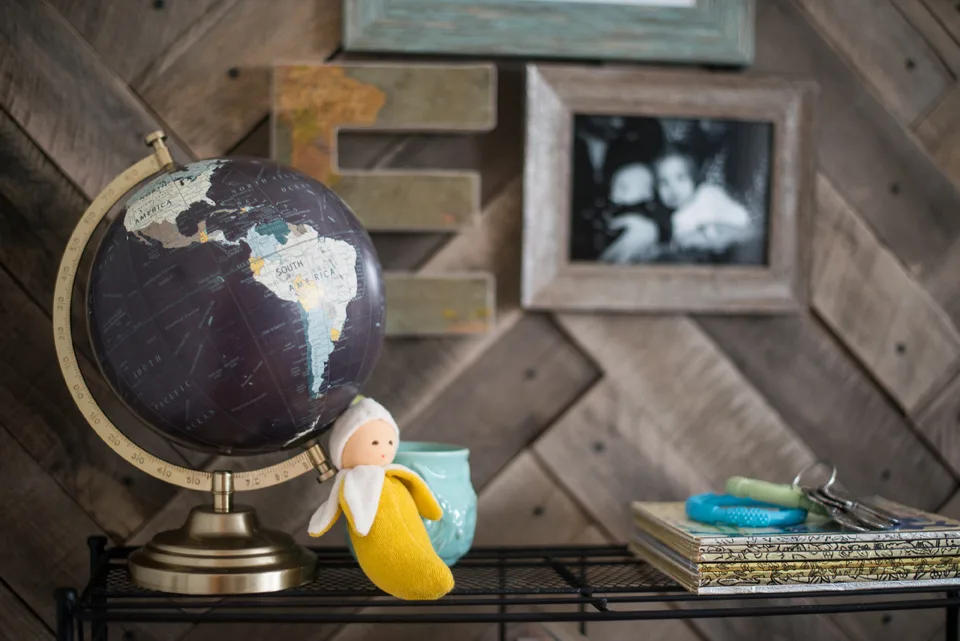 Globe | Fabric-Covered Letter E
As a nursing mama, it was essential to me to create a cozy nook for all those times of the day (and night!) that I knew I’d be spending cuddling with my little man. I found the perfect upholstered rocker from my local Buy Buy Baby—it’s beyond comfortable, and my favorite part is that it’s a wingback, perfect for resting my head and dozing off for a few minutes here and there. I added an arc floor lamp with a dimmer so I’m able to adjust the brightness depending on the time of day, but when I nurse Everett after his afternoon nap, I usually opt for the gorgeous natural light that streams in through the window. I hope he turns into a book lover like his big sister because when our nursing days are over, reading bedtime stories in this perfect little corner will be magical.
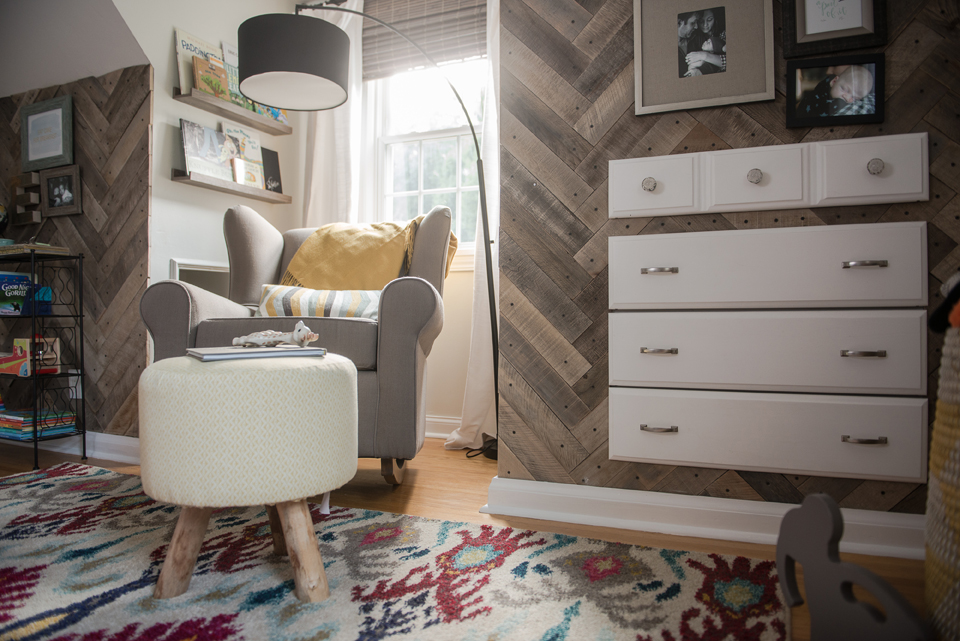 Upholstered Rocker (similar) | Striped Pillow | Yellow Throw Blanket | Ottoman (Cover DIY) | Arc Floor Lamp
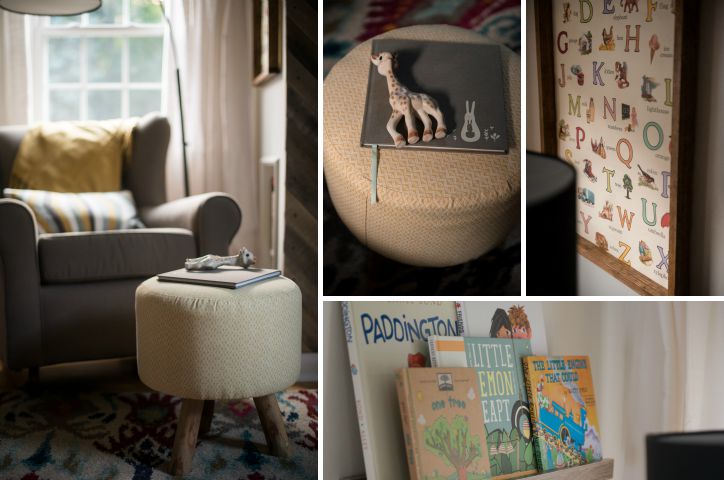 Baby Book | Sophie la Girafe | Book Ledges | Wood Poster Frame DIY
My favorite decorative accent in the nursery is the shadow box I hung above the changing table. As a former graphic designer, I’m obsessed with lettering, so I couldn’t resist buying a vintage letterpress tray at a garage sale years ago. I’ve been hoarding it ever since, waiting for inspiration to strike, and as the design for Everett’s room came together, I knew using it as a shadow box would be the perfect way to bring our family into the room. I asked each person in our family and a couple of close friends to contribute something to display, and I love how it turned out. I know this curated collection of meaningful objects is sure to be replaced with action figures and matchbox cars over the years, but it makes my heart happy to know that right now, there’s a piece of each person that loves Everett in his special space.
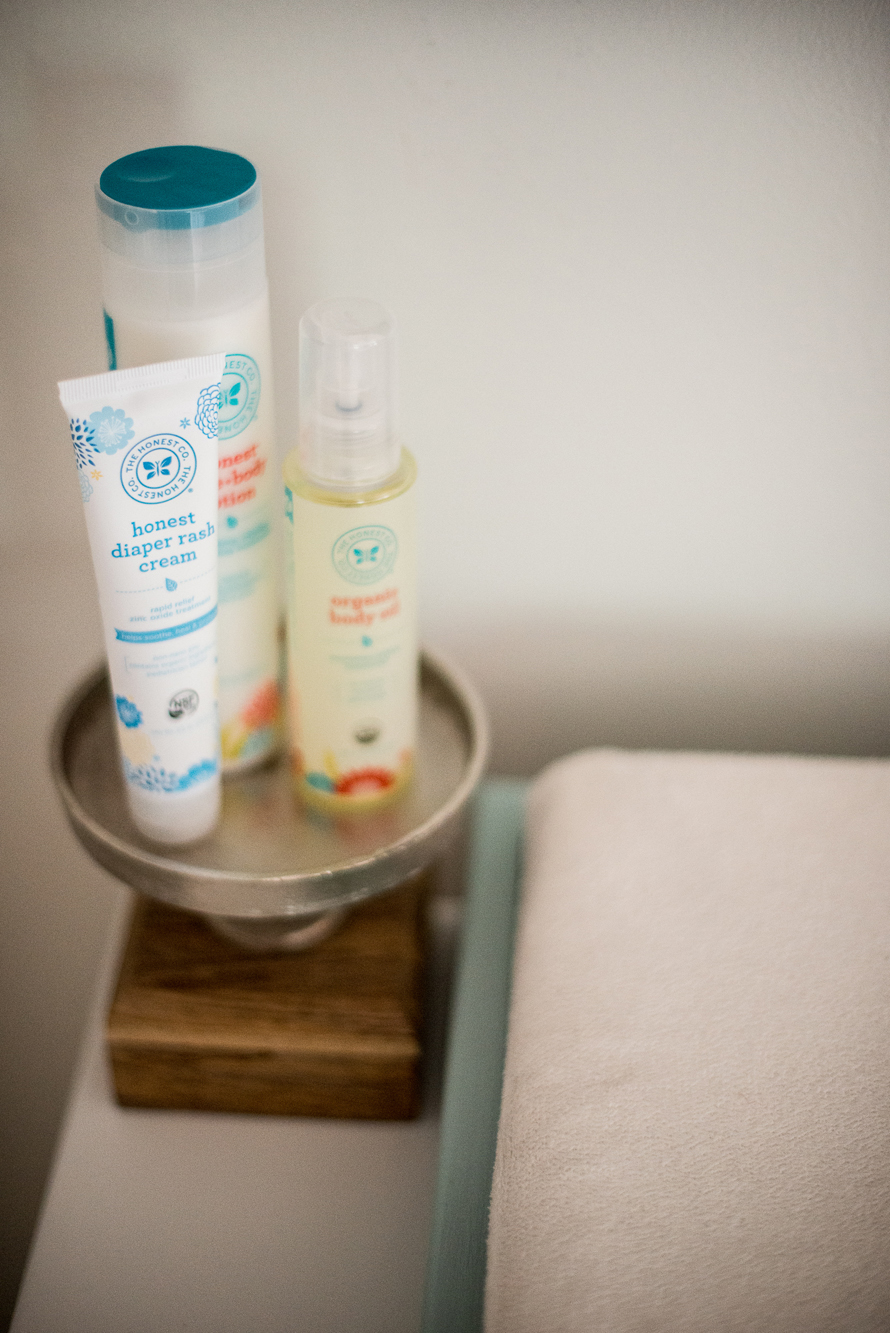
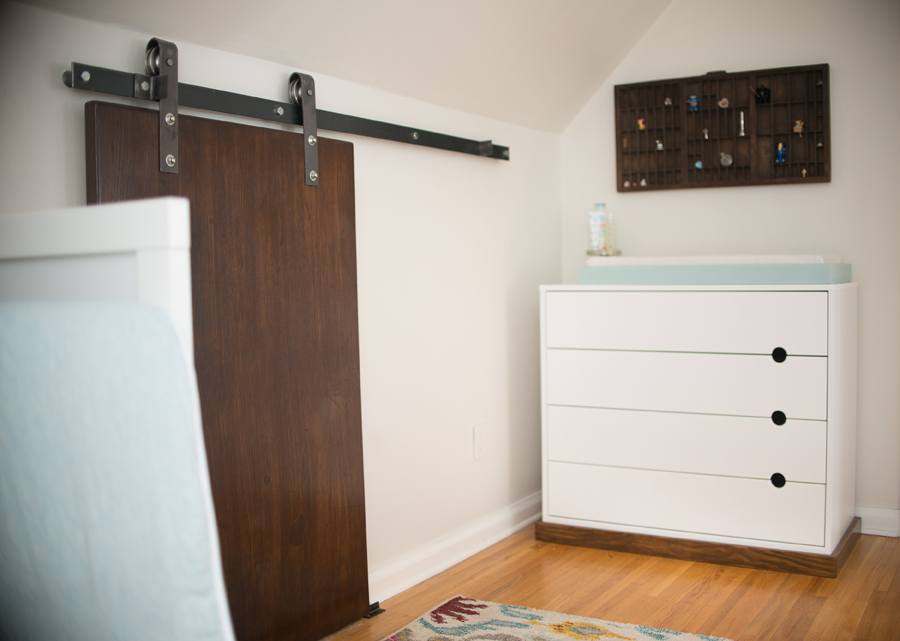 Dresser | Changing Table Tray DIY
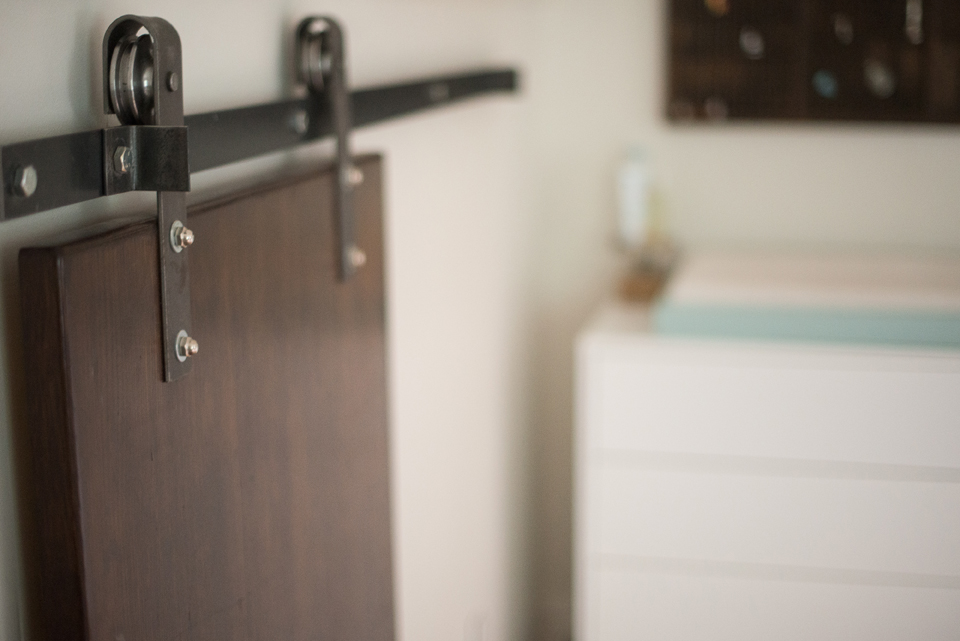
The barn door is also leftover from the days when my husband and I used this room, but it turned out to be another amazing accent once the nursery design came together. We use the crawl space behind the door for storage right now, but I have big plans to create an amazing fort for Everett when he gets a little bit older.
Everett’s nursery has become the room of choice for everyone in our family for everything from early morning snuggles, to playtime, to story time, so I think it’s safe to say it’s received the seal of approval from both of our babies. I even find myself pausing for a moment after the little ones have left the room, just to take it all in. I never could have pictured how the nursery would turn out when we first started this journey, and although they say it’s not all about the destination, I absolutely love where we ended up.
photography by North 40 Photography
Some samples were received but all opinions are my own.

DIY Upholstered Crib - Project Nursery
Monday 5th of October 2015
[…] revealed my son Everett’s vintage modern nursery a few weeks ago, and I promised I’d share with you how I DIY’d a custom upholstered […]
Courtney
Monday 5th of October 2015
Hi David! We lightly sanded the boards to ensure that they were splinter-free before attaching them to the wall. However, they are not perfectly smooth—in other words, if you run your hand along the wall, it's not like running your hand along a hardwood floor. If you look closely at the fifth and sixth photos above, you can see the slightly varying depths of the boards, and I think that variation is part of the beauty of a pallet wall!
David
Wednesday 30th of September 2015
I have a customer asking to duplicate your pallet wall . When you say you sanded the boards down ? Do you mean u lightly sanded them so they aren't ruff ? She is thinking when you say sanded .you made them all perfect smooth and even almost as if running them thru a plainer. .
Sharon
Thursday 24th of September 2015
Where did u get the alphabet poster?
Courtney
Wednesday 30th of September 2015
You're in luck, Sharon! I found the alphabet print for sale on Amazon. Here's the link:
http://www.amazon.com/Cavallini-Decorative-Paper-Vintage-Alphabet/dp/B00AZUN58O
Courtney
Thursday 24th of September 2015
Hi Sharon! I got it from a local gift shop—would you believe that it's actually gift wrap? I looked on the website and it's not listed there, but I'll contact the shop owner to try to find out where it was made so that you can get your hands on a copy.
Lu
Tuesday 22nd of September 2015
Thanks for the info. I have few more questions: did you use plywood before installing? Is there a specific type of pallet that I should look for? I know certain ones are not safe. Thanks again.
Courtney
Thursday 24th of September 2015
I would have preferred to use plywood, but we decided not to because it would have been visible on the ends of the walls that are open to the reading nook. I know it's common practice to install pallet walls on top of plywood though—Melisa did when she created her son's pallet wall (http://projectnursery.com/2014/06/diy-how-to-build-a-pallet-wall/).
We weren't picky about the type of pallets we used because we got ours from my sister and brother-in-law and we knew that we would seal them in the end for safety. But in your search for pallets, I'd recommend looking for ones that were used for something other than food. Even then, you'll want to sand them down prior to installation and seal them after you're done. I definitely appreciate the concerns about pallet wood being treated with chemicals and the type of products they are used to transport—I think you just have to take the proper precautions (sanding and sealing) to install them safely.