I was recently presented with a fun challenge from one of my favorite clients—she asked me to create a polka dot inspired wall pattern that felt graphic and modern but still had a little romance. I love the trend of polka dots, but I wanted to do something a bit more unique, so we came up with the concept of a boho beads wall treatment created with vertical strands of multicolored beads that would hang to various lengths. This is a fun project, and while you could always hire a professional, it’s an easy DIY! The supplies are simple and few!
Materials: blue painter’s tape, level, white pencil, polka dot stencils, stencil brush, small square head art brush, paint in any colors you wish (I stuck with a white, pink and silver color palette)
The before image below shows how I used blue painter’s tape to mark out where I wanted my design to end, as well as where the existing artwork would hang above the crib.
Design tip #1. Composition is everything, and taping out guidelines that show where things will go is super helpful in allowing you to visualize the look before you commit to it.


The first step is to use a level and a white pencil to create a vertical line where you want your strands of hippie beads to “hang.” I started at the crown of the space and brought the lines down to varied lengths. This guide is going to help your beads stay in a perfectly vertical line.


Next, line up your polka dot stencils on the white line you’ve drawn on the wall. I placed each dot so that the line cut the shape in half, keeping it centered and vertical. (I cut my own stencils using mylar film from the art supply store because I like them to look a little imperfect and handmade. Alternately, you can purchase polka dot stencils.)

Using your selected paint colors and a stencil brush, tap your paint onto the wall.
Design tip #2. Use as little paint as possible, and make sure to tap instead of brush. The more paint you use, the more bleeding will occur at the edges. You want to tap the brush rather than brushing since the sweeping motion forces paint under the stencil, creating more touch-ups at the end.

Even for an experienced painter like moi, there are ALWAYS little touch-ups. With a little extra time at the end of the project, you can quickly and easily correct any spots where the paint seeped under the stencil, creating a less than perfect shape. All you need is a small square head art brush and a little bit of your wall paint color.

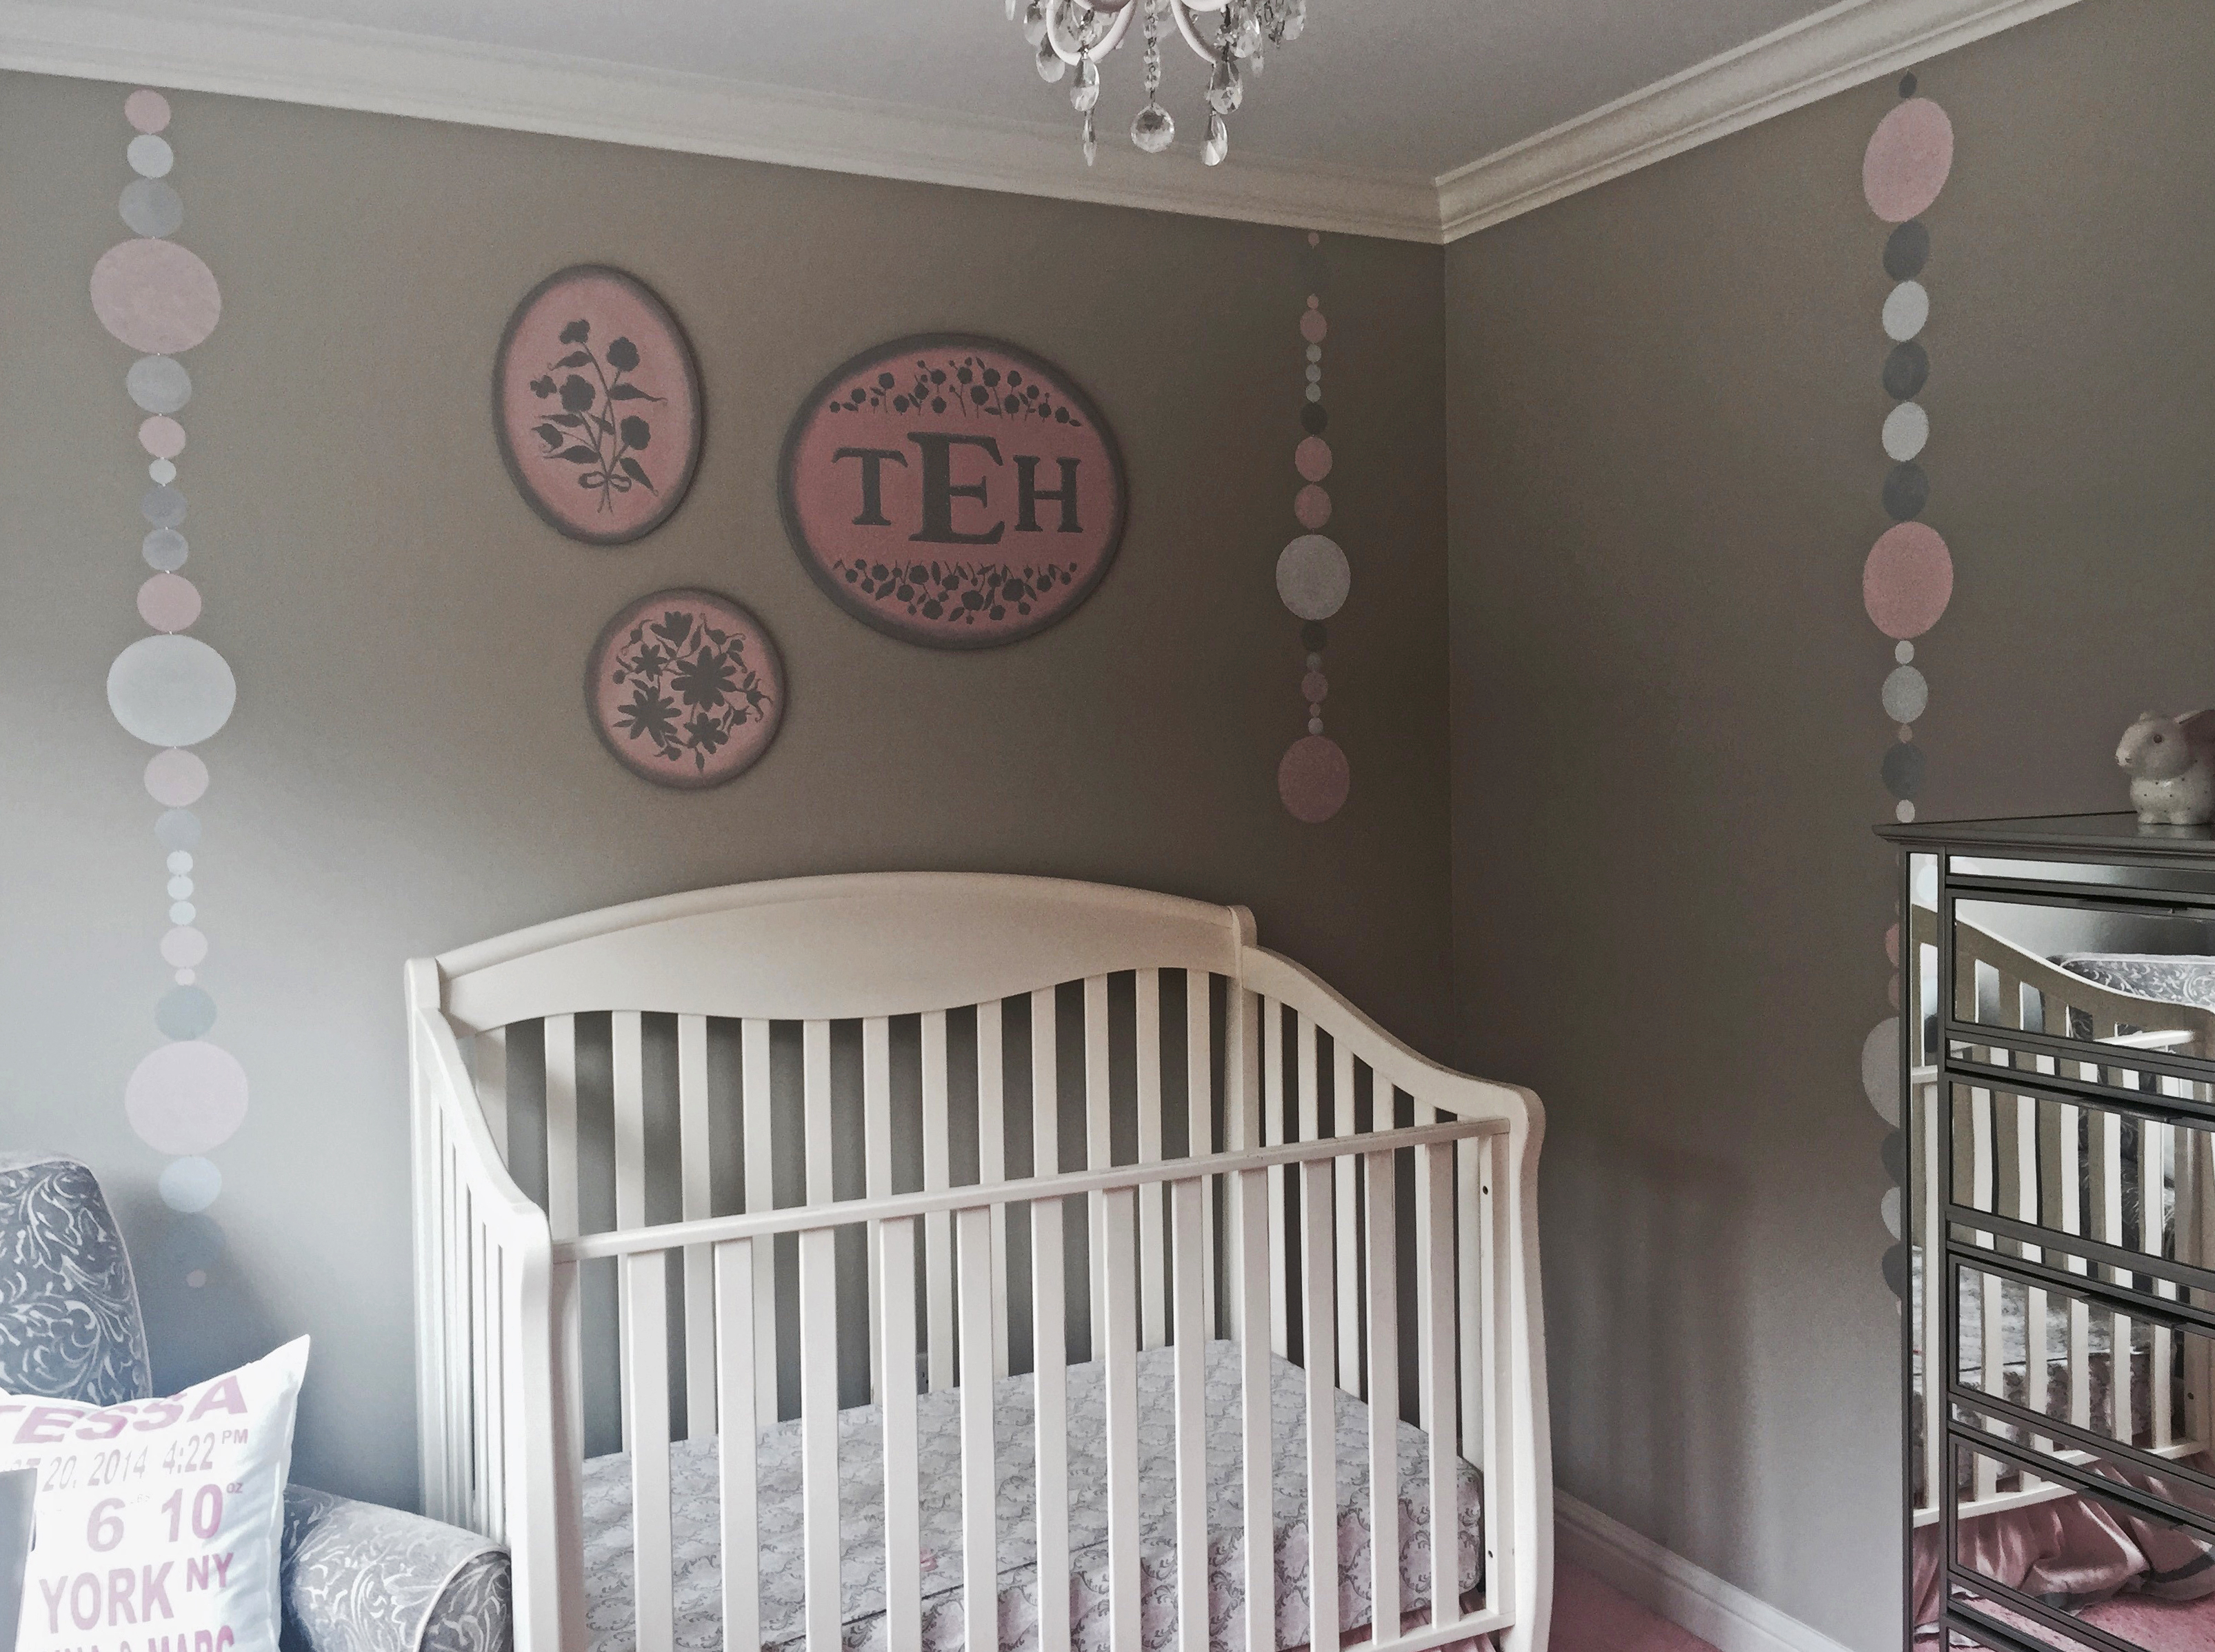
The final look is graphic, clean and modern! Give this one a try, and unleash your inner boho artist!
Have any DIY or design questions? Drop me an email—I’m happy to help!