Ever wonder how to make your own stencil? You don’t have to be artistically gifted to add creative flair to your walls. For centuries, stencils have been helping people personalize their spaces, but sometimes it’s tough to find the right image in the right size for the right price.
Good thing making your own is a snap! Allow me to divulge the secrets of the pros.

The quality of materials is key. If the stencil plastic is too thin, you end up with a flimsy mess, and if it’s too stiff, it’s difficult to cut.
Materials: 12″ x 18″ Dritz Quilting Template Plastic (Find it in the quilting notions section at Joann Fabrics, available in clear and gridded. DON’T buy the heavy duty variety!), quality scissors (Cutter Bee scissors are my favorite), black Sharpie marker, correctly sized printout of desired image (you can piece it together from several printed pages)
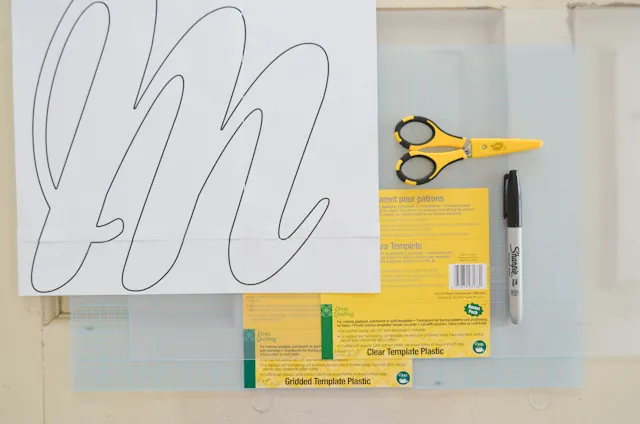
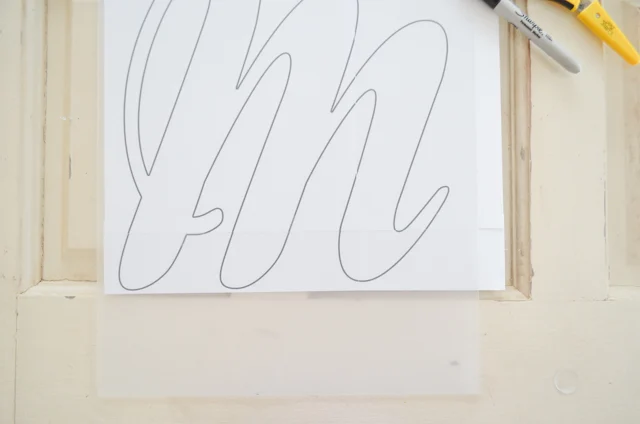
Begin by placing the plastic template over your printed image. My letters take up the entire sheet, but feel free to trim the plastic down to size for something smaller. Just try and keep your image about an inch from the edge, at minimum.
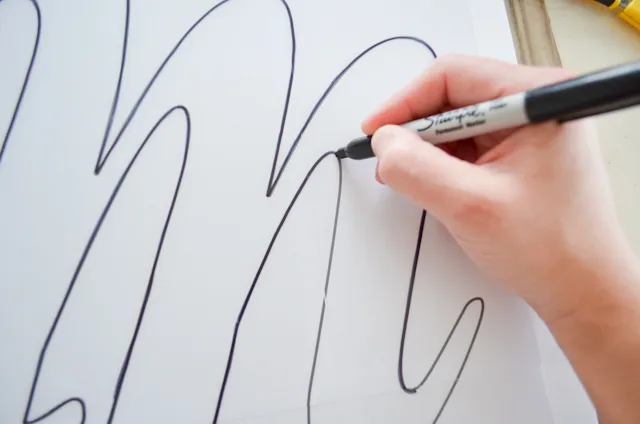
Trace the outline of your image onto the plastic with a black Sharpie. You may need an ultra fine tip for intricate designs.
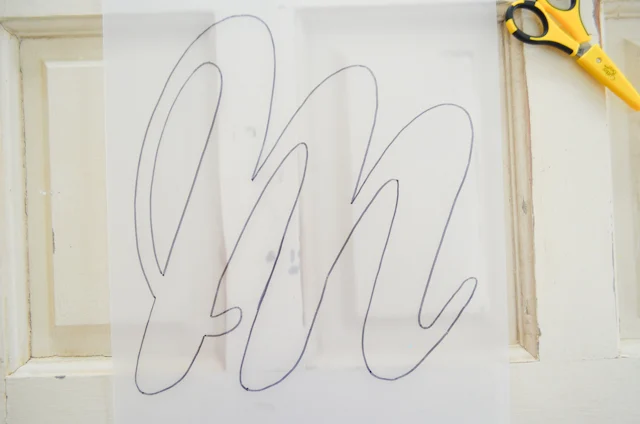
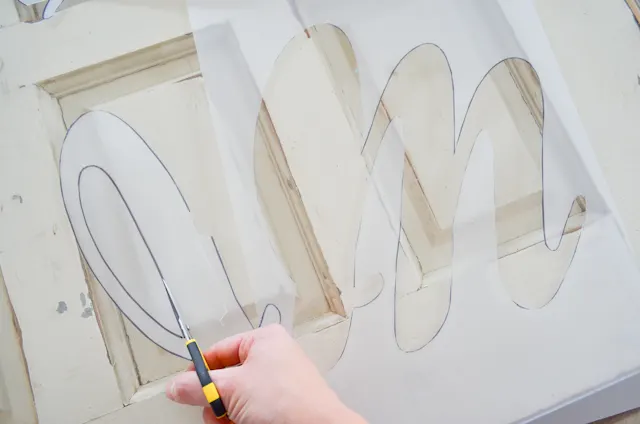
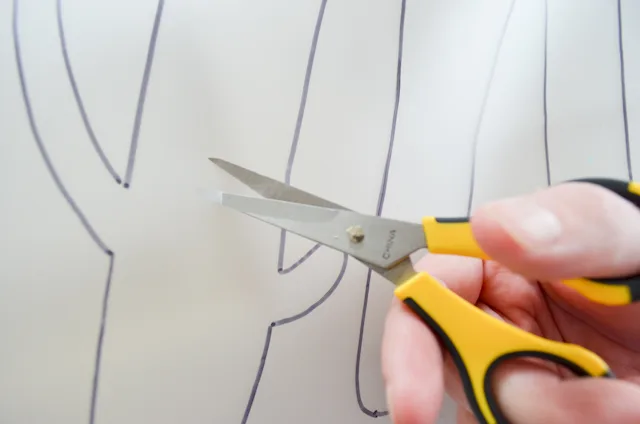
Use the sharp point of your scissors to poke a hole inside the stenciled shape. Cut to the edge, and follow the outline. In some instances, an X-Acto knife works well for this step also.
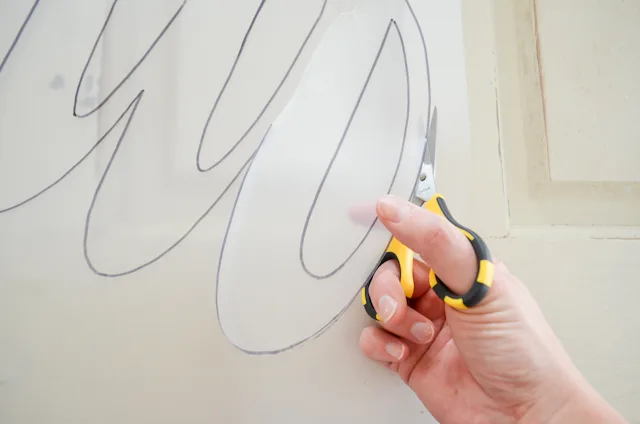
Don’t forget to cut out any interior pieces of the stencil design!
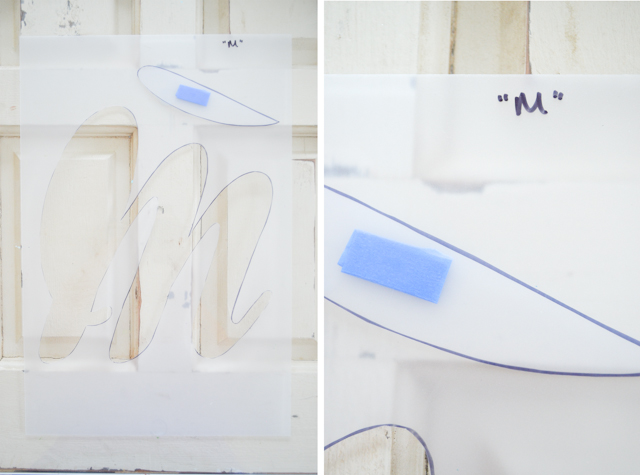
Keep your stencil together by taping the smaller pieces to the main stencil with painter’s tape. Because they are entirely reusable, I like to label the stencil in the corner for future reference.
Shapes, patterns, letters, numbers and beyond—your stenciling options are now limitless! Whether you use them on a wall, a canvas or a piece of furniture, your custom cut stencils will turn your creative vision into reality.

MakerSpace: Low Tech, Low Cost Printmaking — @TLT16 Teen Librarian Toolbox
Friday 21st of December 2018
[…] DIY: How to Make Your Own Stencil – Project Nursery […]
Adolph
Tuesday 14th of June 2016
What a such beautiful work, Hayley! good for you! When I was making my big stencil (my stencil was really huge), i've printed it on my a4 printer as multiple pages thx to RonyaSoft poster printer and pasted it (glue). It was looking really correctly ;)
nabihah
Saturday 23rd of May 2015
Bequtiful work!! Very helpful tutorial! Did you use the 12x18 template plastic for the "L" stencil too? I am looking for a quilting template plastic around 20x20 to make a stencil to use on a canvas. Any ideas?
Thomas
Friday 9th of May 2014
Love It, It would be more difficult to make a stencil like this wall sticker: http://www.moonwallstickers.com/custom-monkey-name-stickers/
Jennifer O'Dowd
Tuesday 29th of April 2014
Loved this Hayley! Can't wait to see what you dream up next!
Hayley
Tuesday 29th of April 2014
Thanks Jen! This stencil how-to is actually pulled out of my bag o' tricks back from the AZ model home days. *sigh* Good times.