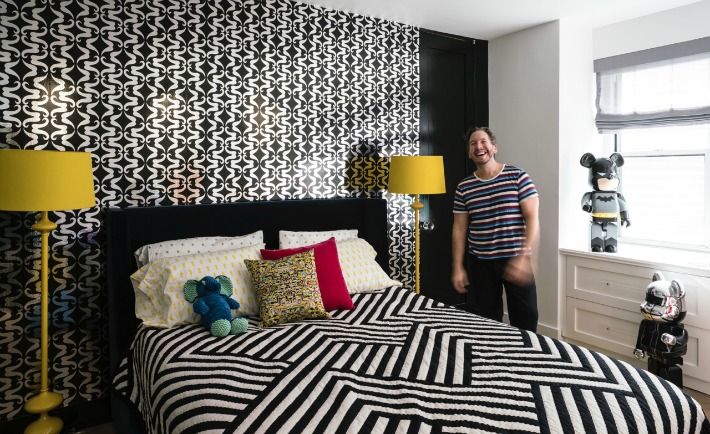
I recently painted plaid accent walls as a part of two different projects (how-to details below!), and it’s fitting because this spring I am seeing so much plaid, and I like it! If you want to play with pattern and keep it classic, punches of plaid make everyone smile, from preppies to punks.
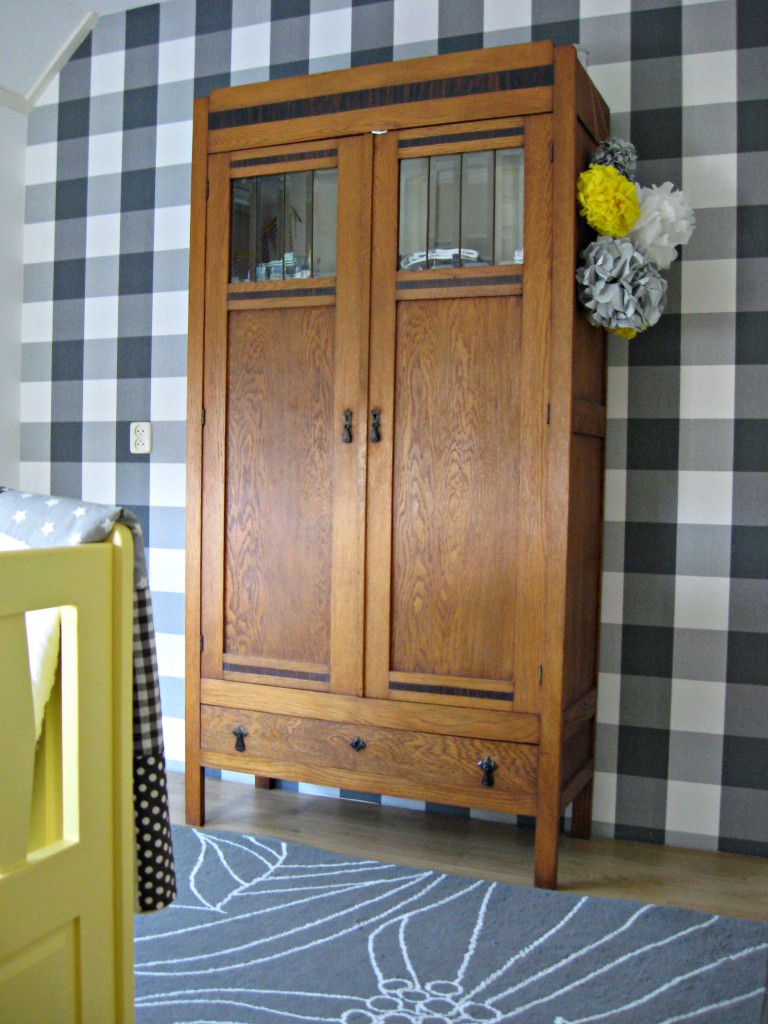
You can keep it country or classic hip hop with a wall of buffalo plaid. The warm wood glows against the cool black, gray and white graphite background tones.

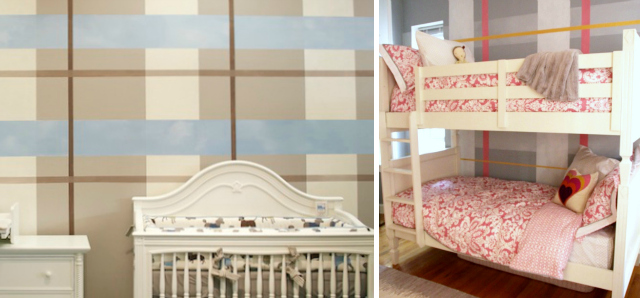
I recently painted two different plaid accent wall murals. The oversized beige and blue plaid pattern (pictured below, left) in the Short Hill’s Bellini showroom nursery adds a great visual rhythm to the space. The design statement is big while still remaining on the side of classic.
I also worked with A Mommy in the City’s Lauren on her daughters’ shared room makeover (pictured below, right). The gray and pink color palette of the plaid made the white bunk beds pop. The look is crisp, cute and chic!

So how do you paint a plaid mural, you ask? You can watch the short video below for a visual on how I painted the two projects, but first, here are a few pointers.
Materials: masking tape (I use 3M blue painters tape), level, pencil, tape measure, paints in your color palette, paint brush or small foam roller
1. I always plan a design for my plaid first—you can do this on the computer or sketch it out on paper.
2. Work out the pattern in layers, figuring out which layer will go first.
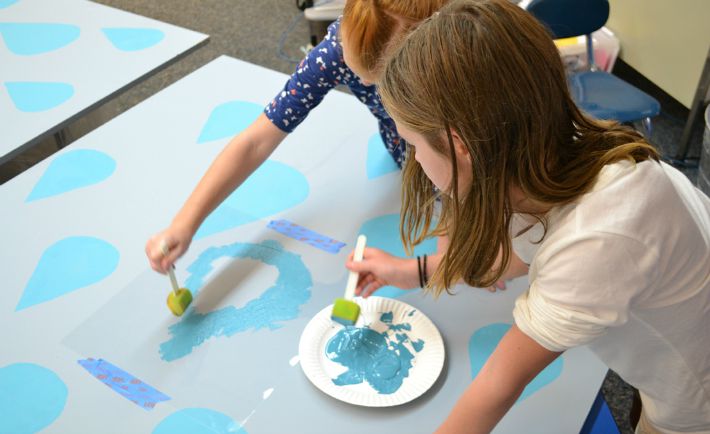
3. Start taping out your first set of stripes vertically, paint those stripes and then peel off the tape.
4. Once the first set of stripes are dry, measure and tape off another set of stripes running horizontally. Paint these horizontal stripes, and remove the tape.
5. Repeat the above two steps until the desired effect is achieved.
6. When you’re finished, go back and touch up any areas where paint bled under the tape. This always happens, but with a little patience and a great square head brush, sharpening up those lines is a snap and makes the project look professionally done.
I like to mix some metallic into my plaids, so feel free to experiment and have fun! Paler colors are easier to work with than bold colors, and they’re more forgiving of errors.
You can watch me in action below!


Comments
PamGinocchio
Awesome Sam! You certainly do good plaid my friend. :)
Sam Simon
@PamGinocchio:disqus thank you so much! Hope to see you soooooooooon! xoSS