I’m thinking green this spring with this DIY tutorial for cute and simple mini dessert tags. Let’s face it. At some point, you’re going to throw a party. For kids. With mini desserts. Why not? These adorable, bite-sized goodies are perfect for portion-controlled fun, and they make awesome favors. No one can resist the power of minis!
Tags are a great way to add color, customization and, of course, information about the event you’re throwing or the treat you’re serving. There are tons of options for favor tags on sites like Etsy, but honestly, it can be much cheaper (and sometimes quicker) to make them yourself. It’s really very easy.

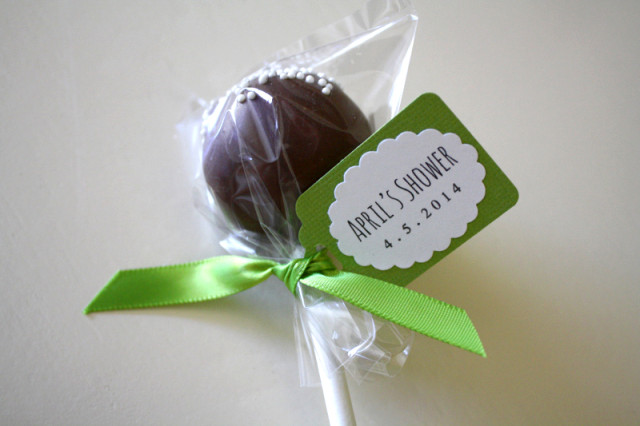
For this tutorial, I’m using tags I made for a friend’s baby shower next month as an example. Since her name is April and she is having a gender-neutral shower in April, she chose shades of green for her theme. I decided to make a two-layer tag so that the text really pops.
Materials: craft punches (I used a mini scalloped oval punch and a 2″ tag punch), your choice of papers (heavyweight, like cardstock, works best), printer, scissors, colored ribbon, twine or raffia (3/8″ or smaller works best for mini tags), single hole punch or 3/8″ slotted hole punch (I like EK Tools Heavy Duty Punches), adhesive
The Investment. If you plan to make tags for all your parties (with kids, this can mean many), you may want to invest in a few key craft tools—like craft punches—that will make your life a lot easier. Trust me—you’ll get your money’s worth with these handy little babies. I’ll admit that I’m a craft tool junky; I always love finding new crafting tools, and I have a pretty extensive collection. You can purchase them on sale or with coupons to keep the price down.

The Prep. Figure out the number of tags you need. If you have beautiful handwriting, you may consider labeling each tag yourself. However, if you have not-so-steady hands like me or you have a large quantity to make, it may be better to use your printer. You can use a Word document to create a table template for the text you’ll use for your mini tags. Print out your pages on white (or light colored) cardstock.
The easiest way to figure out if your text will fit on your tag is to punch out a scrap piece of paper with the craft punch you’ll be using for your text/top layer. If your Word document is set to 100%, you can hold the punched piece of paper up to your screen to see if your text is too small or too large to fit.

Now it’s time to have fun! Start punching out the text for your tags using your mini scalloped craft punch. Pile them together and set aside until you’re ready to assemble your tags. You may need to cut your page into strips to make it easier to punch. Next, punch out the base for your tags using your tag punch and set aside.

Assemble Your Tags. I like using double-sided adhesive runners to attach the two layers. It’s much less messy than glue and faster than plain double-sided tape. Remember to leave room on the left side of the base layer to punch a hole for your ribbon!
Use your single hole punch or slotted hole punch to punch a small hole on the left side of each tag for your ribbon or twine.

That’s it! You’re ready to tie the mini dessert tags to your favorite treats! You can also use these tags for goodie bags, and they work perfectly for Christmas, birthday presents, etc. You may never need to buy tags again!
Triple Chocolate Cake Pops recipe from Easy as Pie Pops
Enjoy, you crafty mamas!
anch galvez
Sunday 23rd of April 2017
*buy
anch galvez
Sunday 23rd of April 2017
Hi I am Pancho from the Philippines, where can I but this stuffs (dessert puncher), pls send me the details to my email: anch.galvez16@yahoo.co.uk, or fb account: anch Galvez, thank you :)