I love this super easy fabric wall art project because it appeals to both sides of me. My artist/designer side loves a strong visual statement via wall art. The lazy side of me loves to watch TV. This project is simple and fast: it rewards you with maximum style and minimal effort. (Leaving tons of time to luxuriate catching up with American Horror Story and How I Met Your Mother.)
The process is very easy. It’s basically just stapling fabric onto a frame. If you can gift wrap moderately okay and squeeze a stapler, this will be a breeze.
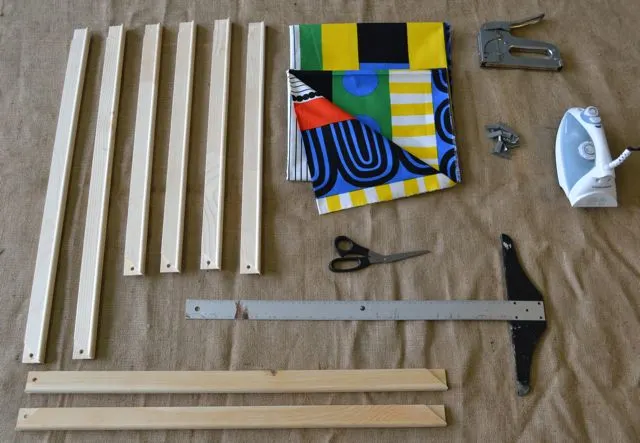
Materials: stretcher bars, fabric of your choice, staple gun, iron, scissors and T-square (if you don’t have a T-square, use one of the stretcher bars to draw a straight line on the fabric)
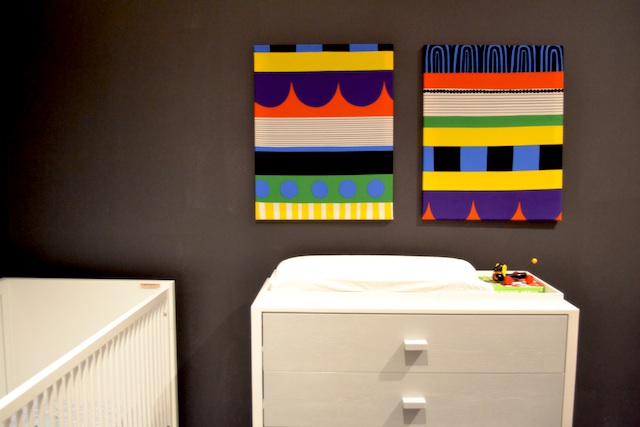
The first step is to find fabric that works for your particular design style. I wanted to go big and modern, so I snapped up 1.5 yards of Marimekko cotton printed fabric. I wanted vibrant colors against the graphite colored walls of the nursery.
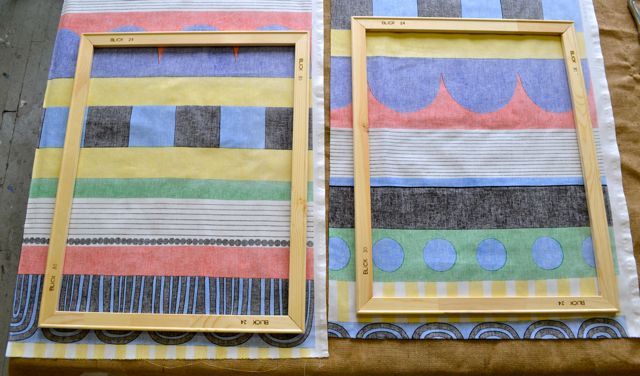
Stretcher bars are available in every size from 12-72 inches. Assemble them, and place them on the fabric so you can plan your composition. I chose to keep my prints running the same way (horizontally); however, you can switch it up any way you like.
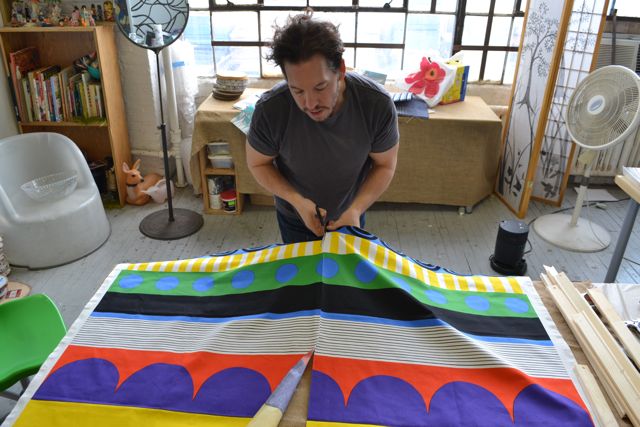
Cut the fabric to the appropriate size, making sure to leave enough extra fabric to wrap around the stretcher bars.
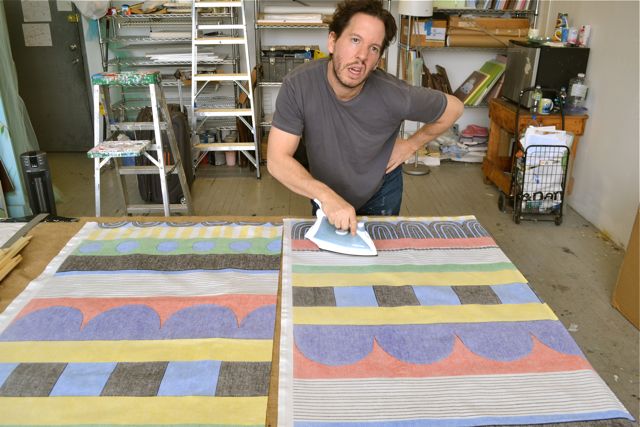
Iron the fabric, and make sure to hold your lower back while smacking a disgruntled look on your face—I find the wrinkles in the fabric smooth out 12-22% more effectively if you make this face.
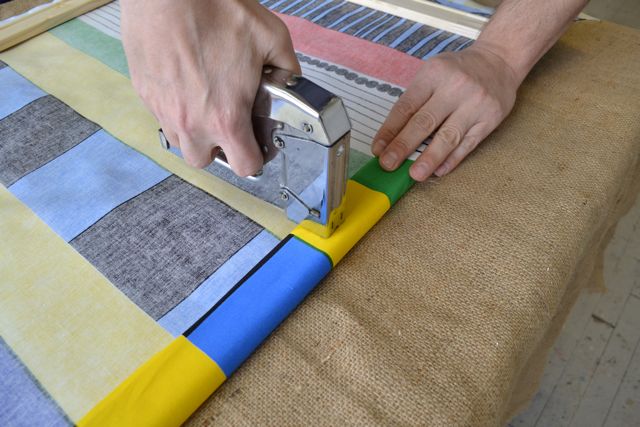
Using a staple gun, wrap the extra fabric around each stretcher bar and staple the fabric securely to the stretcher bars by following this method: First punch one staple in the middle of each bar, then add more staples around the back, pulling gently to achieve a taut (but not overly tight) pull. Be careful not to staple your thumb to the back of the fabric.
Attach a wire or small saw tooth hanging hardware to the back top of the stretcher bars. Hang them where you want them, and voila, you are done! Totally chic!
This project would work great with a variety of design aesthetics. You can achieve a stylish result with many different fabrics from classic patterns like polka dots or floral to any other print or style that floats your boat. Think about composition and how you want these pieces to live in the space. I chose a symmetrical composition—both pieces the same size and hung at the same height. You can remix this concept any way you like. One huge piece would rock, or many smaller pieces could be the perfect foundation for a very chic gallery wall.


Top 10 Best Manual Staple Gun To Purchase in 2020 – For Handyman
Saturday 28th of March 2020
[…] you tired of trying and wasting money on different manual staple gun which don’t fit your need. To help you to find the right tool we have curated top 10 best […]
Ayesha
Wednesday 9th of August 2017
One of the best stuff to gather amazing article which I need to explore more. Thanks a lot sir.
Lauren from DIY BEST POSTS
Tuesday 17th of March 2015
The result is very nice. Thanks for the tutorial. I shared this article on my site.
DIY wall art for adults - BLOG ARREDAMENTO
Monday 16th of March 2015
[…] source Project Nursery […]
Jennifer Saranow Schultz
Thursday 20th of February 2014
Thanks for the really helpful how-to:) I linked to it in today's hint (I'm also a fan of Marimekko fabric wall art and I created a cute, though crooked, piece of Marimekko wall art for my daughter's nursery): http://hintmama.com/2014/02/20/todays-hint-easy-diy-nursery-playroom-wall-art/