


Description
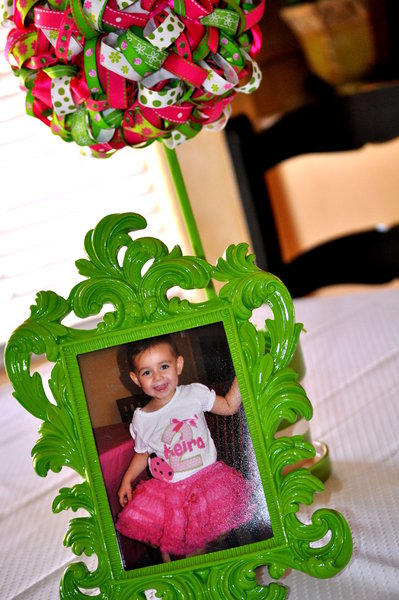
Welcome to Keira's ladybug inspired birthday party! I created this party with lots of love, sweat, and sleepless nights for the littlest love of my life:). I was so happy with how it all came together!
Design Inspiration
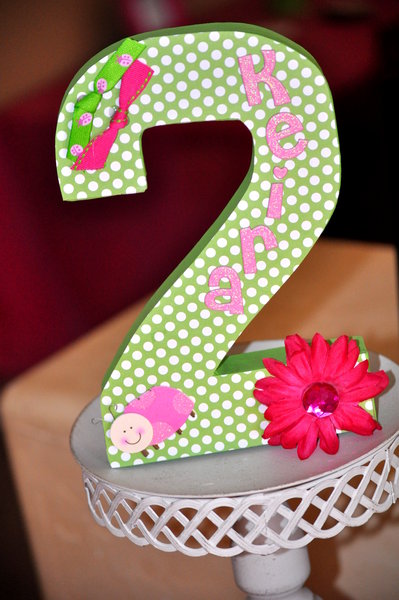
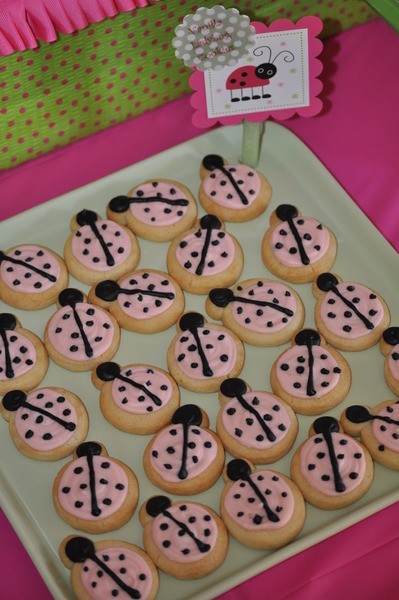
After searching several blogs for ideas I came up with the ladybug theme. One of Keira's favorite books is a counting ladybug book so I thought it would be perfect and I loved the pink and green combination of colors (as these are the same colors of her bedroom!) versus the traditional black and red ladybug.
Decorating Style
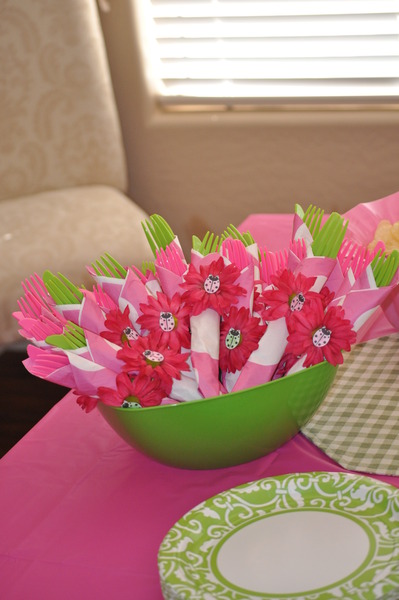
Girly, fun, and whimsical!
Project Details
Etsy.com! You can find so much there! I started planning my party months in advance to give myself enough time to search for unique finds and also to use store coupons and take advantage of sales and seasonal products. Hobby Lobby, Dollar Store, Michaels, and Joanns are also great places to find things!
Favorite Items
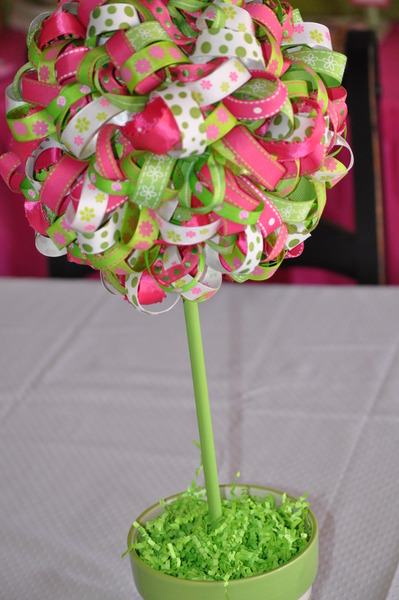
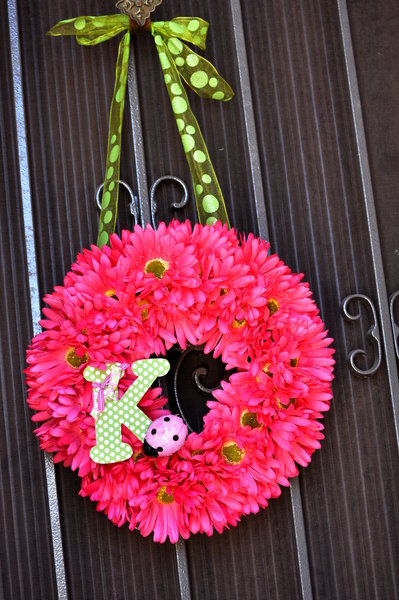
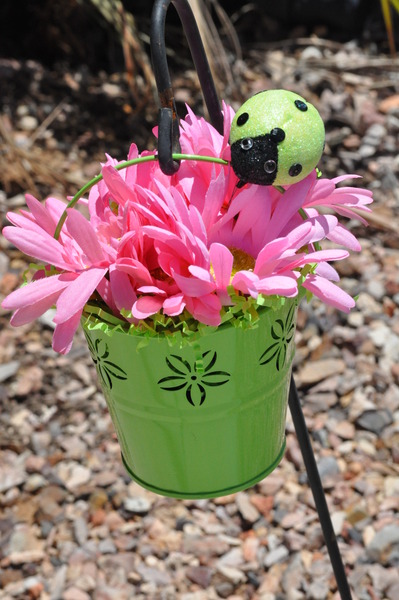
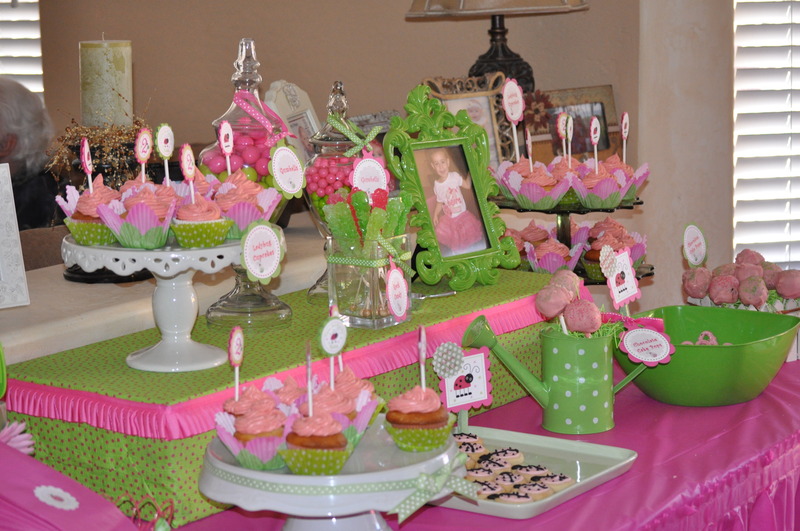
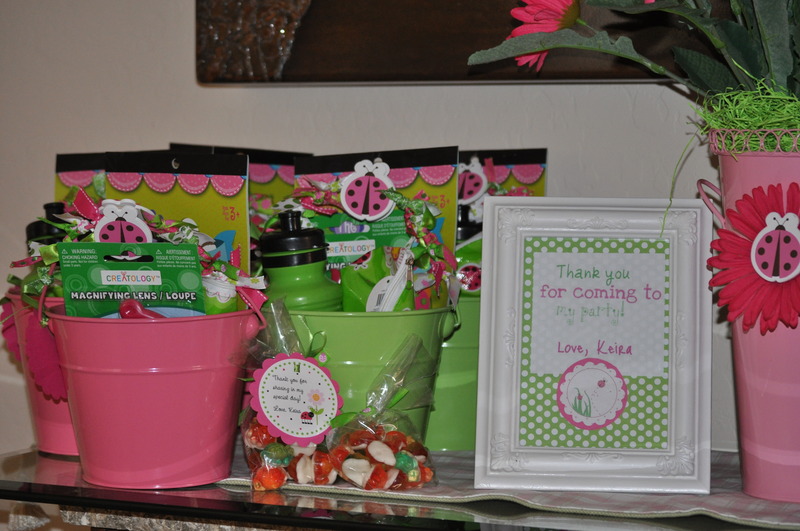
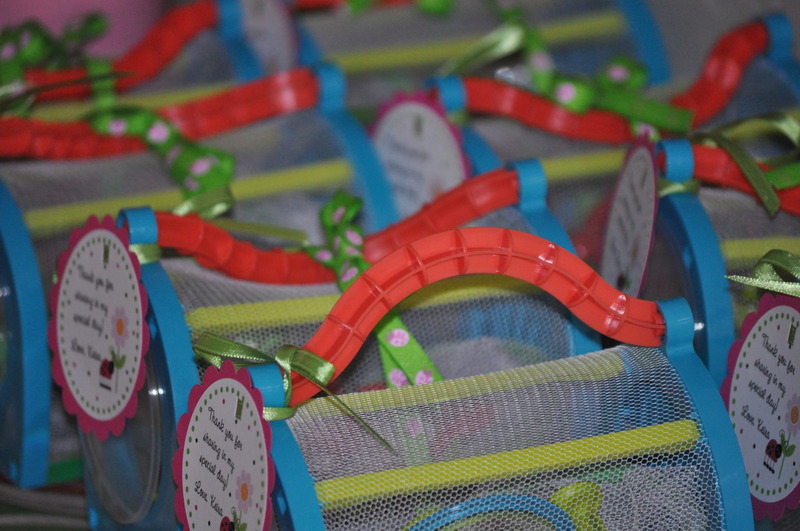
I loved the pink daisy door wreath (found an easy tutorial on a blog) and the green buckets filled with flowers & a ladybug coming up the driveway of our house. I also had fun putting together the party favors (for the boys - bug catchers (Michaels) filled with a ladybug magnifying glass (Michaels), wind-up ladybug toy (Michaels), gummy ladybugs (Dollar Store) and for the girls - green & pink tin buckets (Target) filled with a bottle cap ladybug necklace (etsy), ladybug compact mirror (Bath & Body), ladybug stickers (Michaels), ladybug water bottle and bag (both at Joanns). I also loved how the ribbon topiaries turned out - they were time consuming but so worth it!:)
Advice
Find a picture you love as an inspiration to start from then add your own personal touches from there. Once I had my theme I searched images on the internet and different blogs. So many blogs give tutorials for fun & cute projects that I used throughout the party!
Heather
Thursday 1st of August 2013
Where did you find the bug catchers???
Annette Naranjo
Tuesday 25th of June 2013
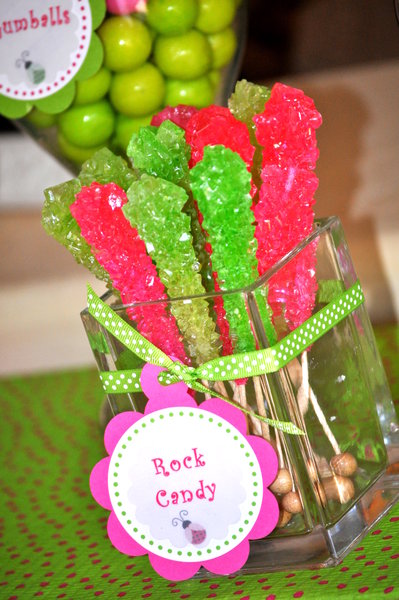
hello. where did you find the rock candy?
Tara mclaughlin
Tuesday 8th of January 2013
For the ribbon centerpieces I used a styrofoam ball and 4 inch ribbon pieces- all different widths. Just loop the ribbon pieces and stick in the styrofoam ball using straight pins. Takes quite a few pieces of ribbon just to warn you!;)
Kourtney Clemmons
Wednesday 8th of August 2012
How did you make the ribbon centerpieces??
Taramac43
Tuesday 26th of July 2011
I apologize but I can't remember the website I found the wreath tutorial on. I think I may have just seen a picture of it and just figured it out on my own. All I did was start with a styrofoam wreath (found at Hobby Lobby, Dollar Store, Joanns or Michaels), about 4 bouquets of silk flowers and a glue gun. I pulled off all of the flowers and stuck them in the styrofoam wreath - I added a little bit of hot glue in the hole before I stuck them in. I just kept doing this until I had the entire wreath filled with flowers. Then I hot glued the ribbon behind the wreath to hang it and glued a chipboard letter (covered in cardstock) to the wreath. It was really quite a simple project! Good luck!!:)