
Description
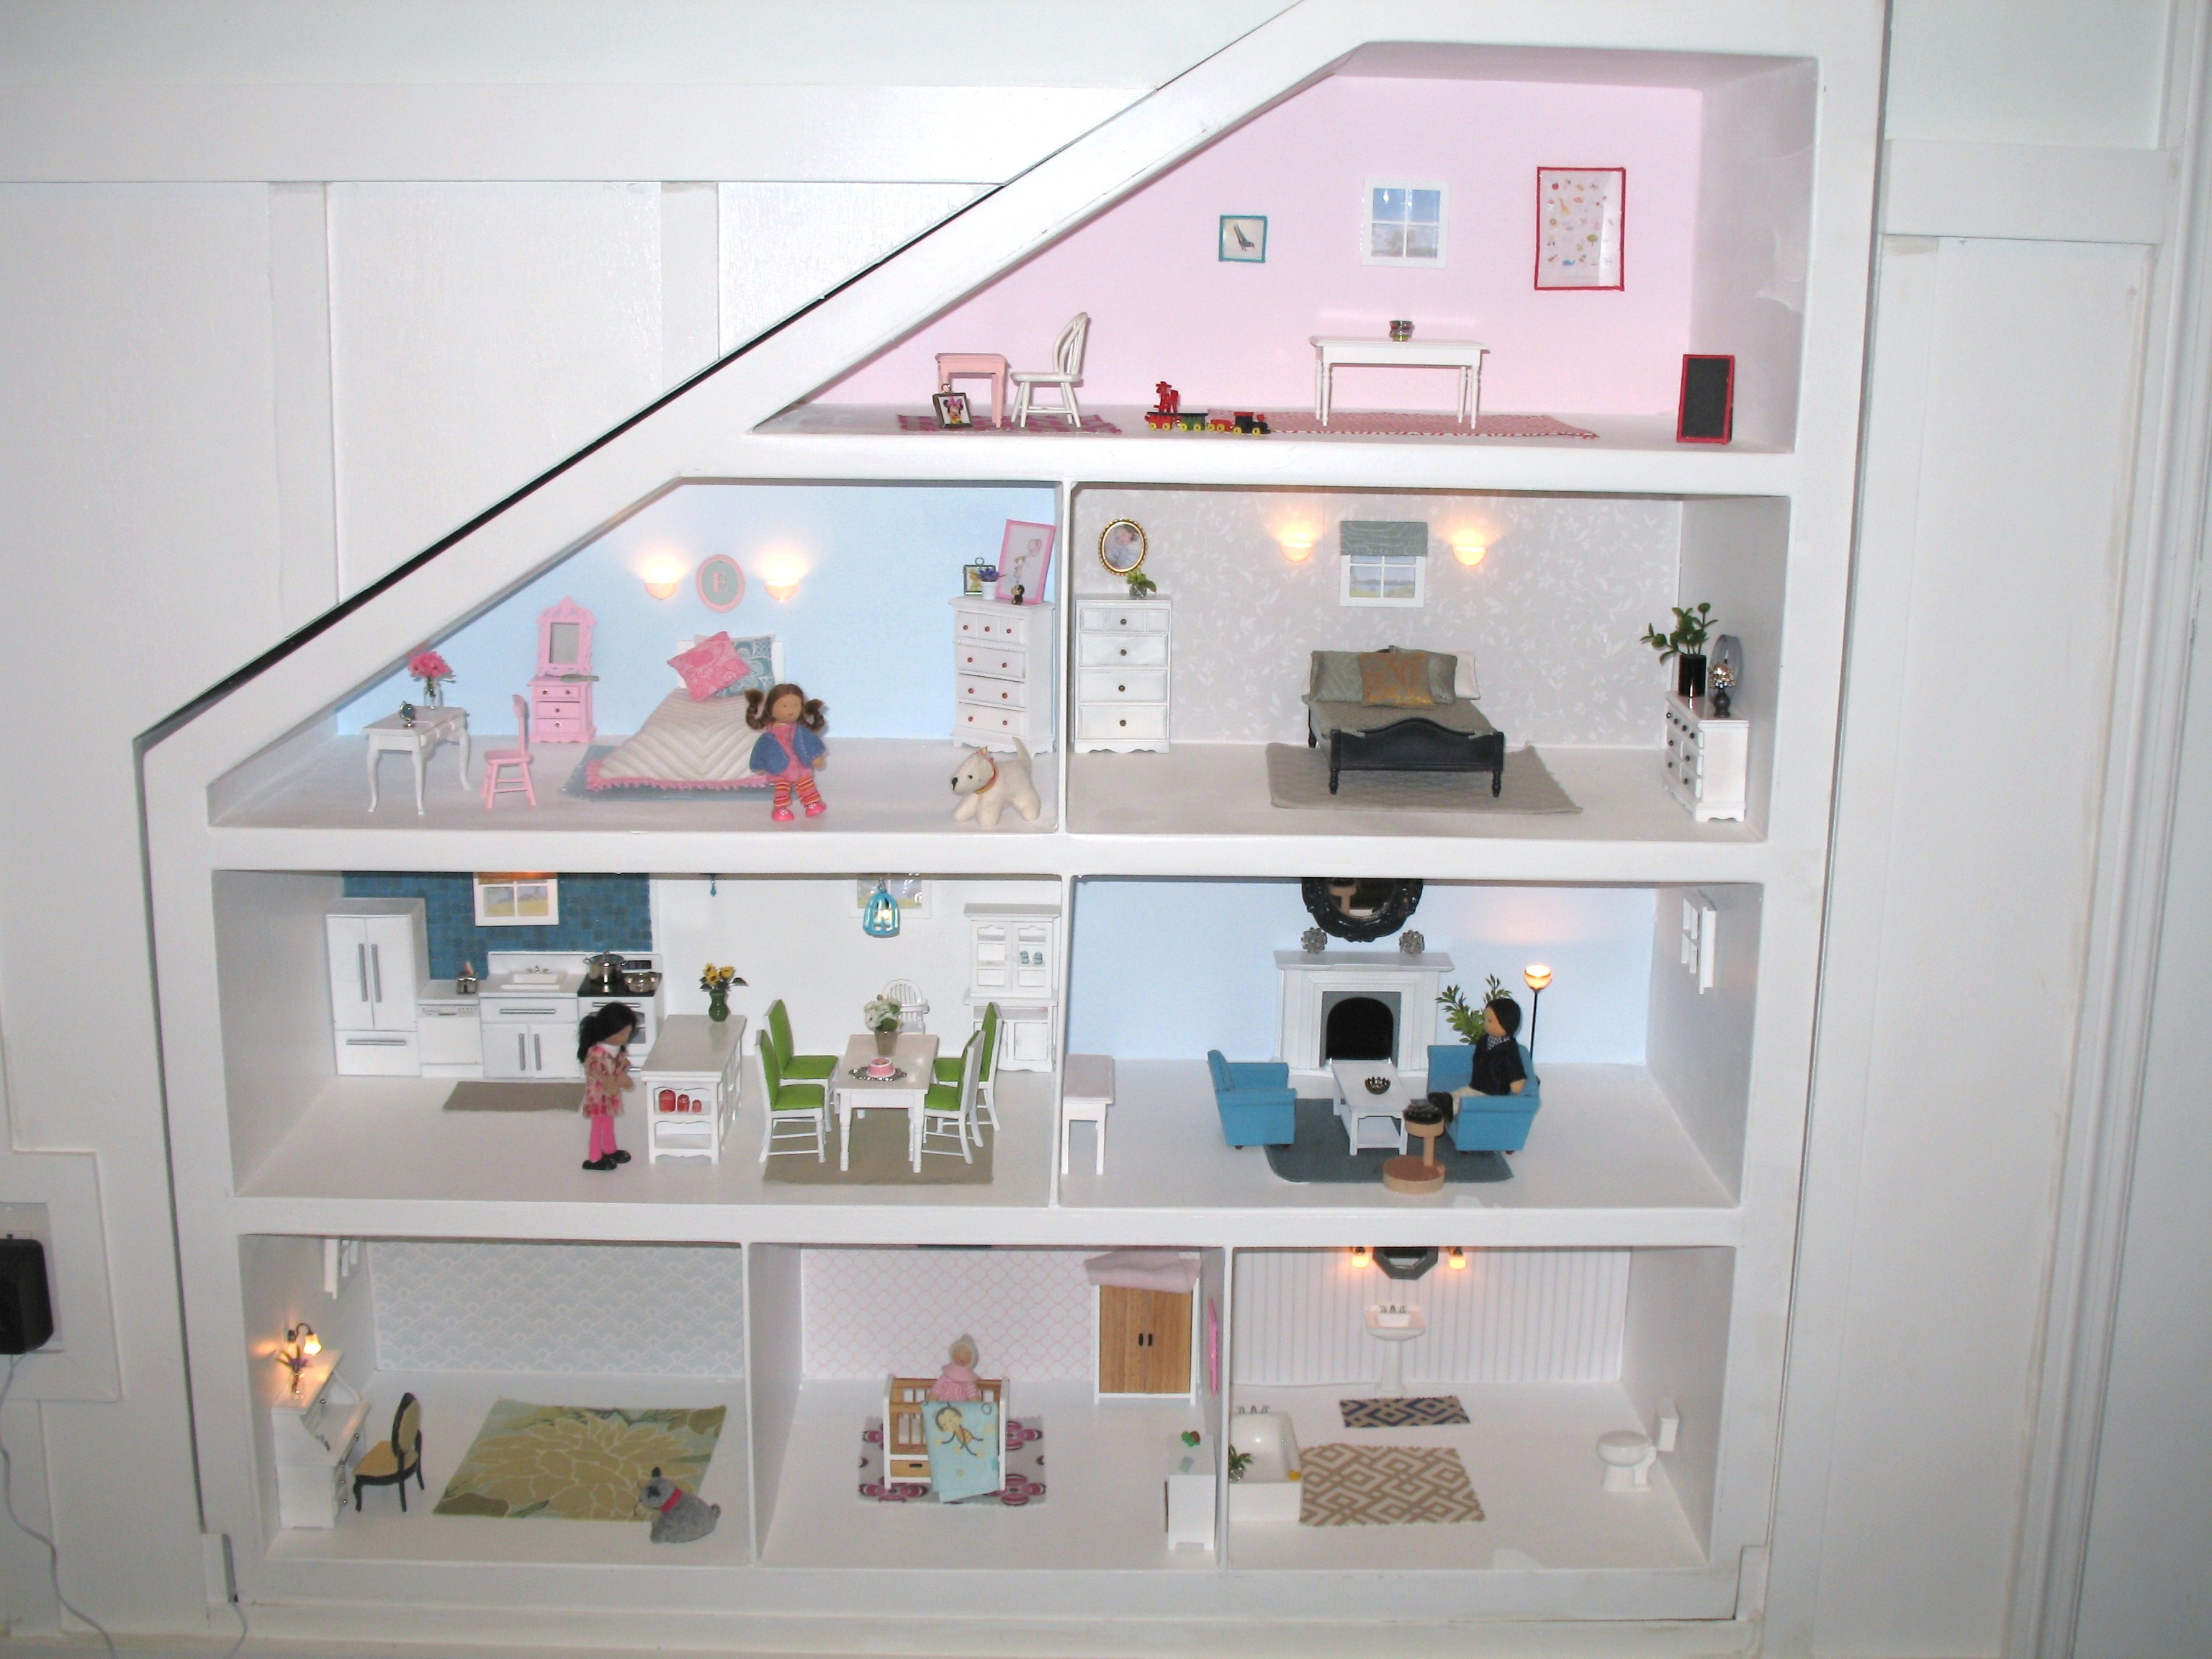
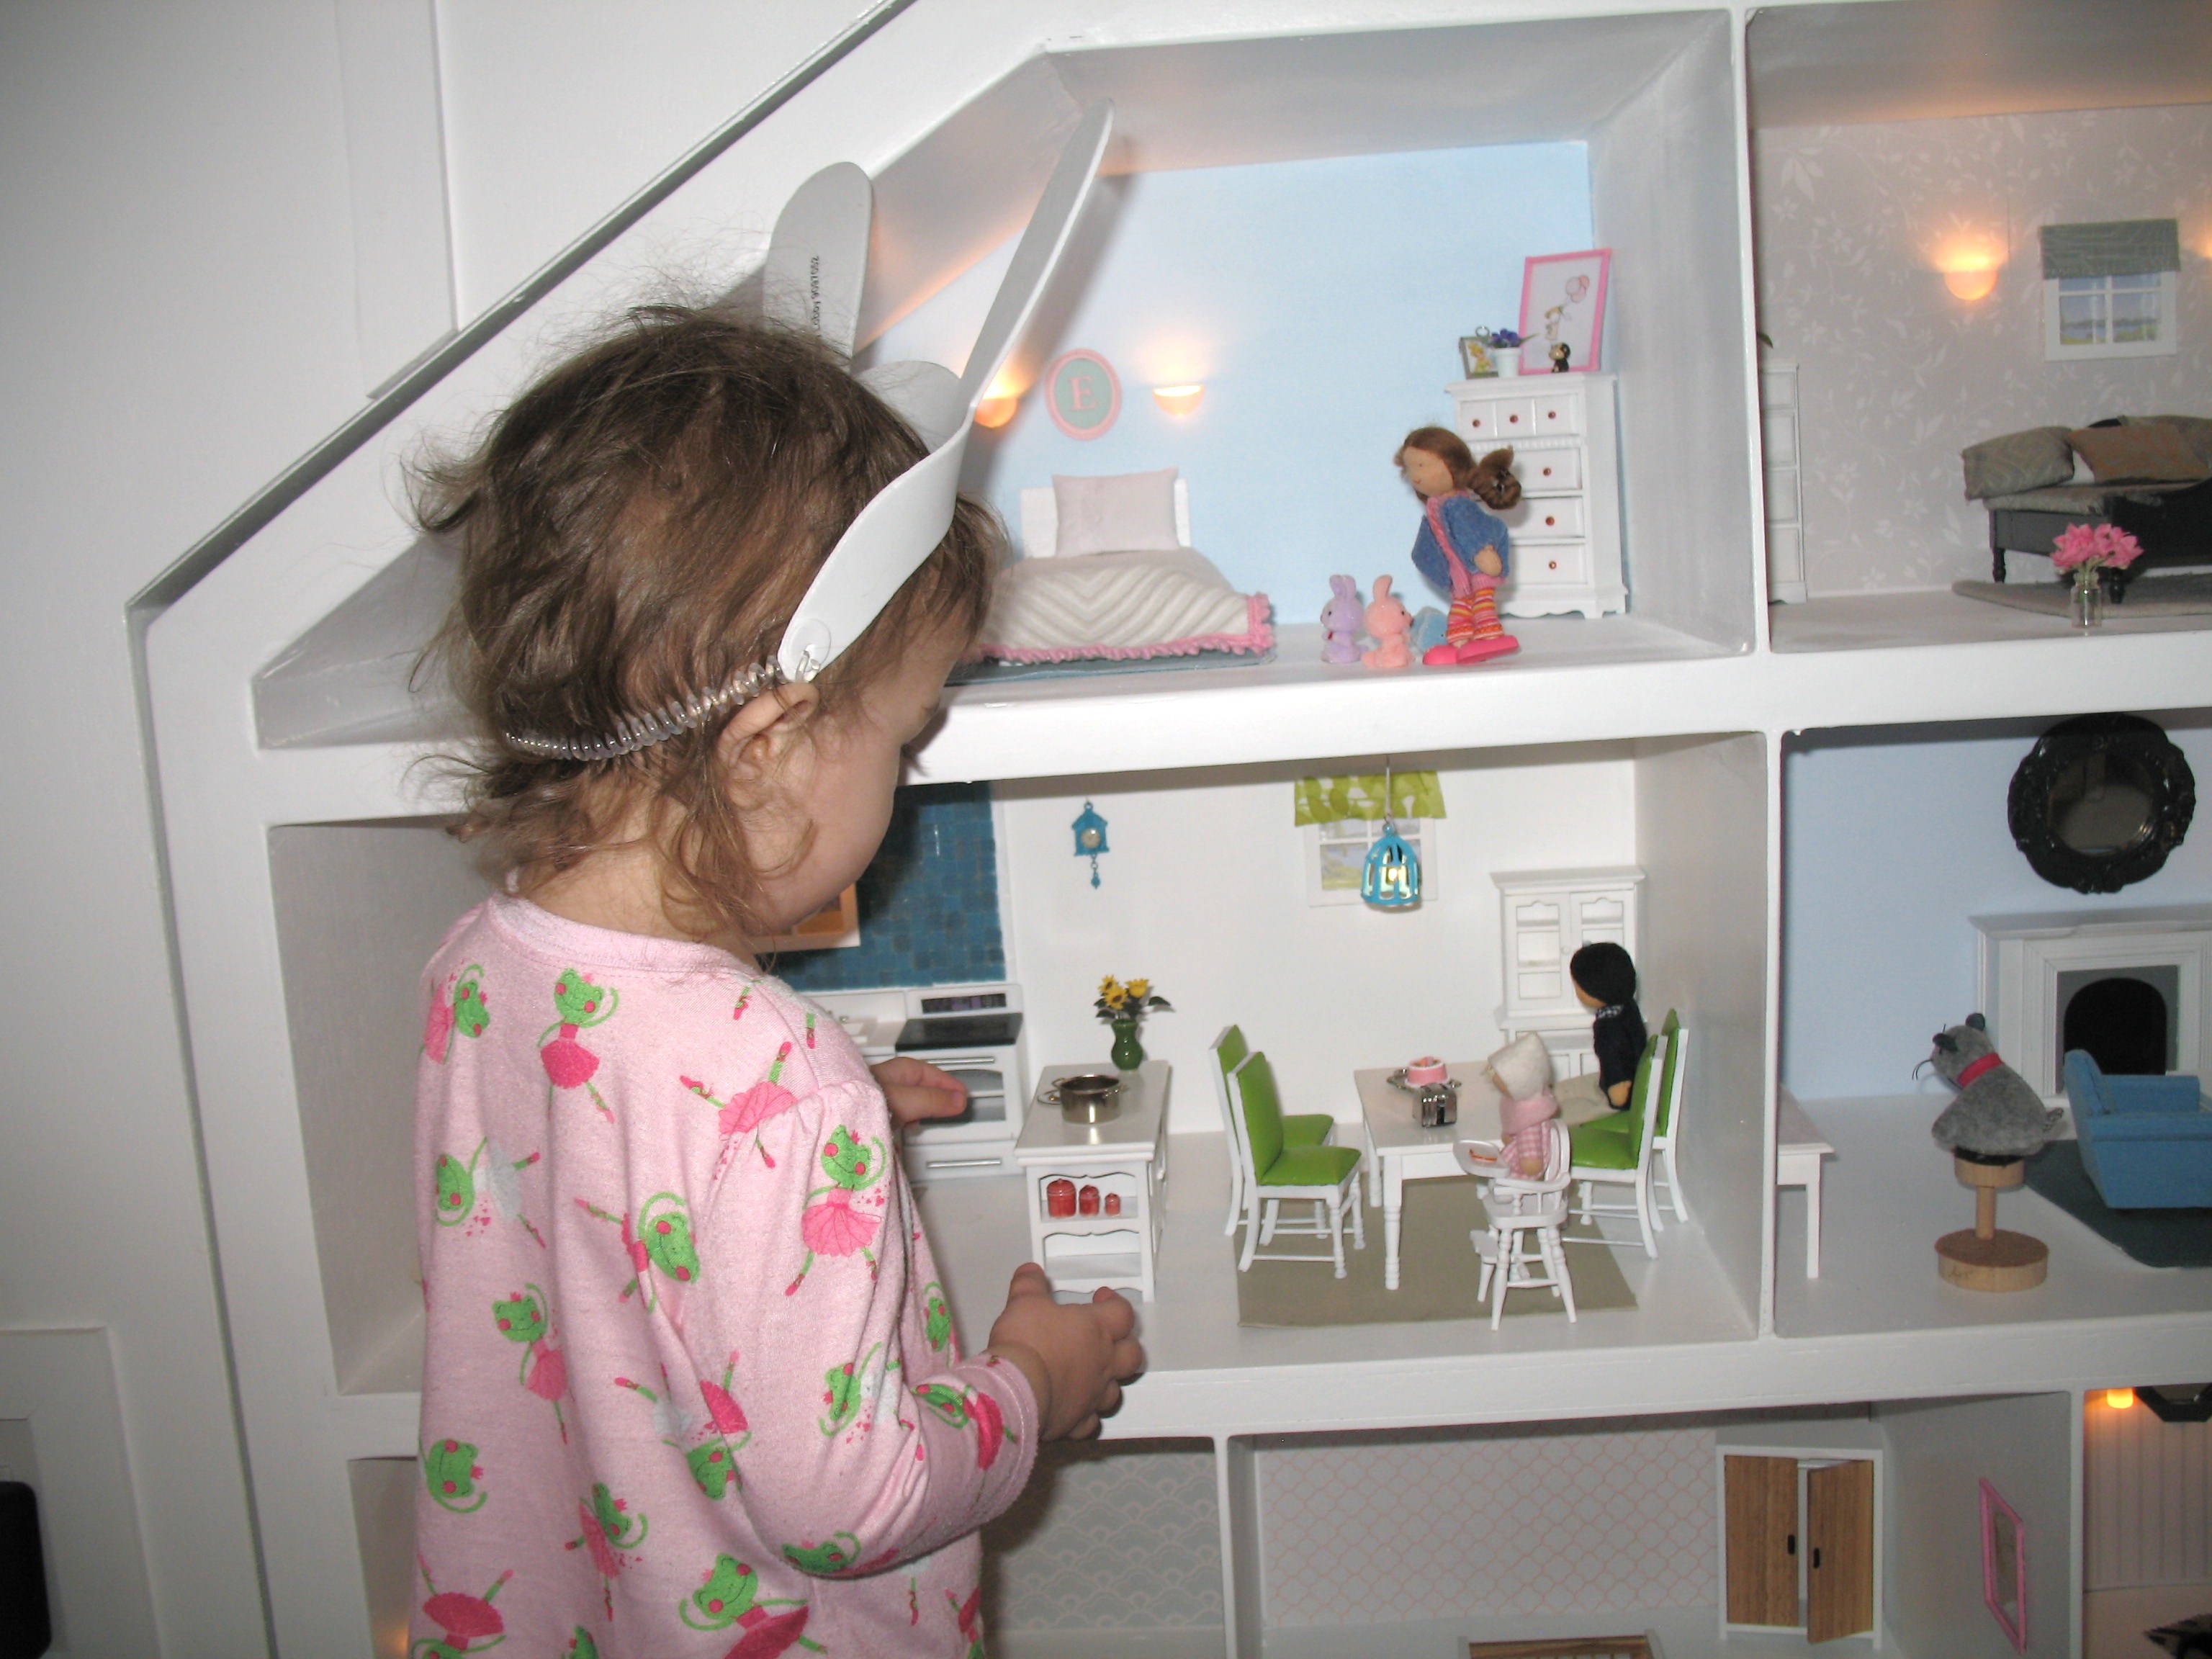
My husband and I completed a built in dollhouse for my daughter Eevie's second birthday back in April. She had an odd cubby in her room so we decided to do a built in dollhouse. It was a labor of love and she adores it.
Design Inspiration
There are many gorgeous images of dollhouses on the web. We liked the idea of doing something larger like the dollhouse on Young House Love. I searched the web for inspiration until I had a pretty good idea of what I wanted.
Decorating Style
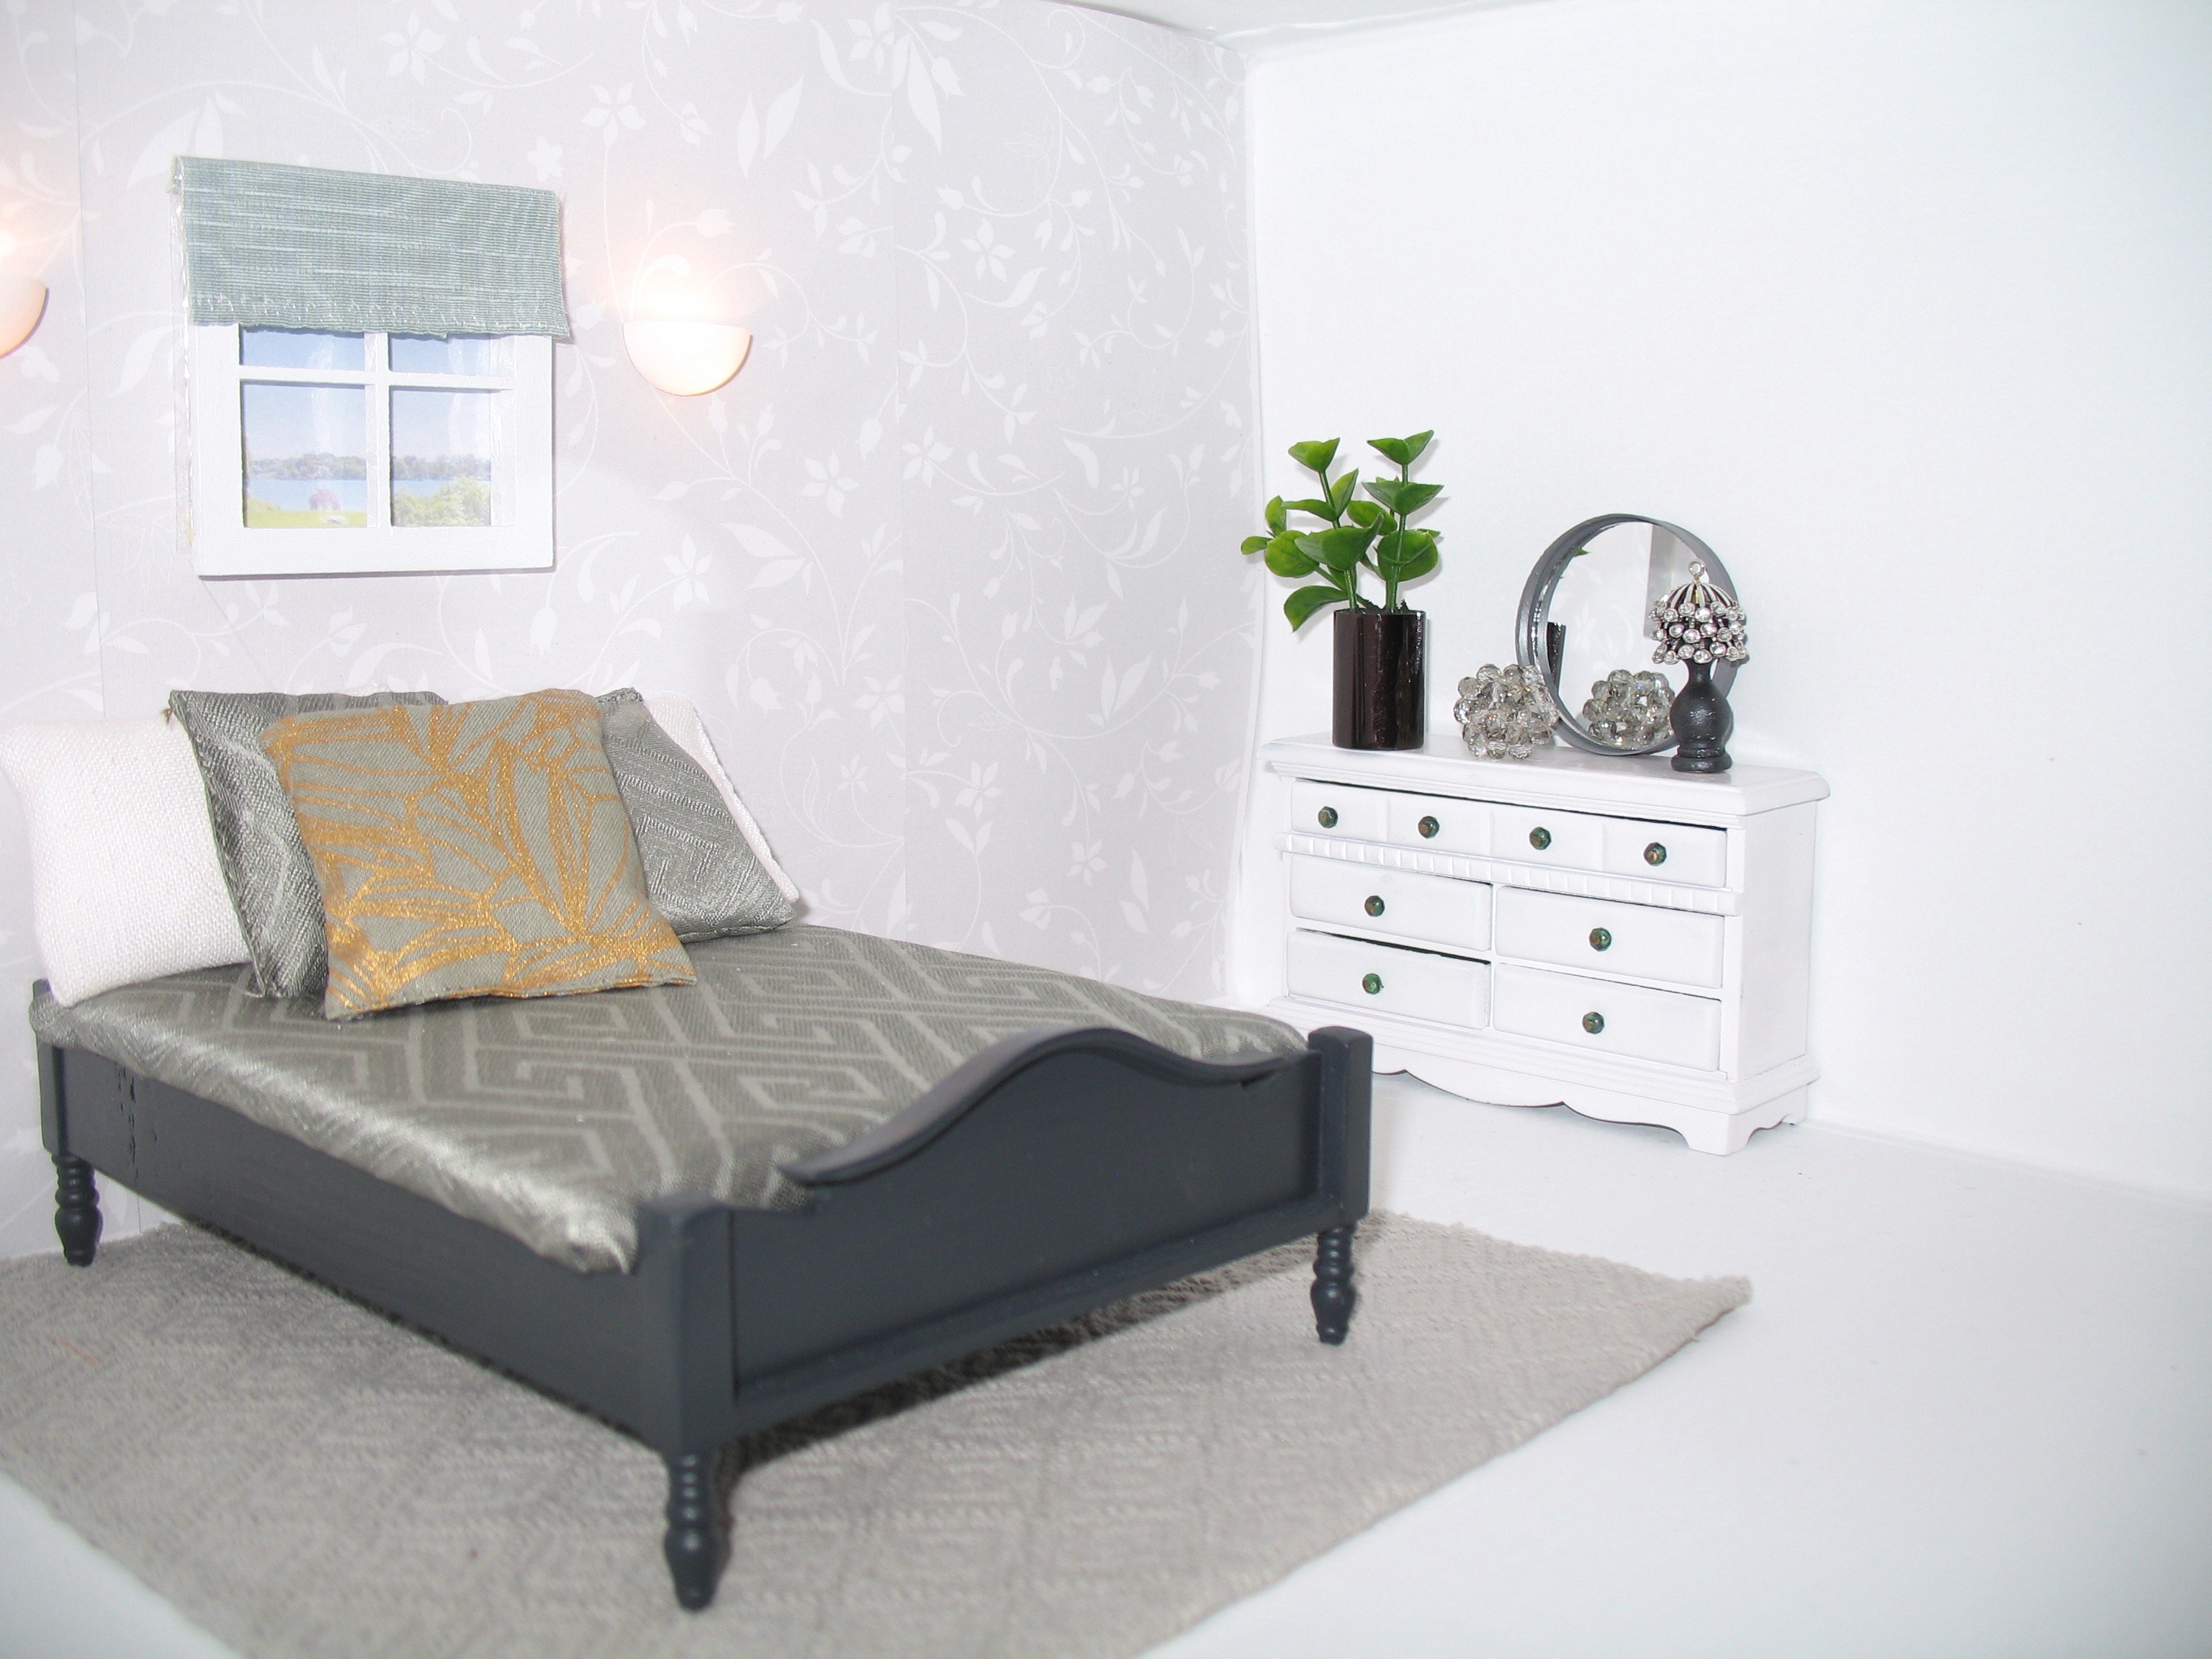
Somewhere between traditional and modern.
Project Details
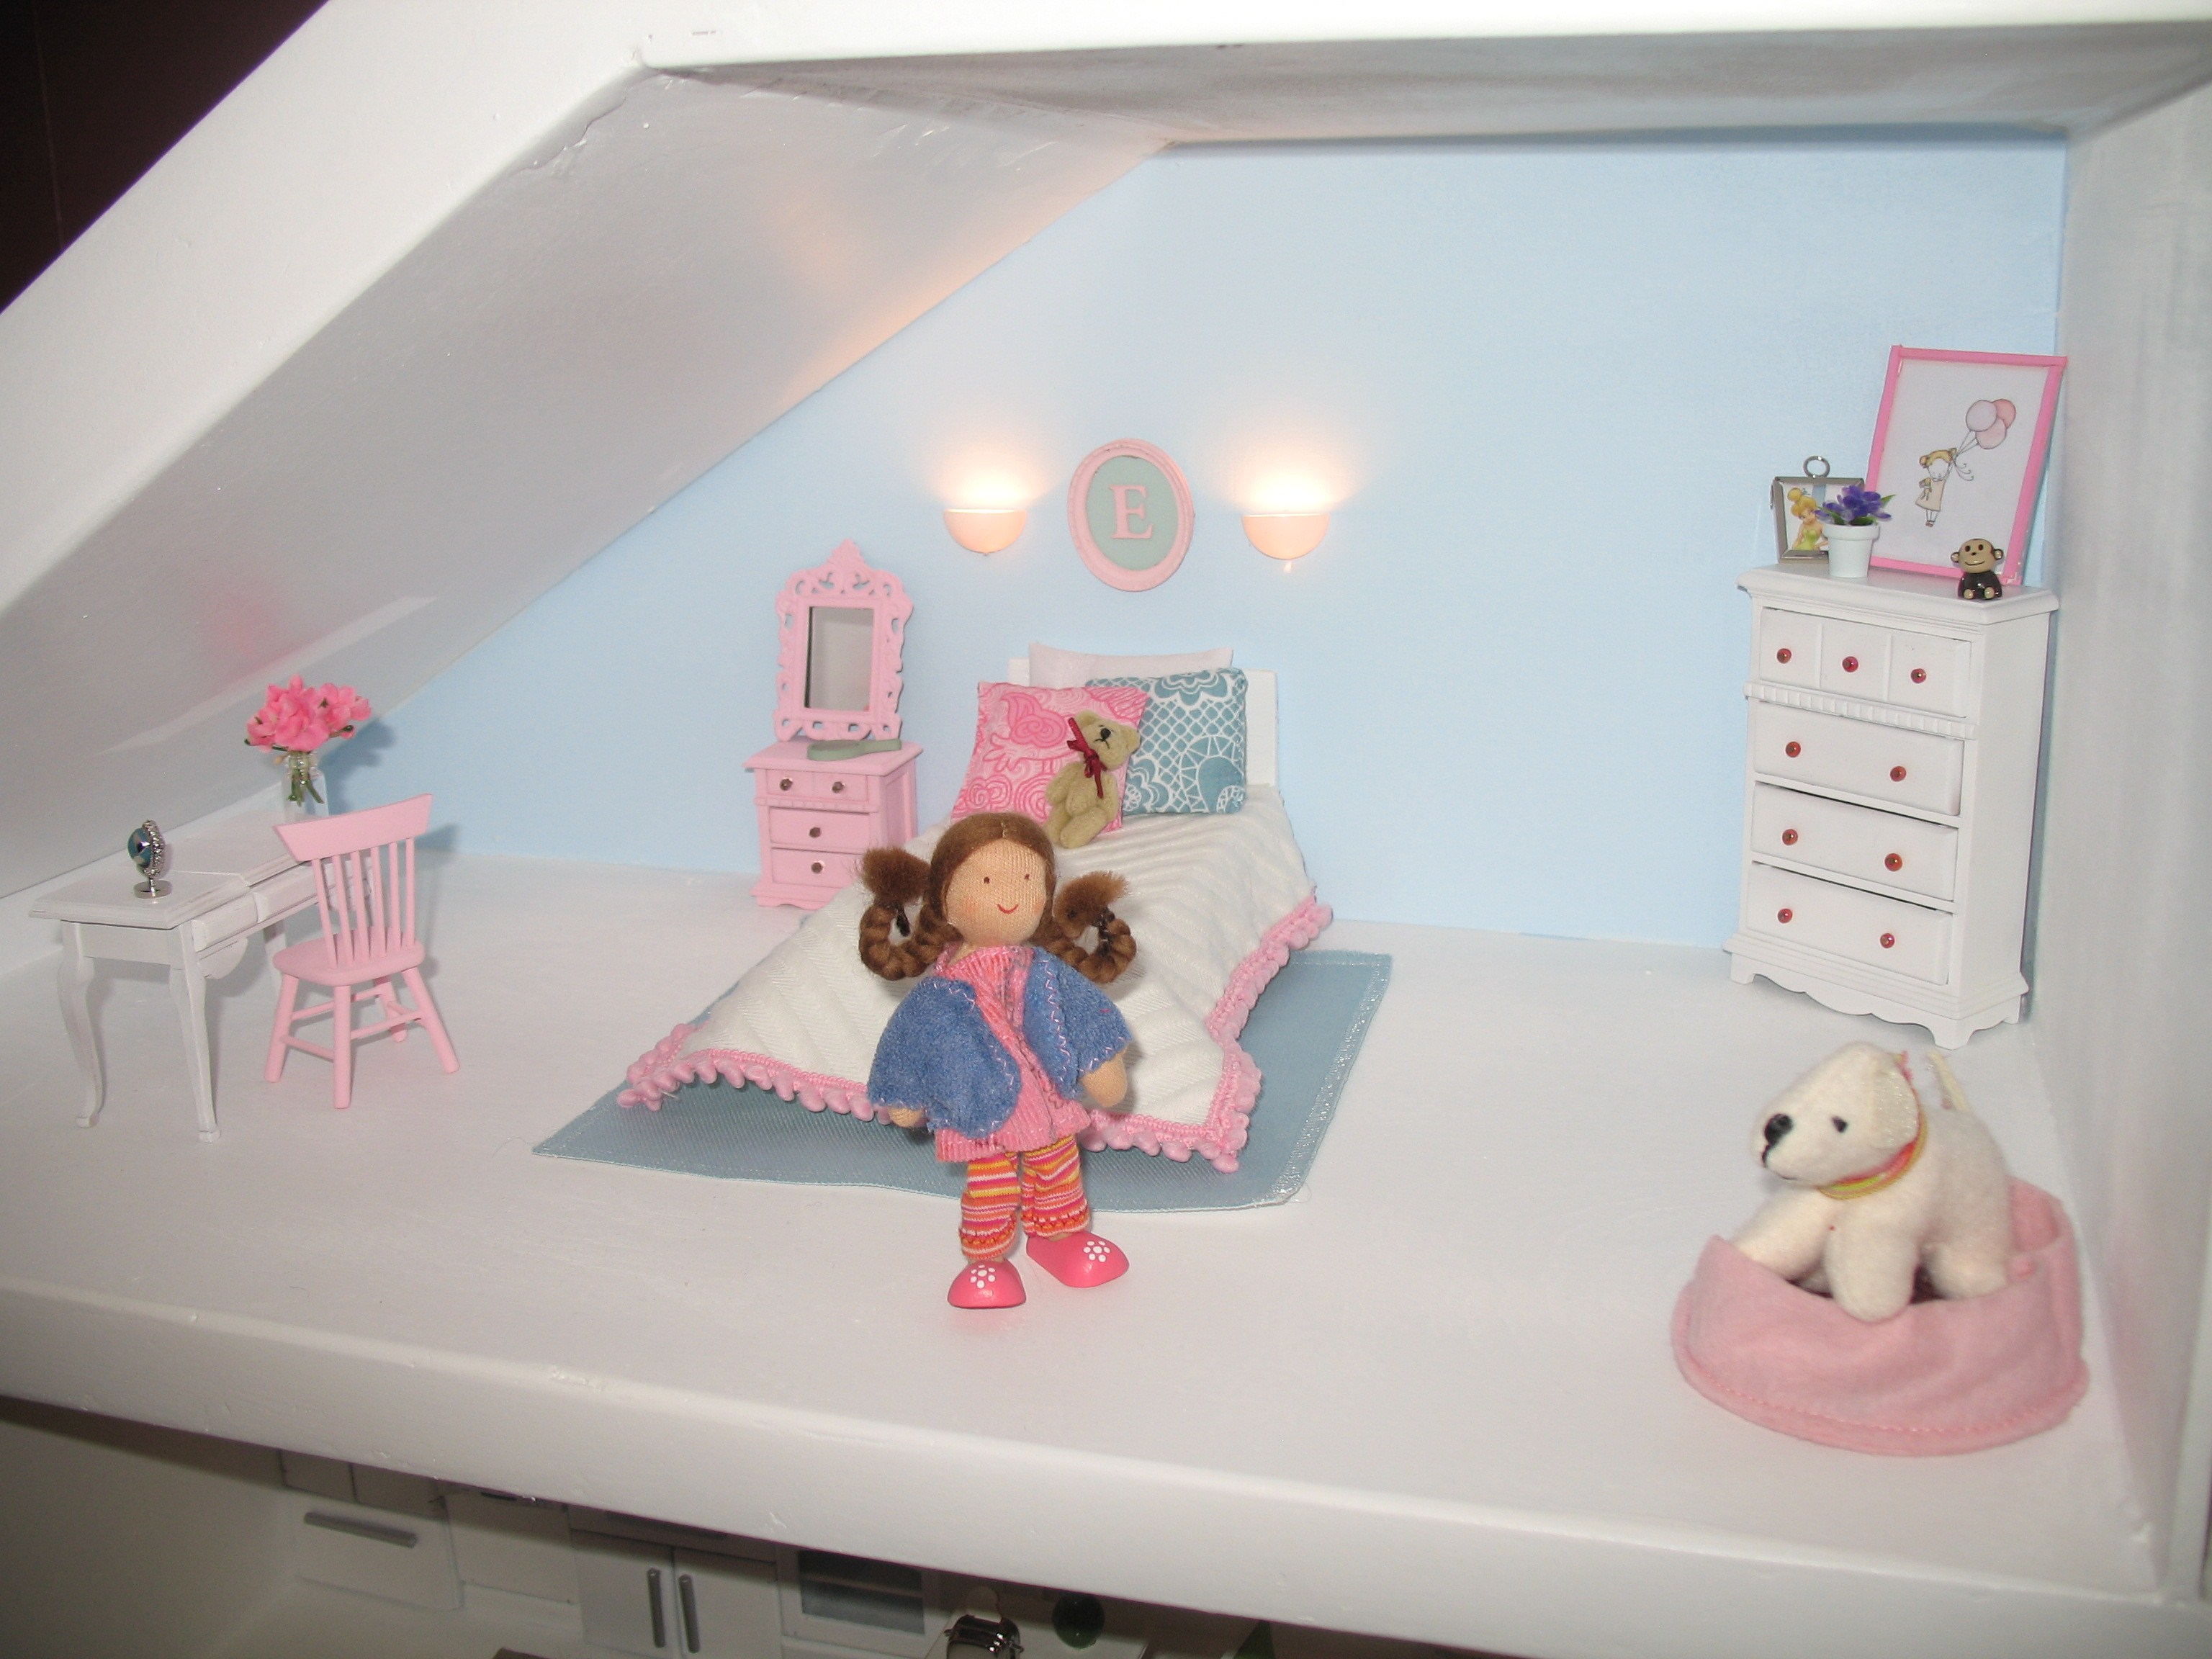
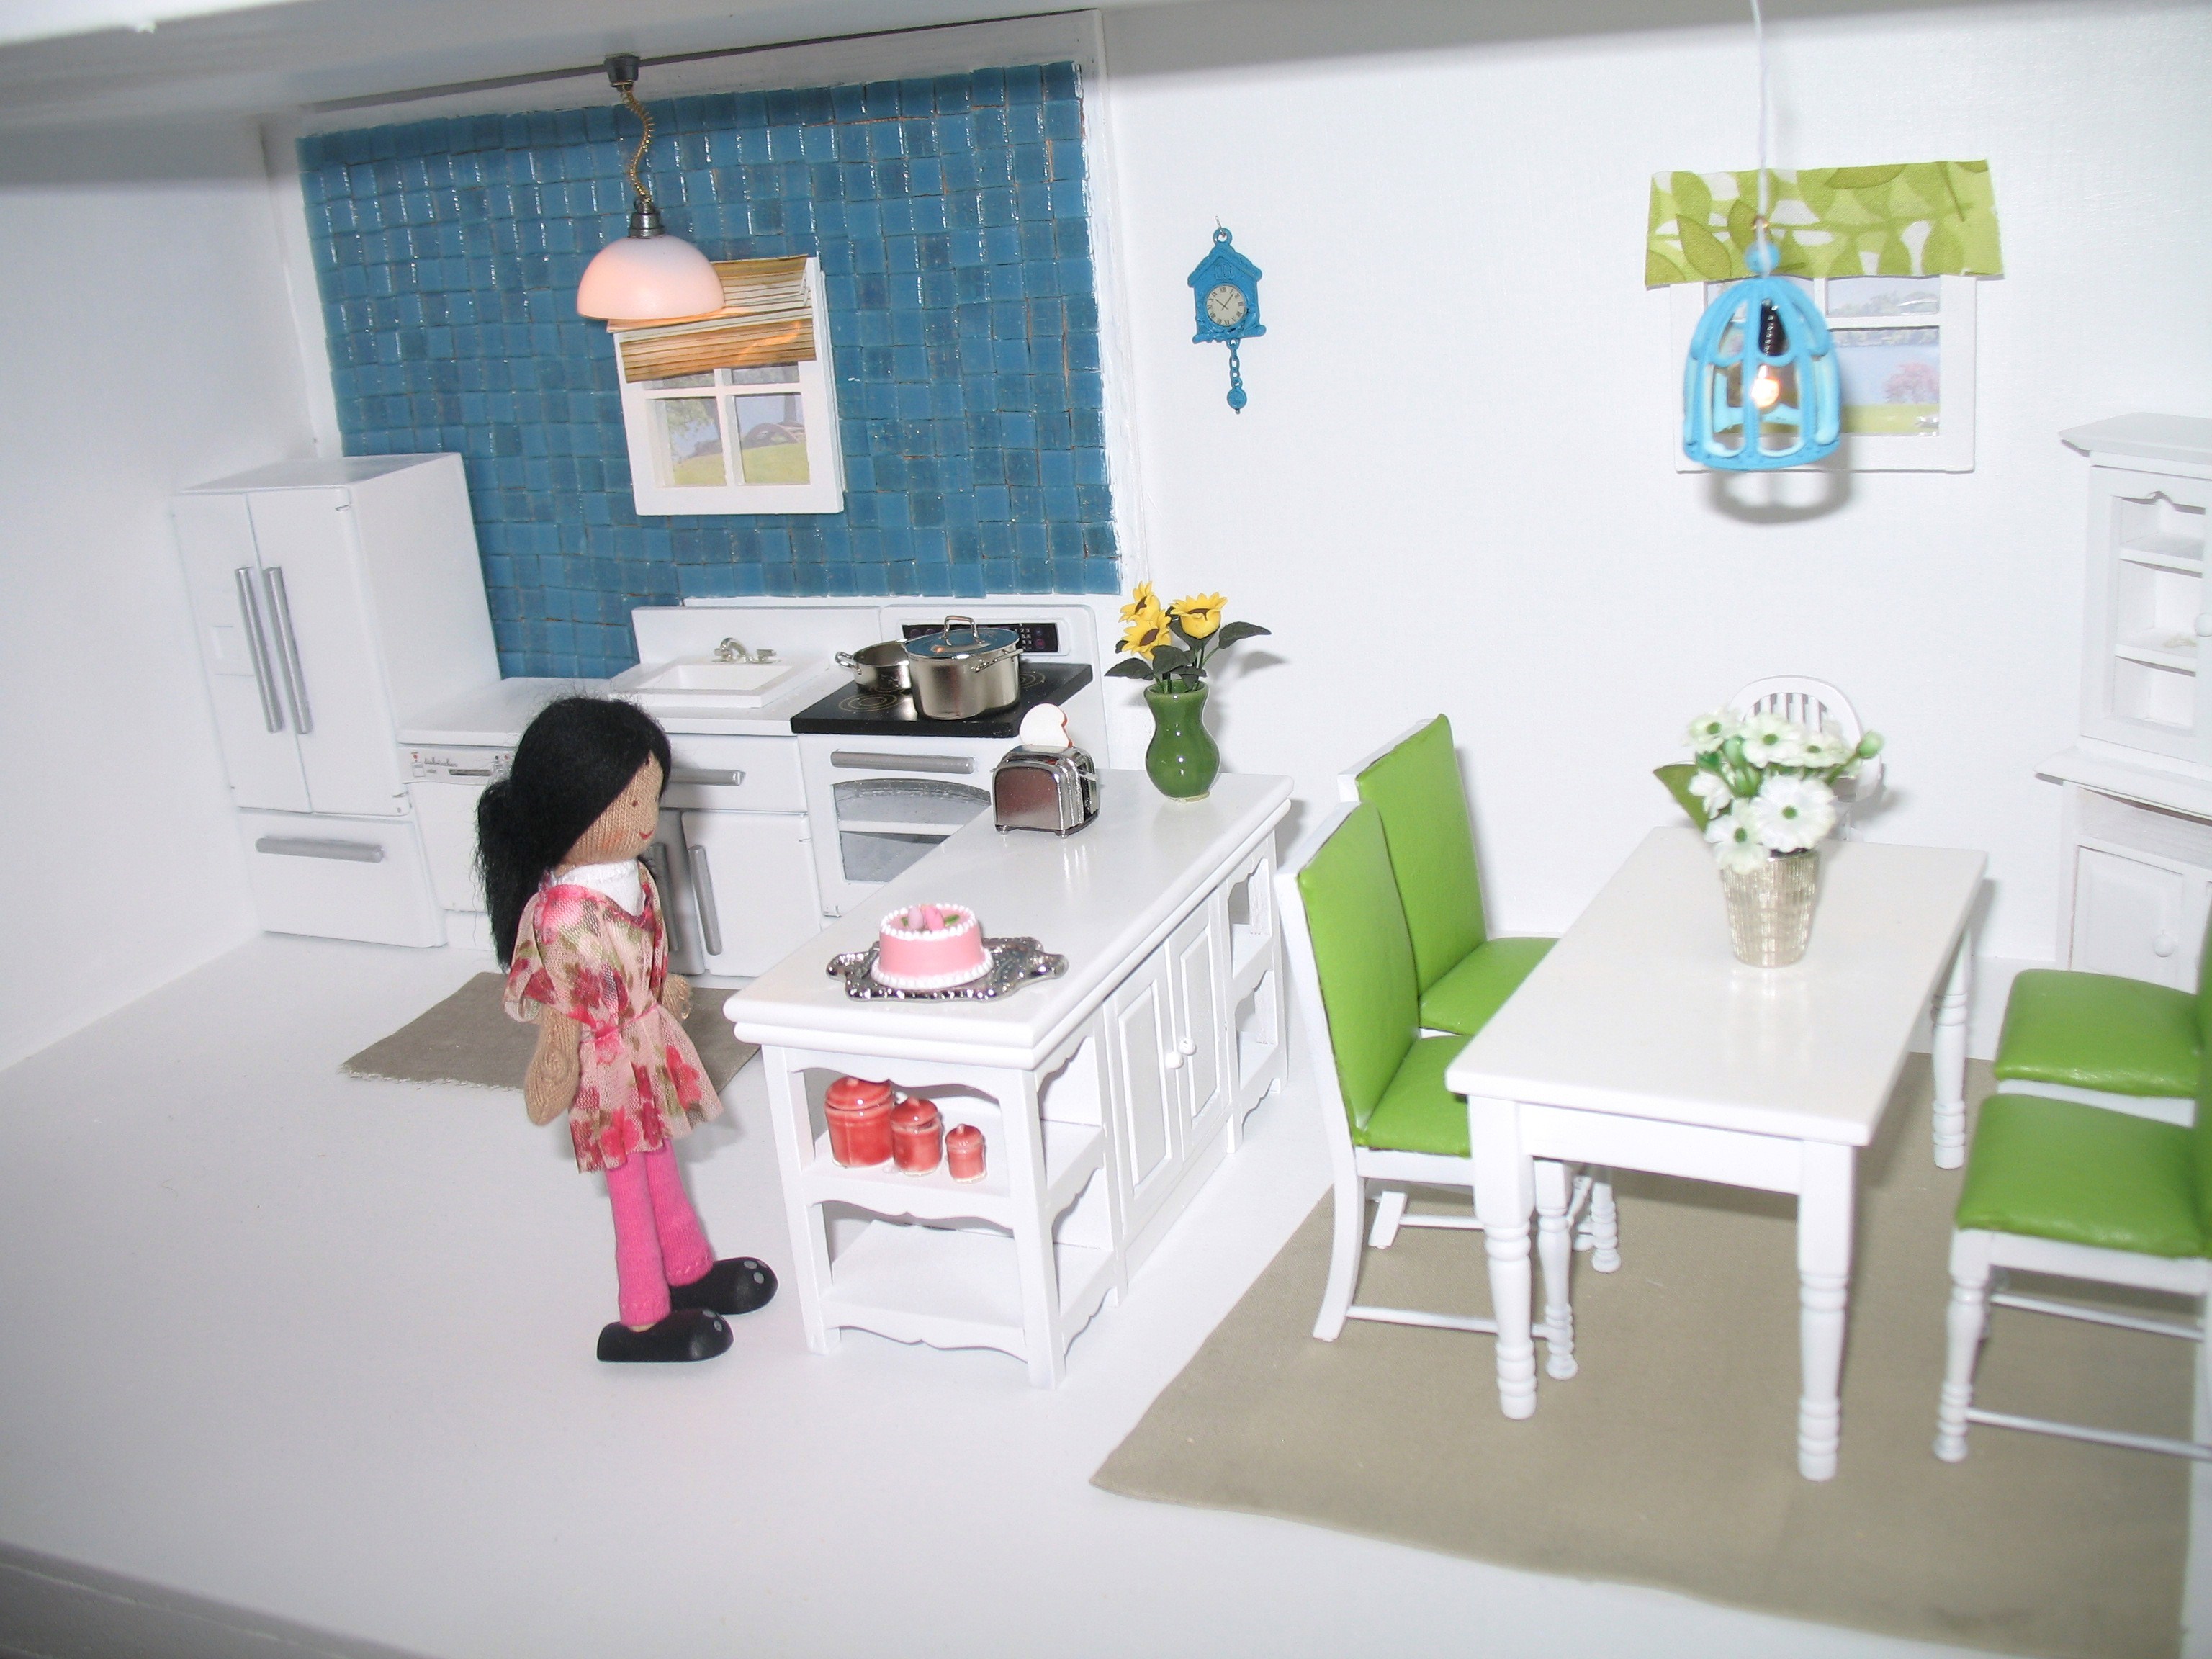
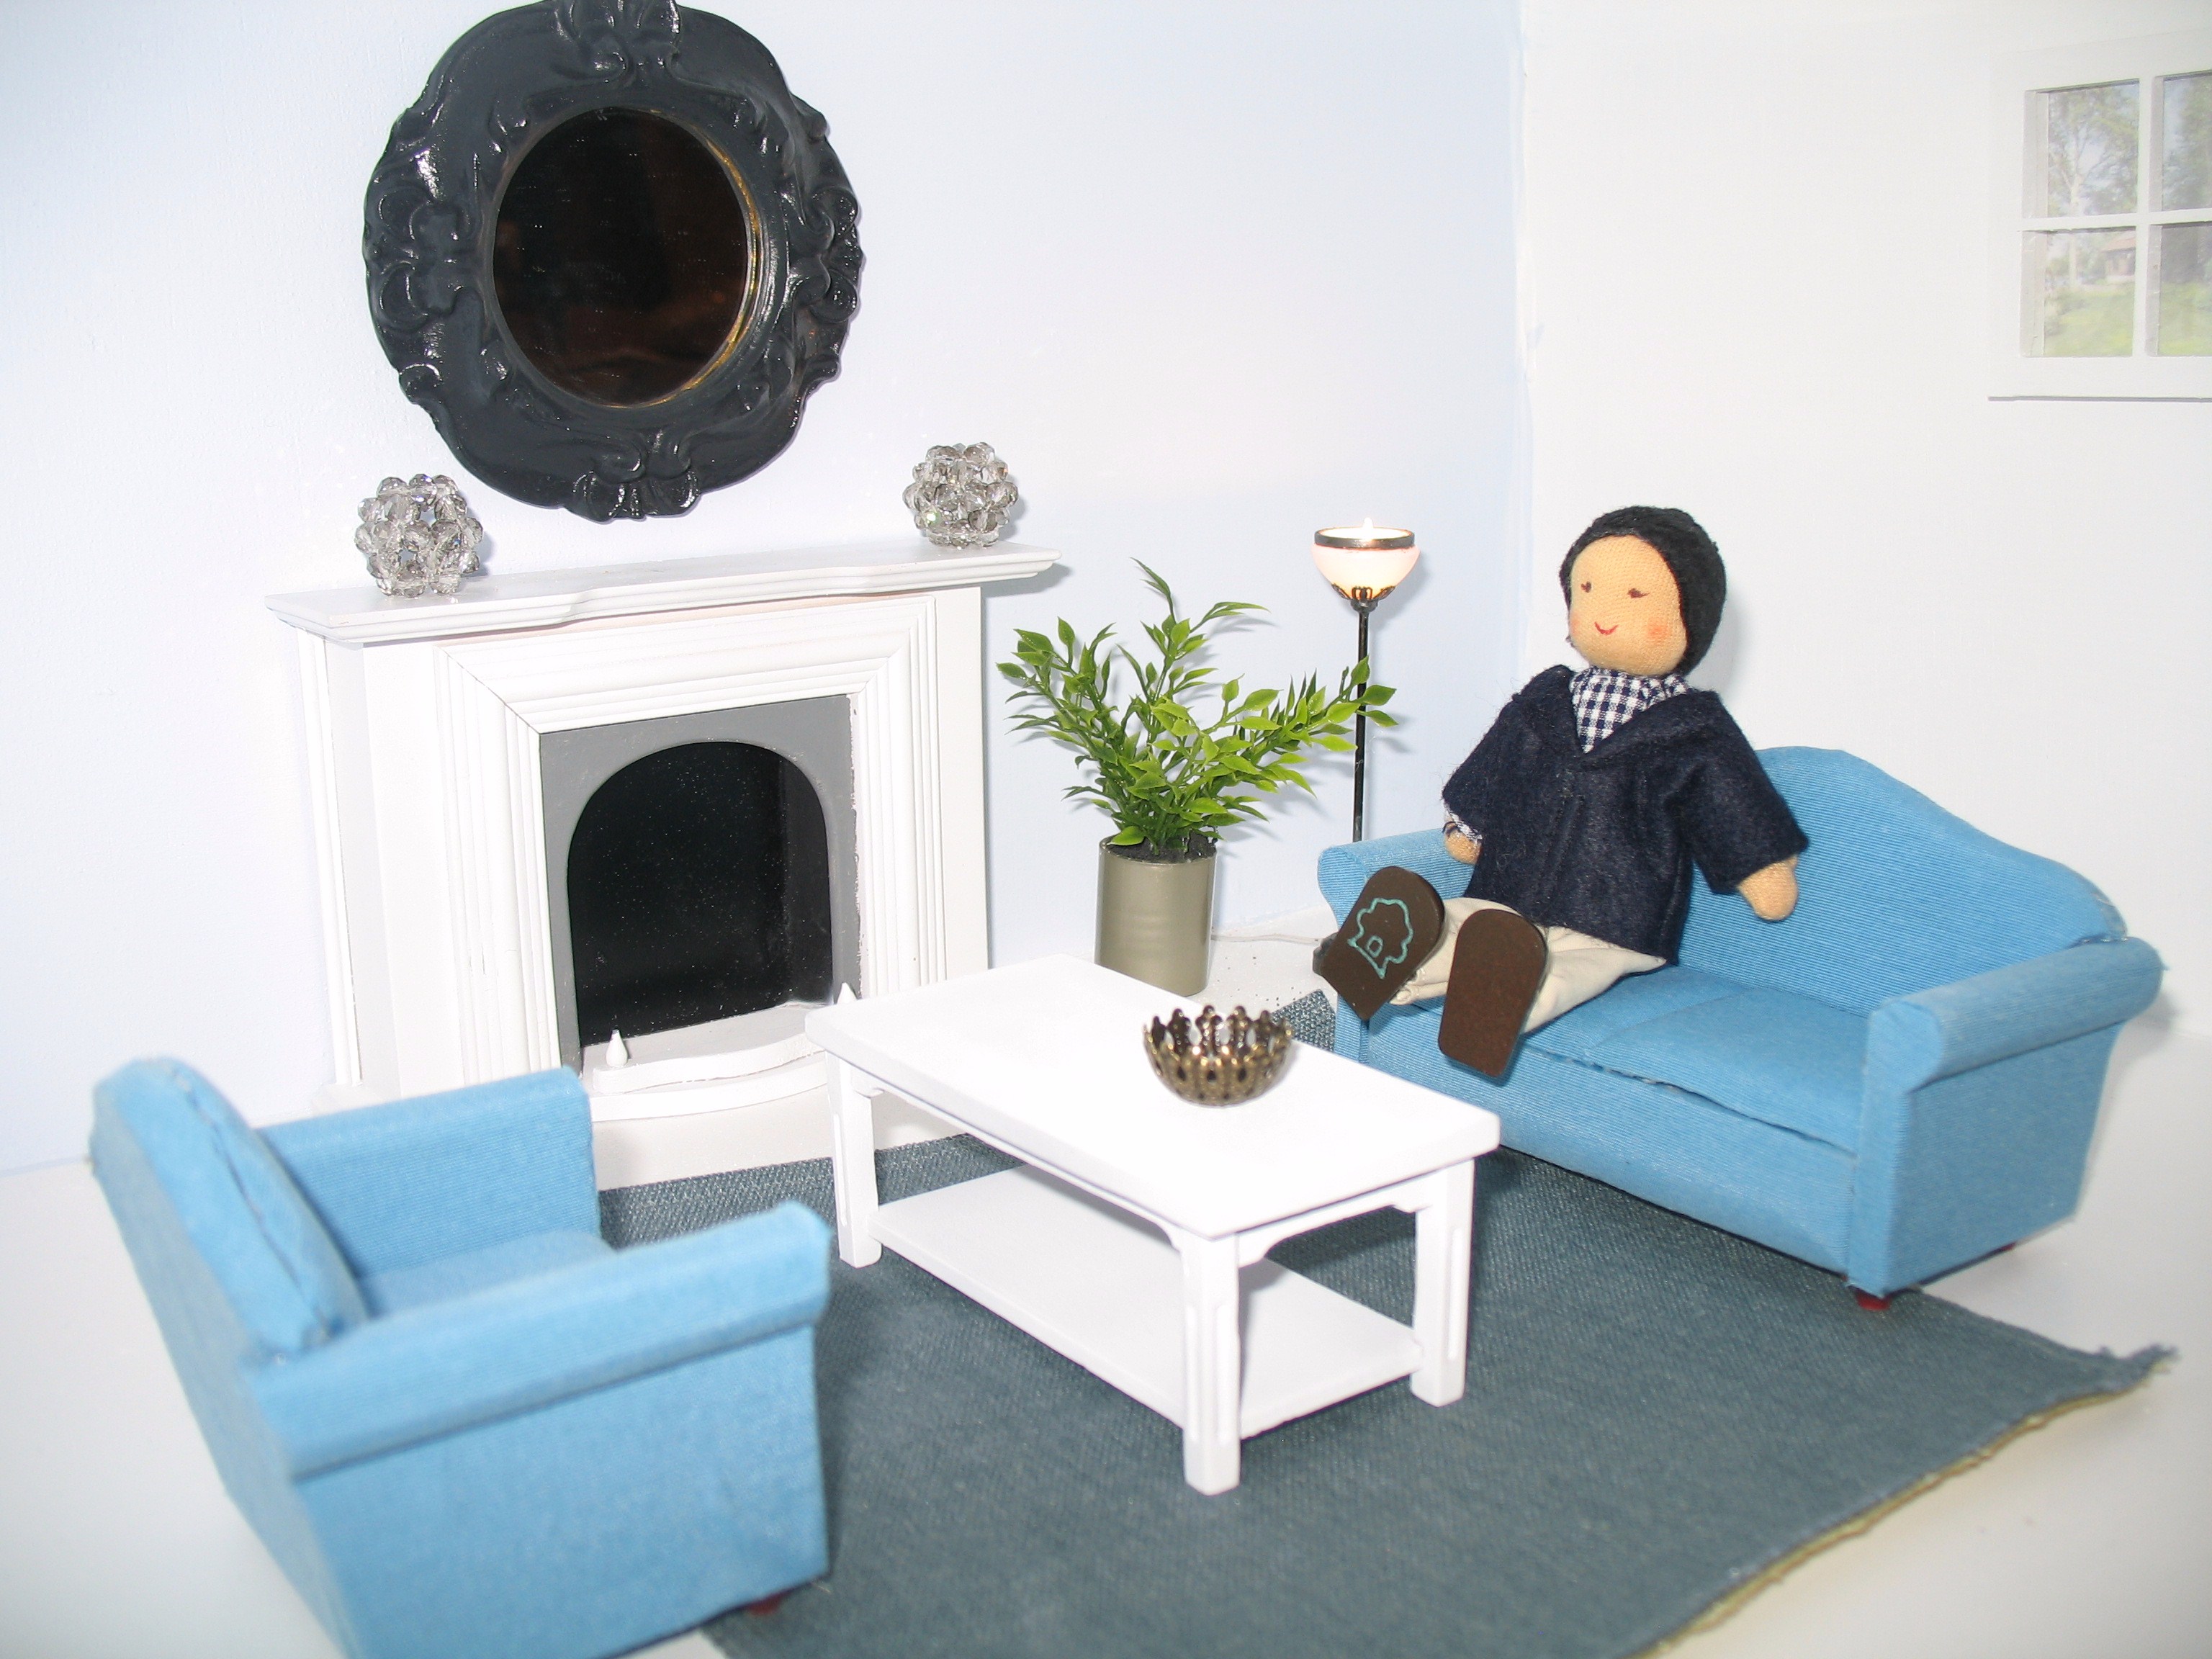
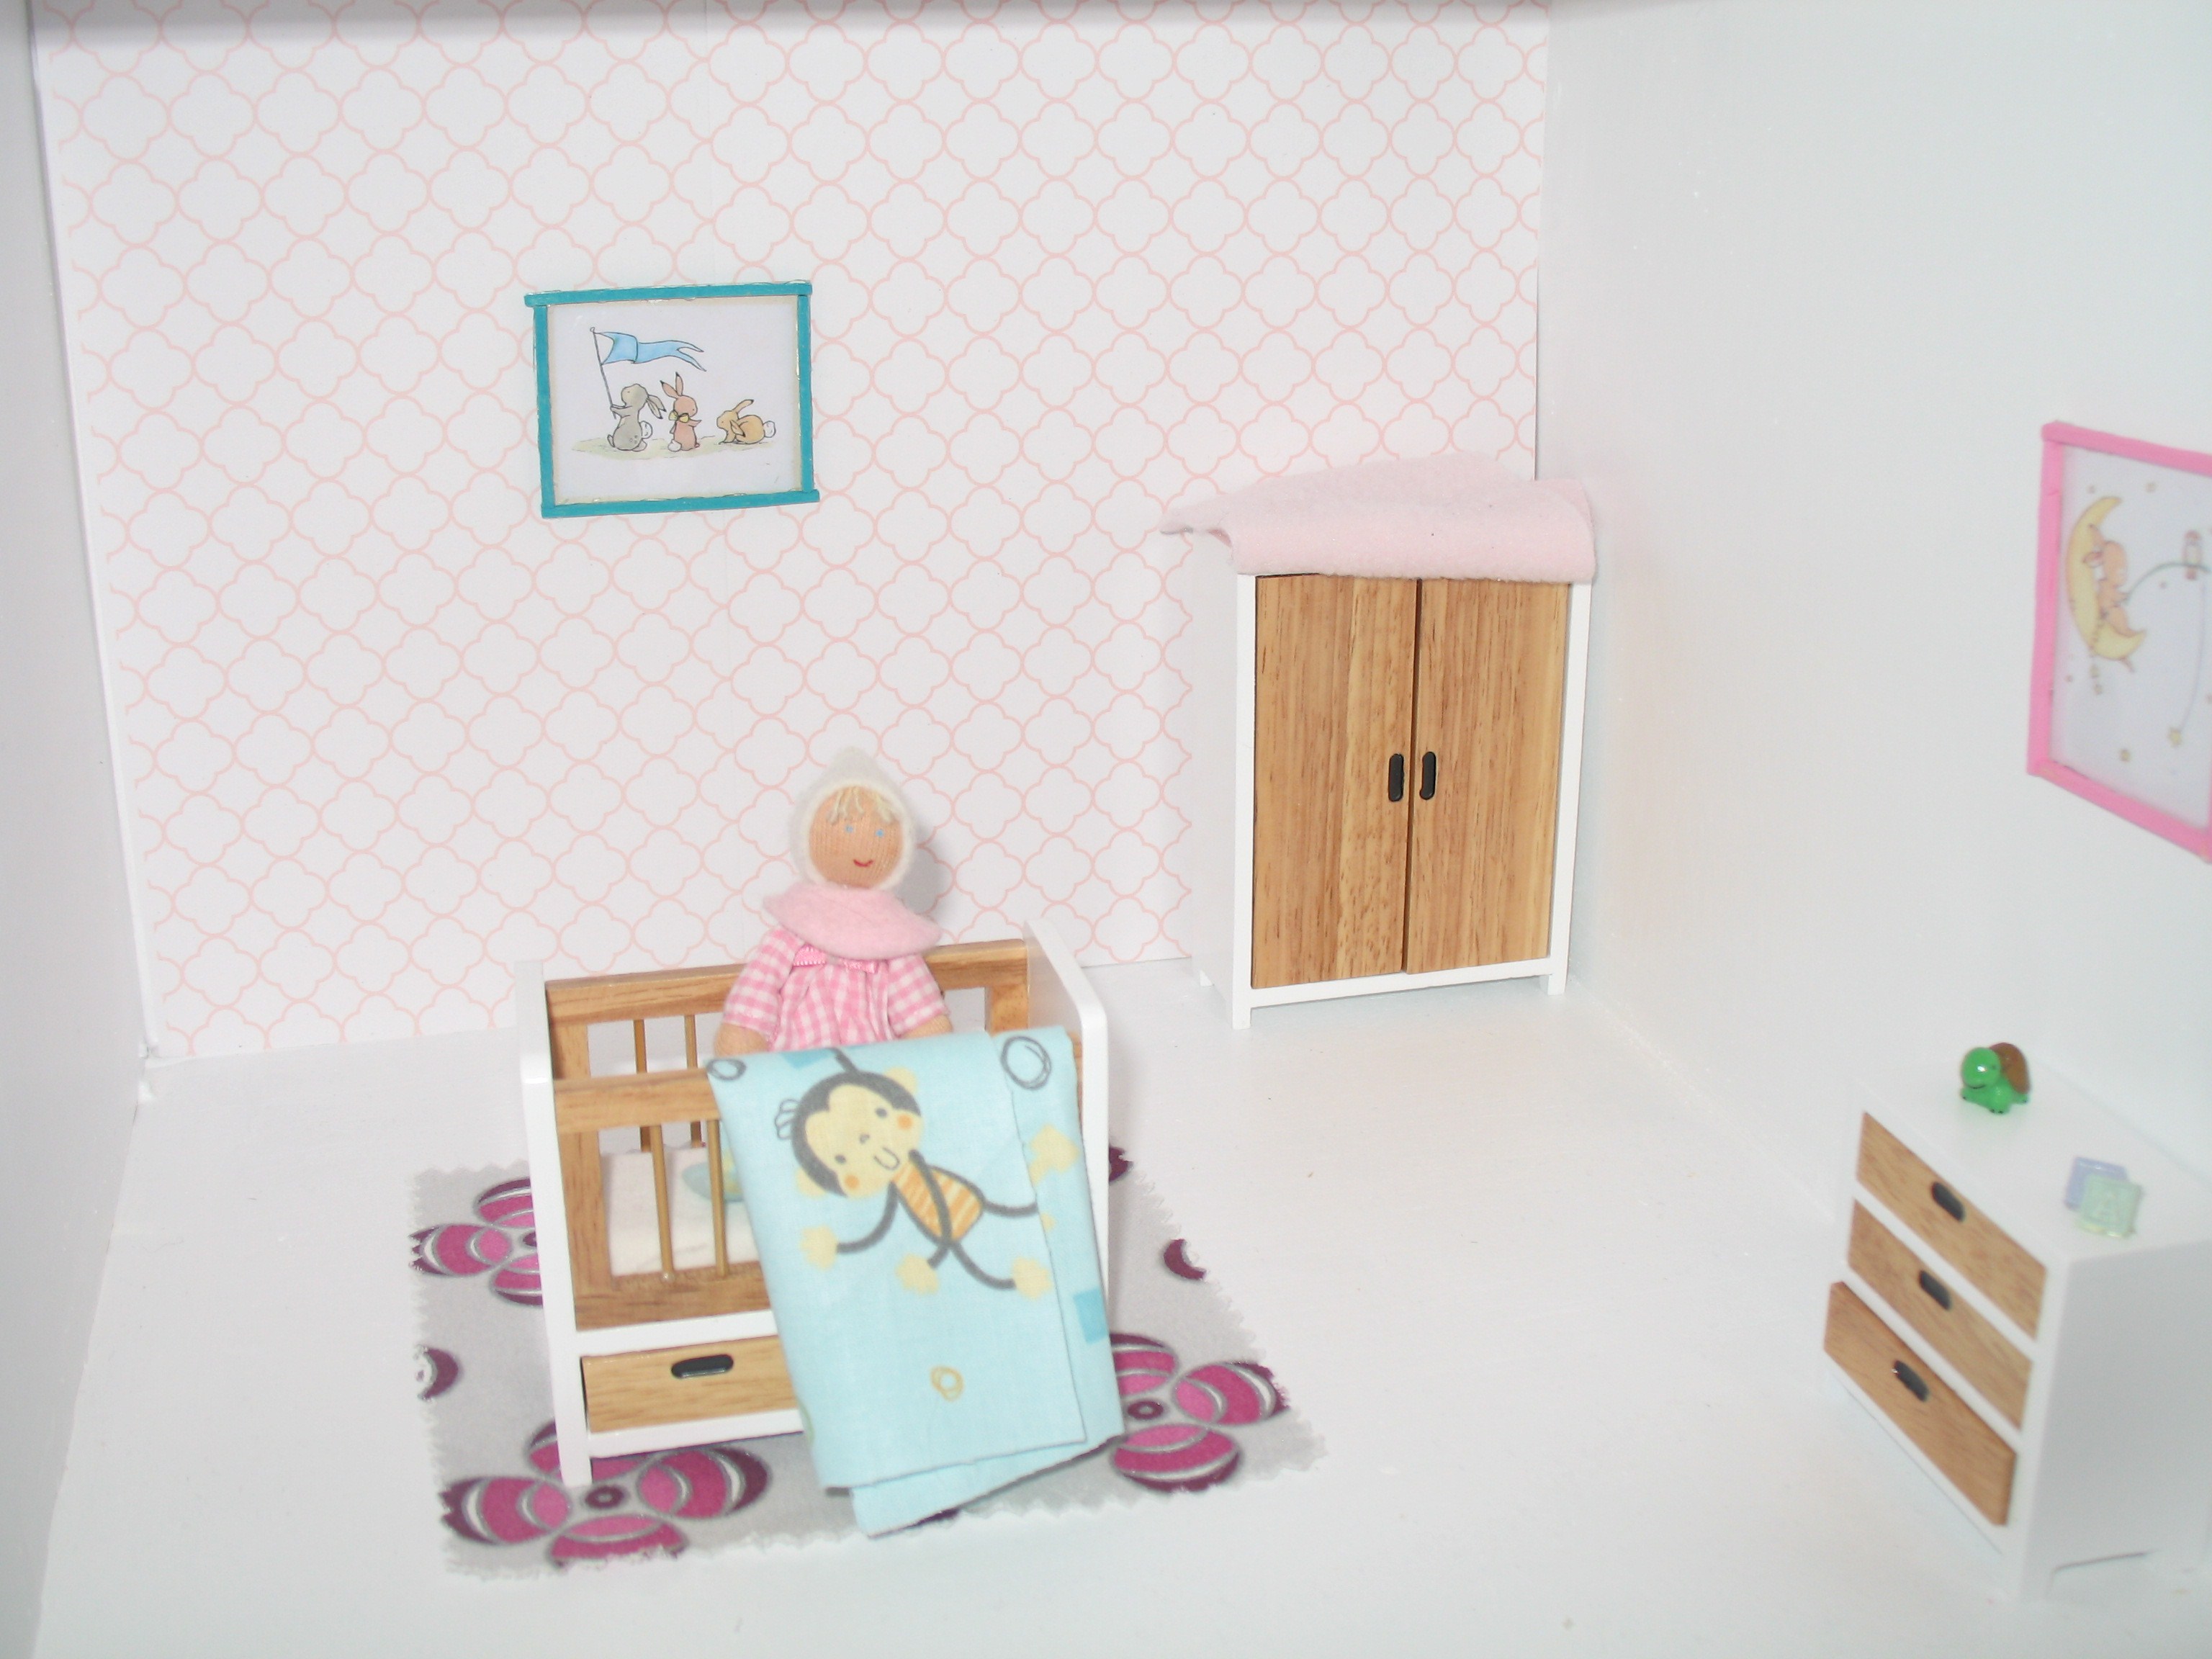
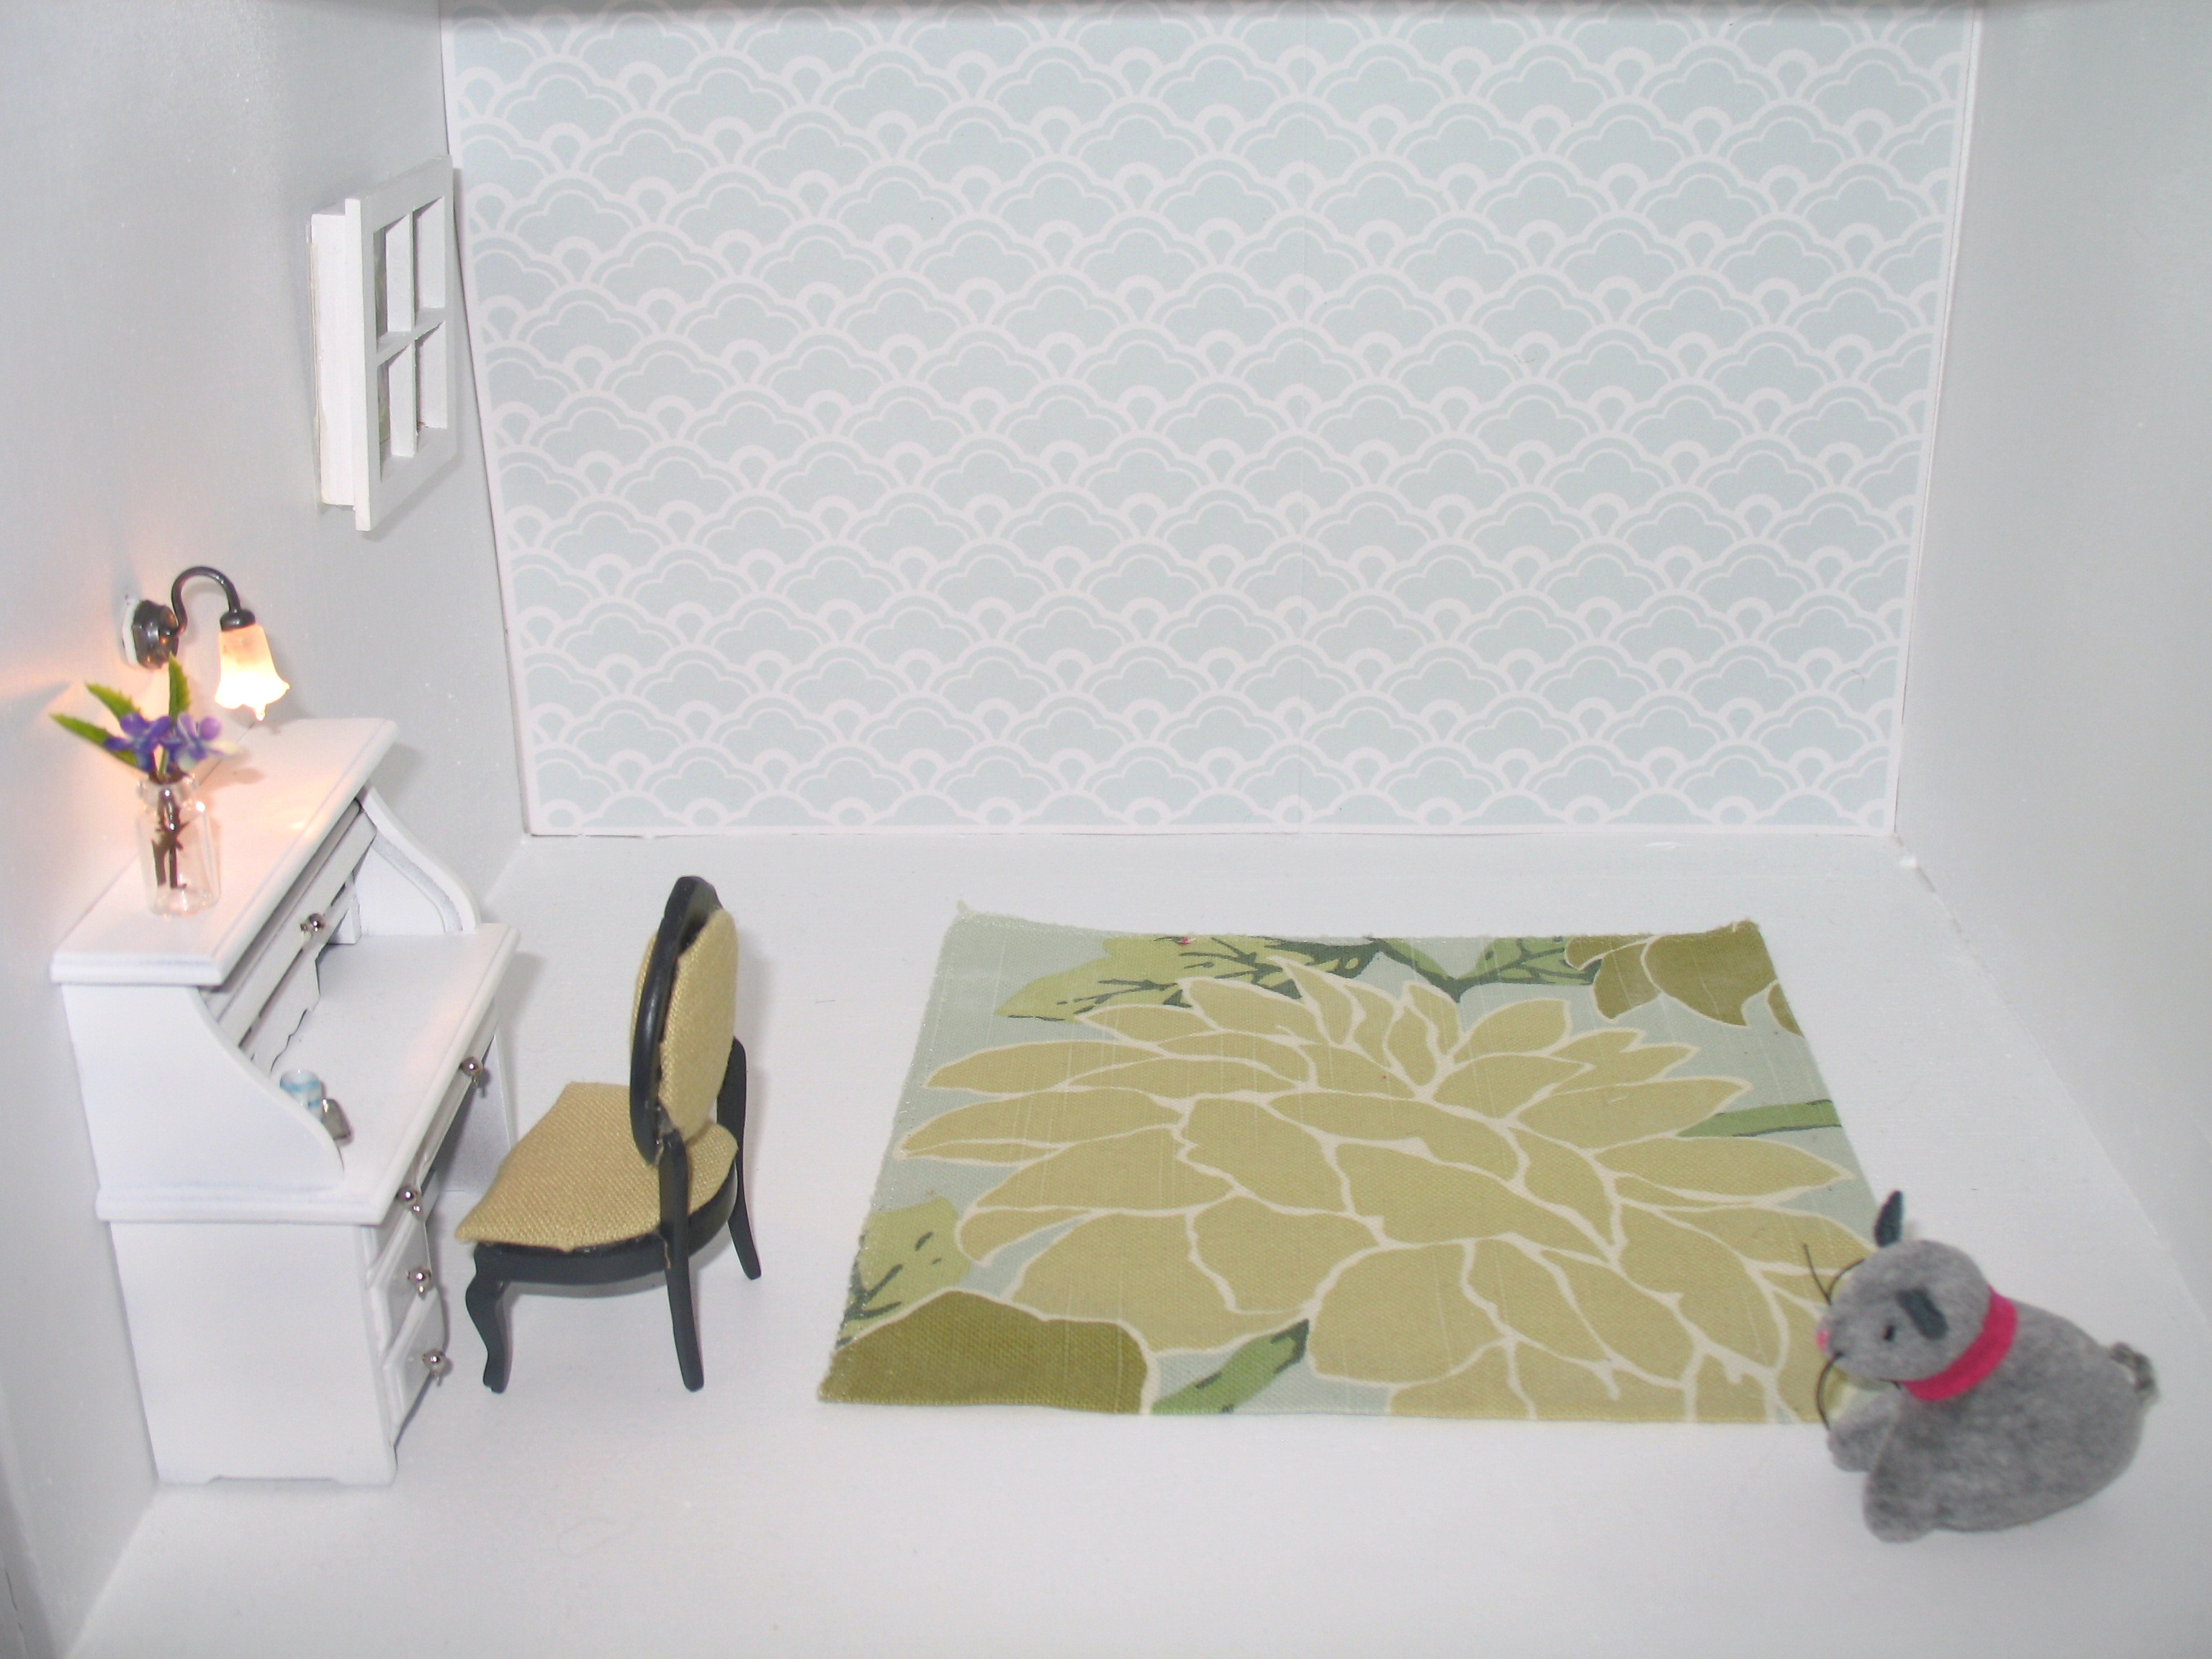
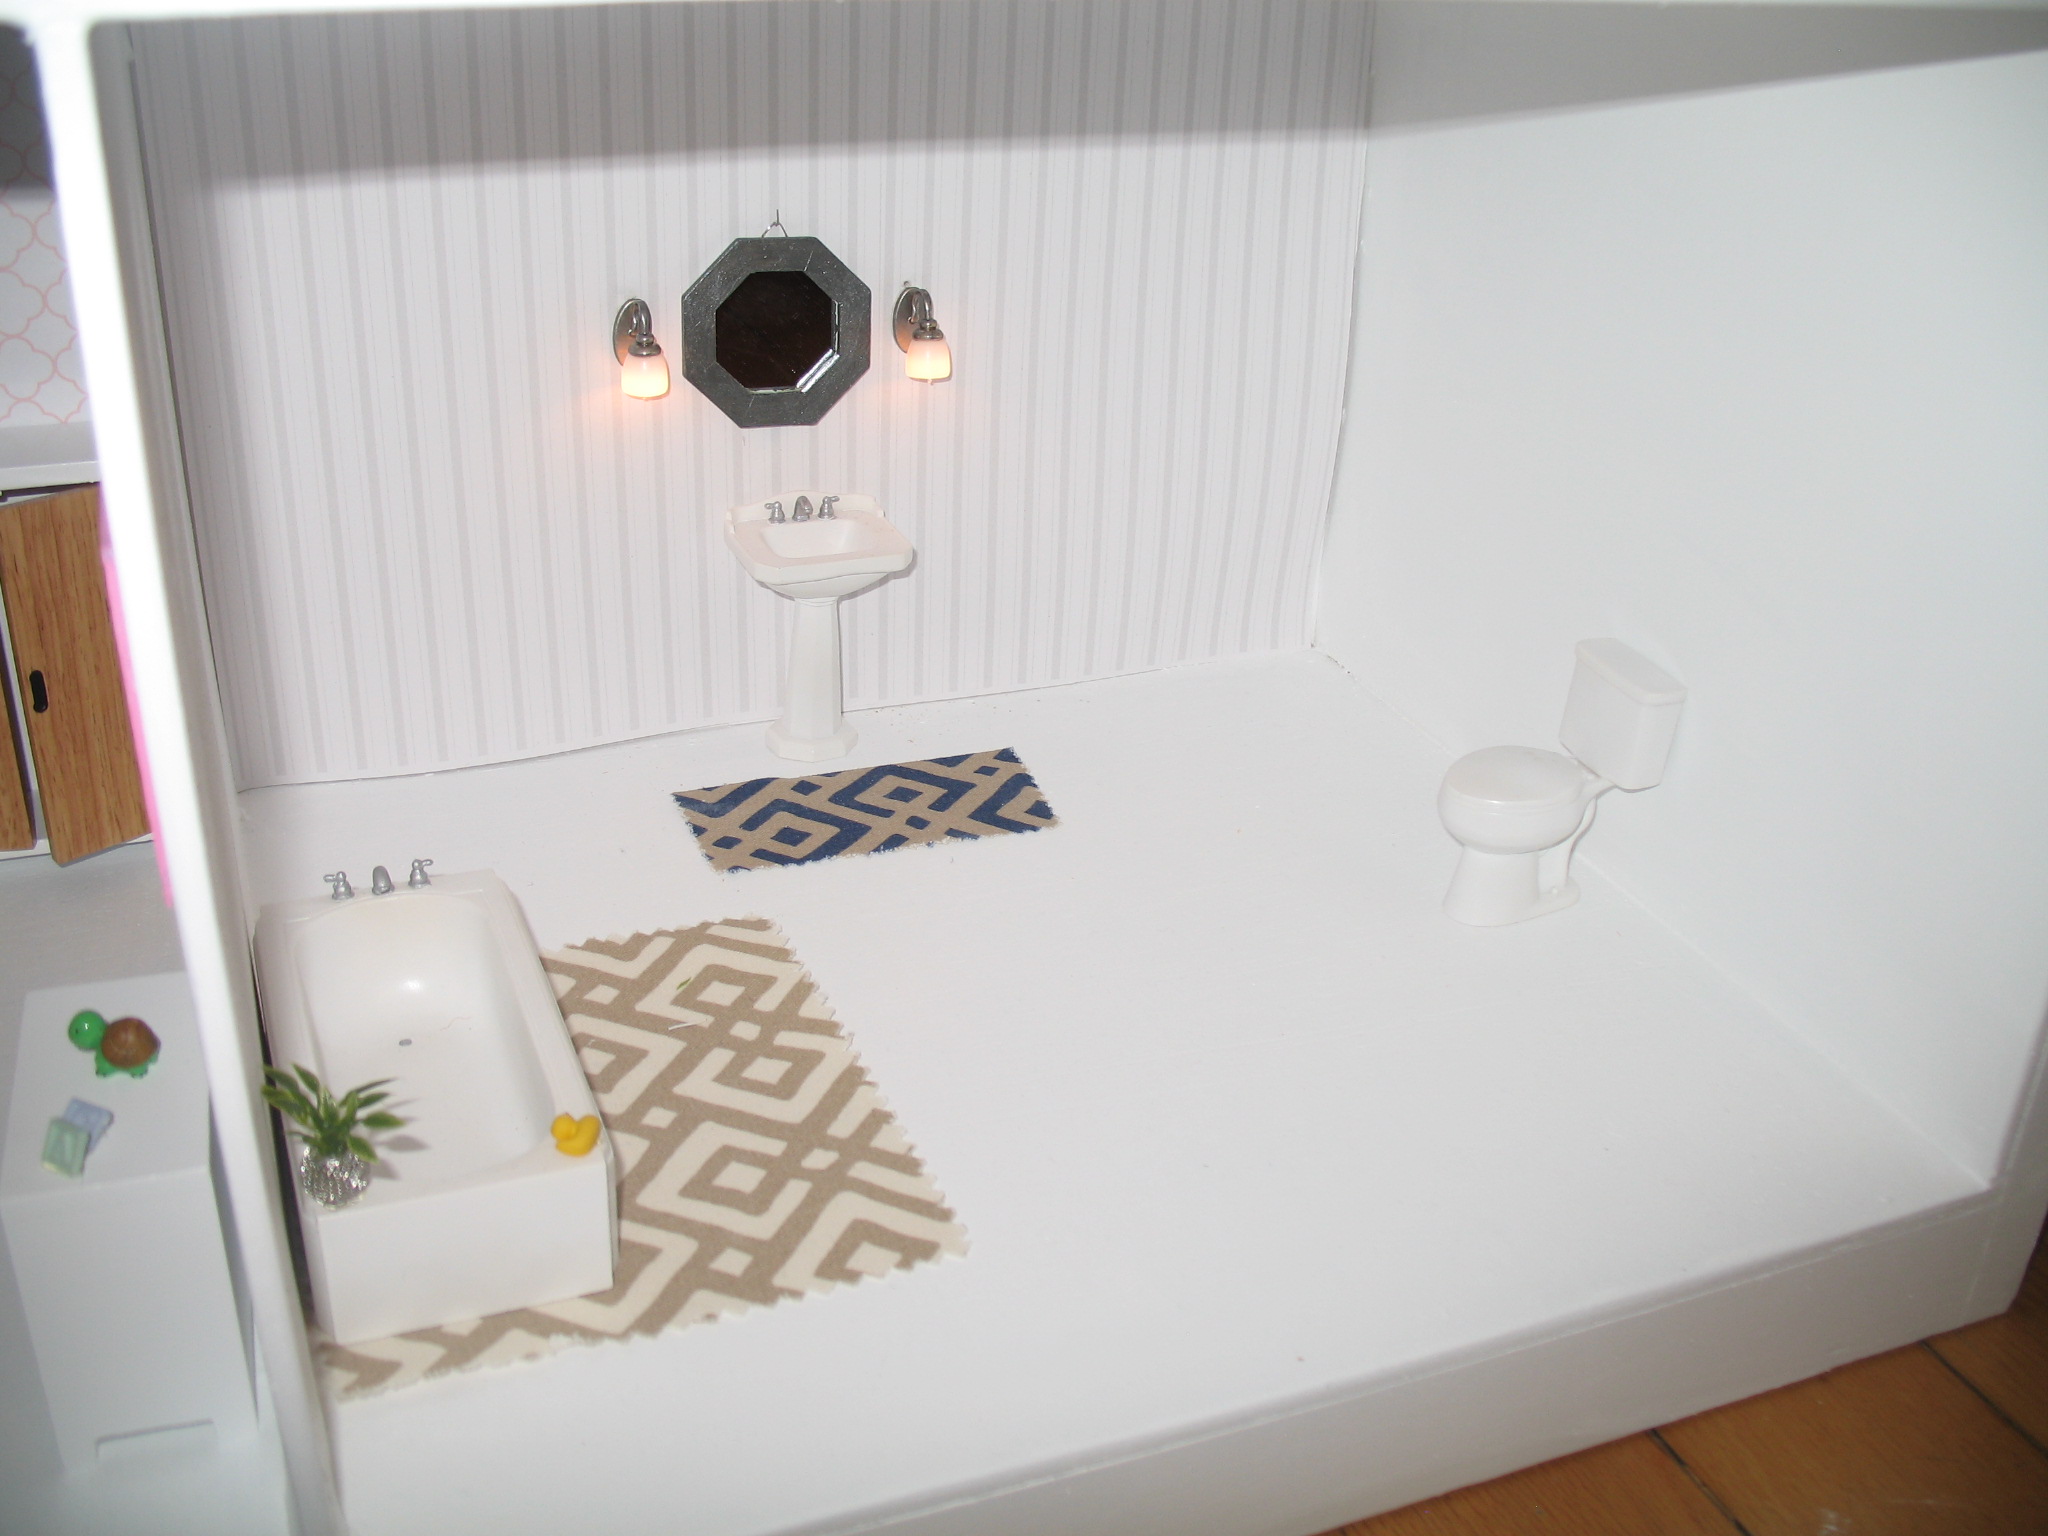
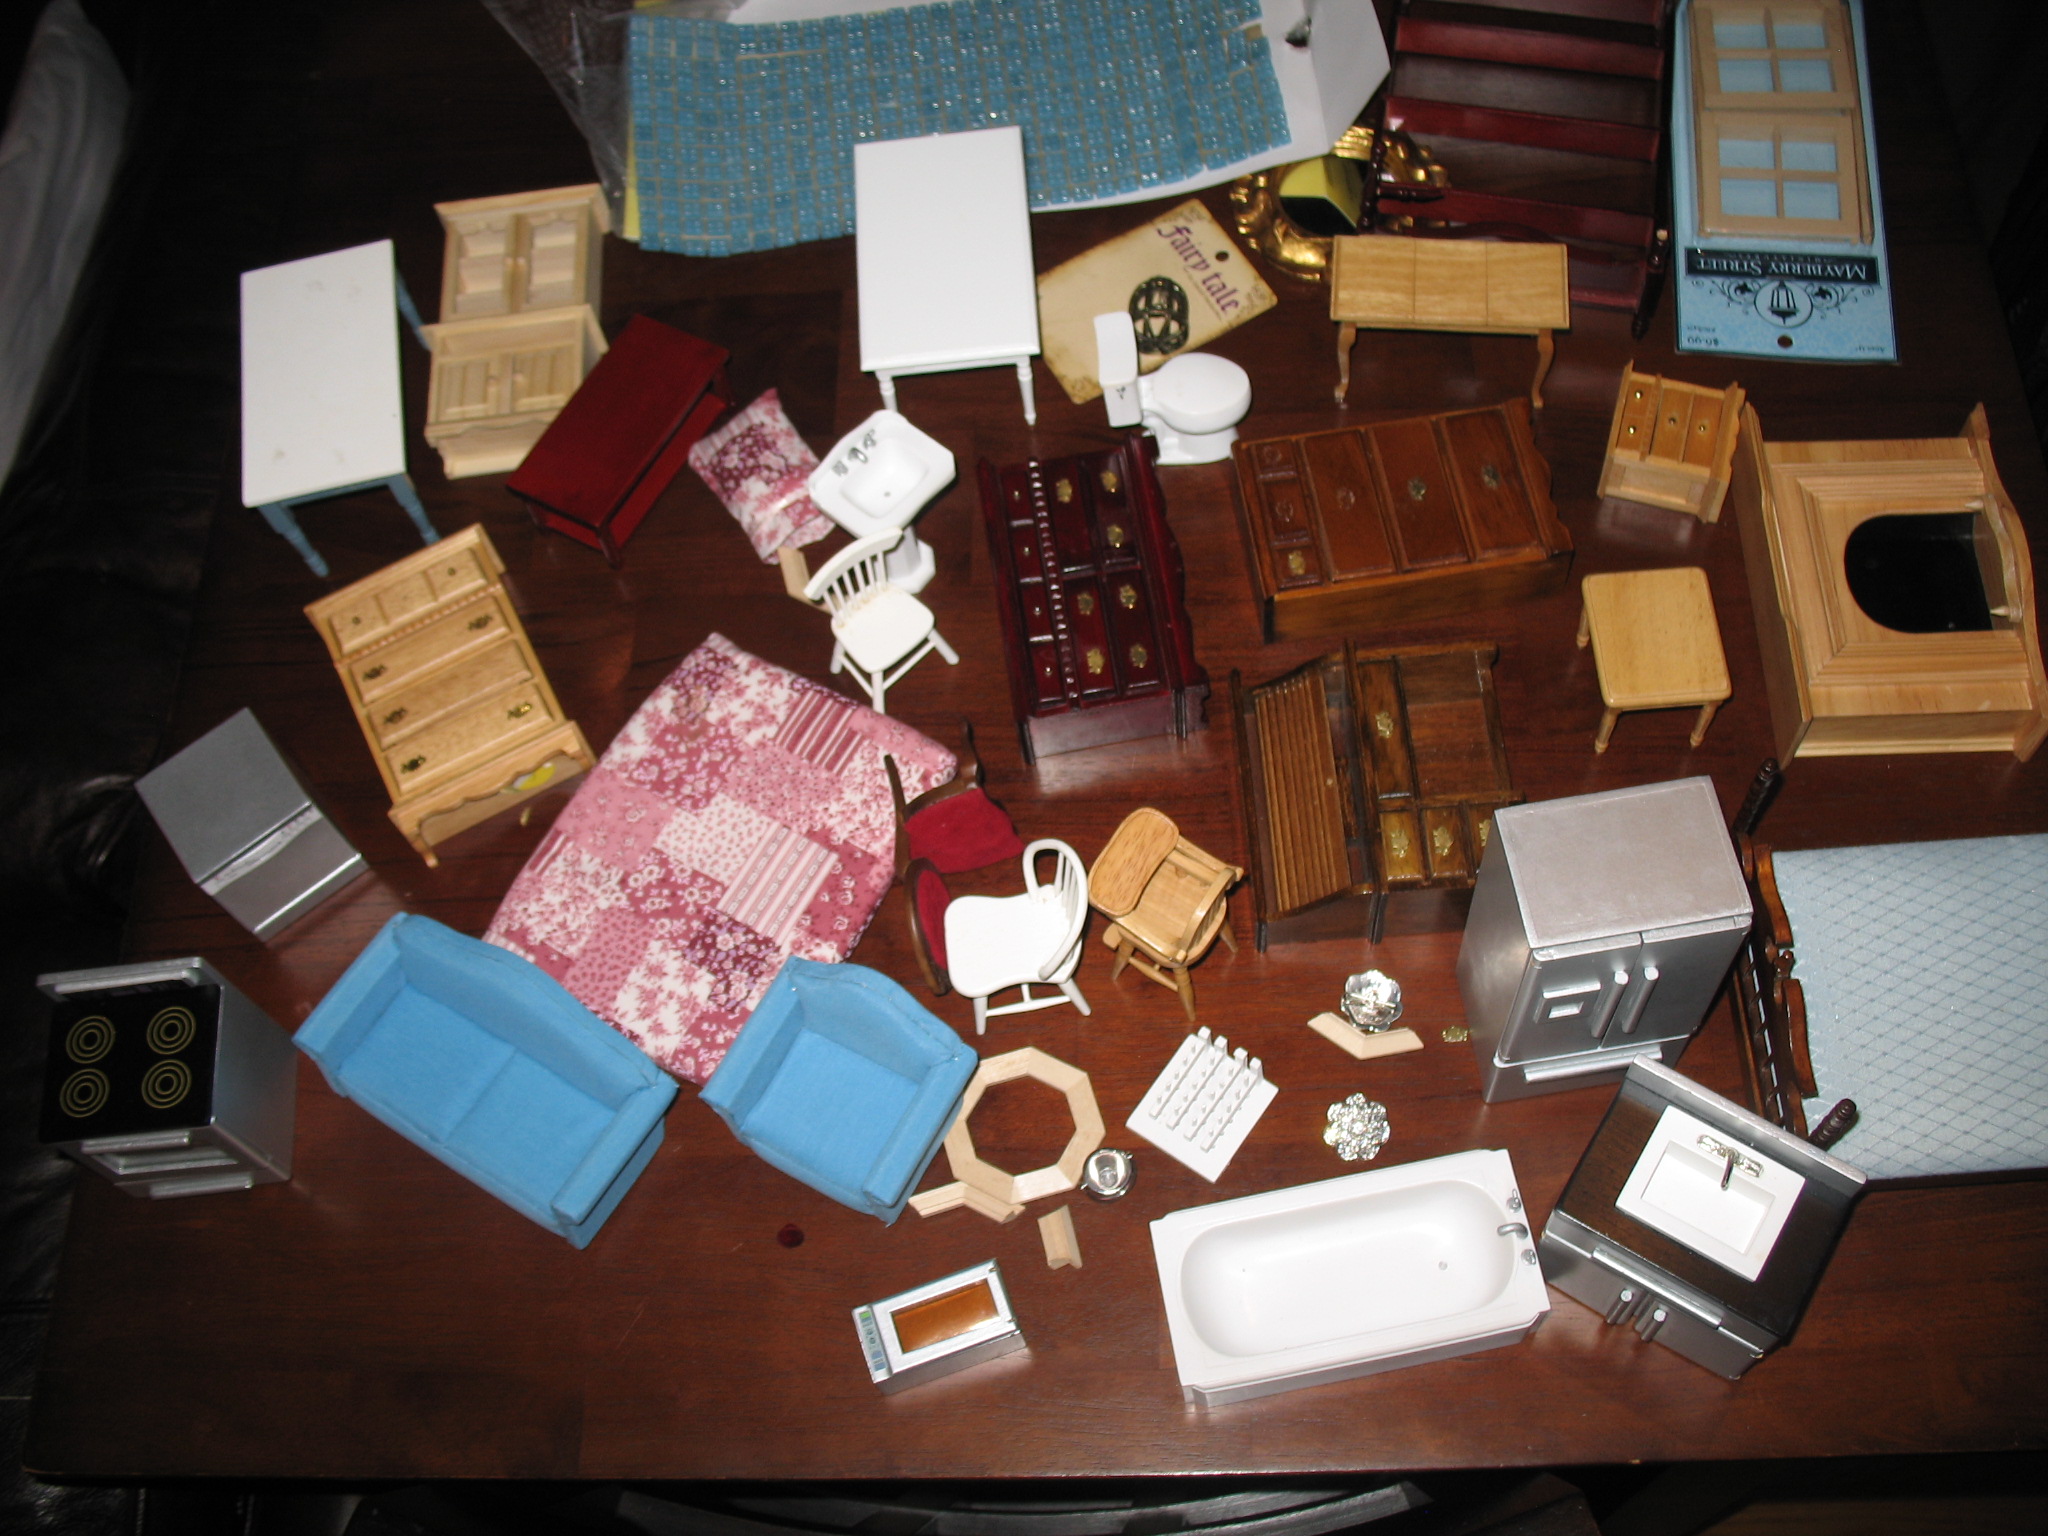
My husband built the frame of the dollhouse to fit into the cubby in Eevie's room. We then primed and painted it white. Most of the dollhouse furniture came from an ebay seller. We lucked out when we found a lot of broken but fixable furniture for $35. Some of the furniture came from DHE minis, Groton Hobby, and Hobby Lobby. The furniture was all airbrushed to make it look more modern. Dressers got beaded knobs. The office chair was reupholstered. The kitchen wall was actually tiled with miniature tiles from Hobby Lobby. Hobby lobby also had lots of charms and jewelry items that were used throughout (the monkey, turtle, striped bucket, rocking horse, chandelier above kitchen table, etc). I created the artwork /posters by making tiny versions of some of the artwork Eevie actually has in her nursery (Trafalgar Square on Etsy). I then created the frames and painted each. The Minnie Mouse and Tinkerbell art are stickers in mini charms. There is also a picture of our daughter in the adult bedroom. Flower arrangements were made from flowers bought at Hobby Lobby. I cut them down and glued them into Lipstick tube covers, tiny glass jars, and thimbles. I found backgrounds for each window so it looks as if there is scenery outside. I also made the bedding and pillows. Fabric scraps are from JoAnn Fabric and samples from Serena and Lily. Fusible webbing worked well for the edges on the rugs. The dolls are all made by Once Upon a TreeHouse. They are adorable poseable dolls. Some of the rooms got painted and some were wallpapered with scrapbook paper. My husband did the wiring.
Favorite Items
It is too hard to pick, but I really love the kitchen and the little girl's room.
Advice
This was a big project. It took months to complete...way longer than we expected, but it was well worth it. My daughter plays with it all the time and dollhouses are wonderful for imaginative play. Of course, it doesn't stay looking like it does in the pictures. Everything gets moved around, but that is half the fun. If you plan to make your own dollhouse, scour the internet for inspiration and sketch out a plan for each room with the furniture you will need. Old dollhouse furniture can be made to look new and modern with a little paint. You can also do a lot with fabric samples. I also highly recommend the dolls from Once Upon a TreeHouse. Oh, and a glue gun is your best friend for a project like this!
Nancy Carter
Saturday 25th of January 2020
I really like what you did. So many of the Doll houses are for adults only. I'm trying to fix up an old doll house from when my kids were little for my now 3-4 year old grandsons. They found it and wanted to play with it so I want to do something similar to what you have done. I already have all the things....except good dolls. I'm going to check out your recommendation on using once upon a Treehouse. They look like they would be just the right thing. Thanks for sharing.
May Mosley
Tuesday 27th of August 2013
Just wow. Amazing job. Makes me wish I can make one for my little girl, too.
Lisa Gregory Erdmann
Friday 23rd of August 2013
This is unbelievable amazing with all of the attention to detail and the electricity on top of it! What a blessed little girl and such talented and creative parents!
PN_Sabrina
Sunday 18th of August 2013
Well-done project!