Description
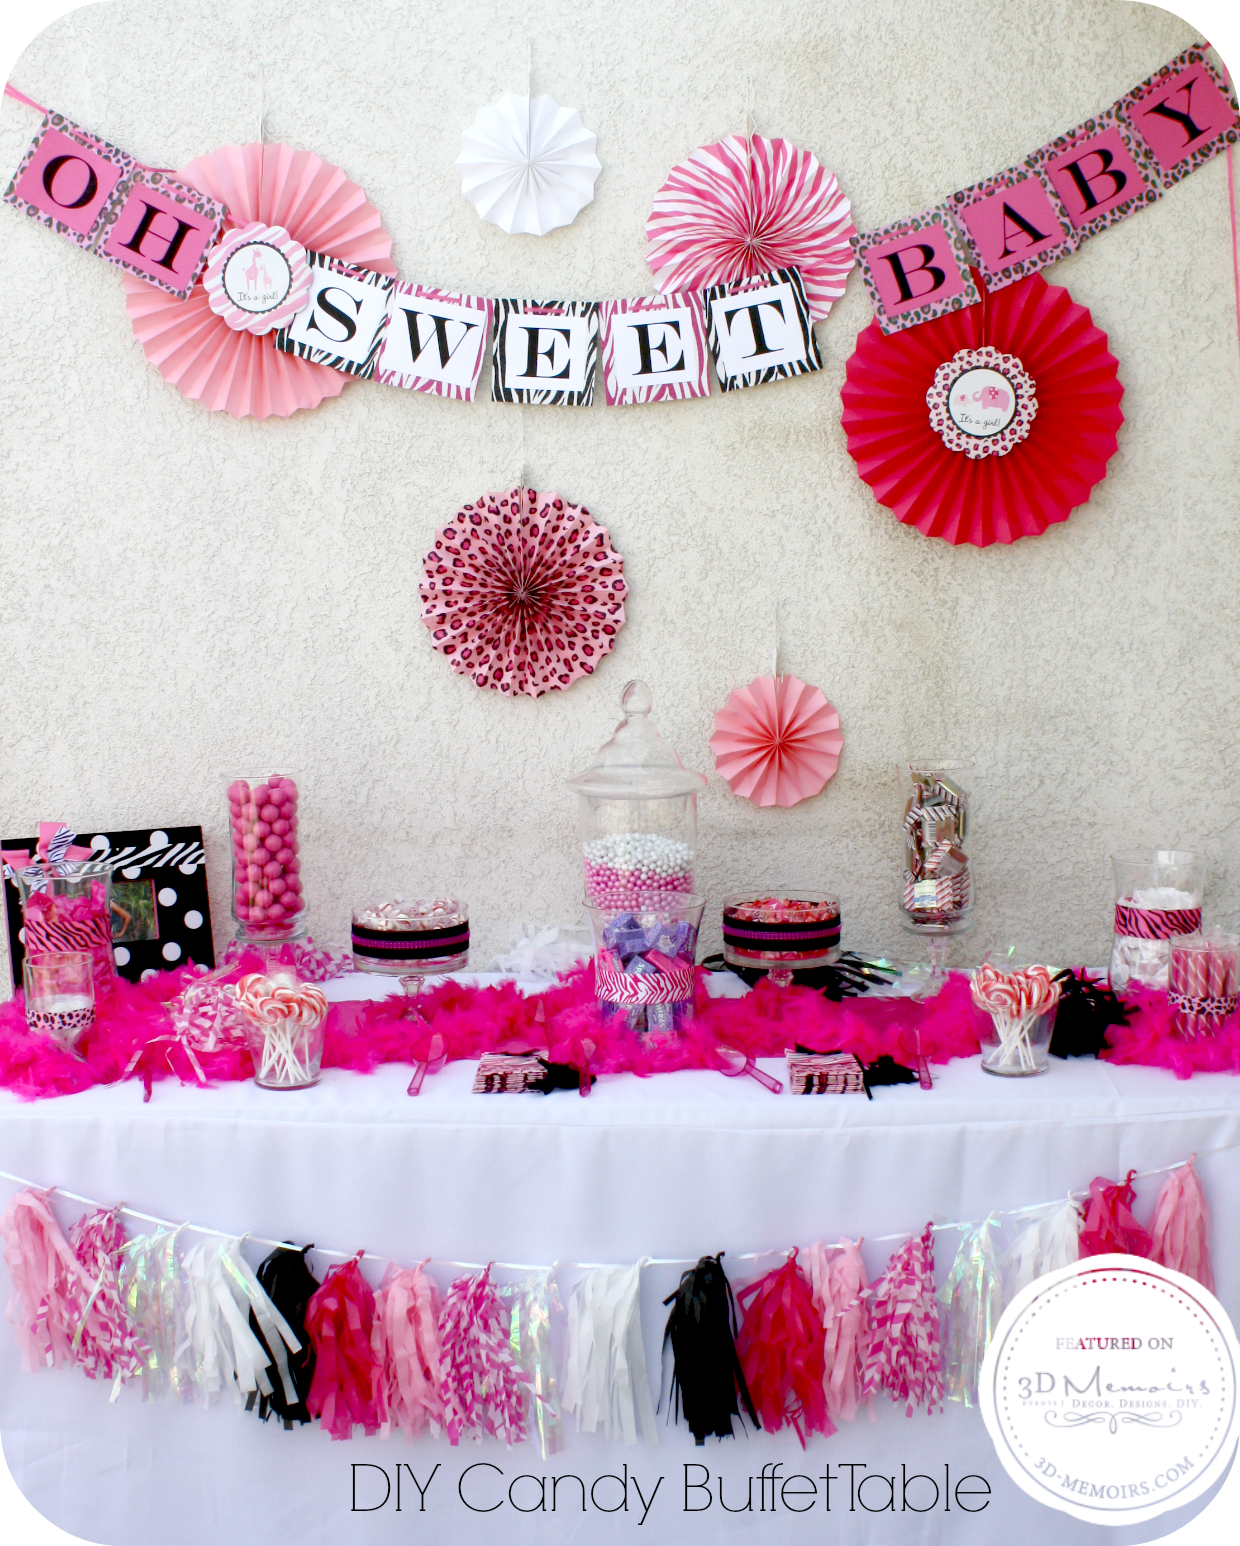
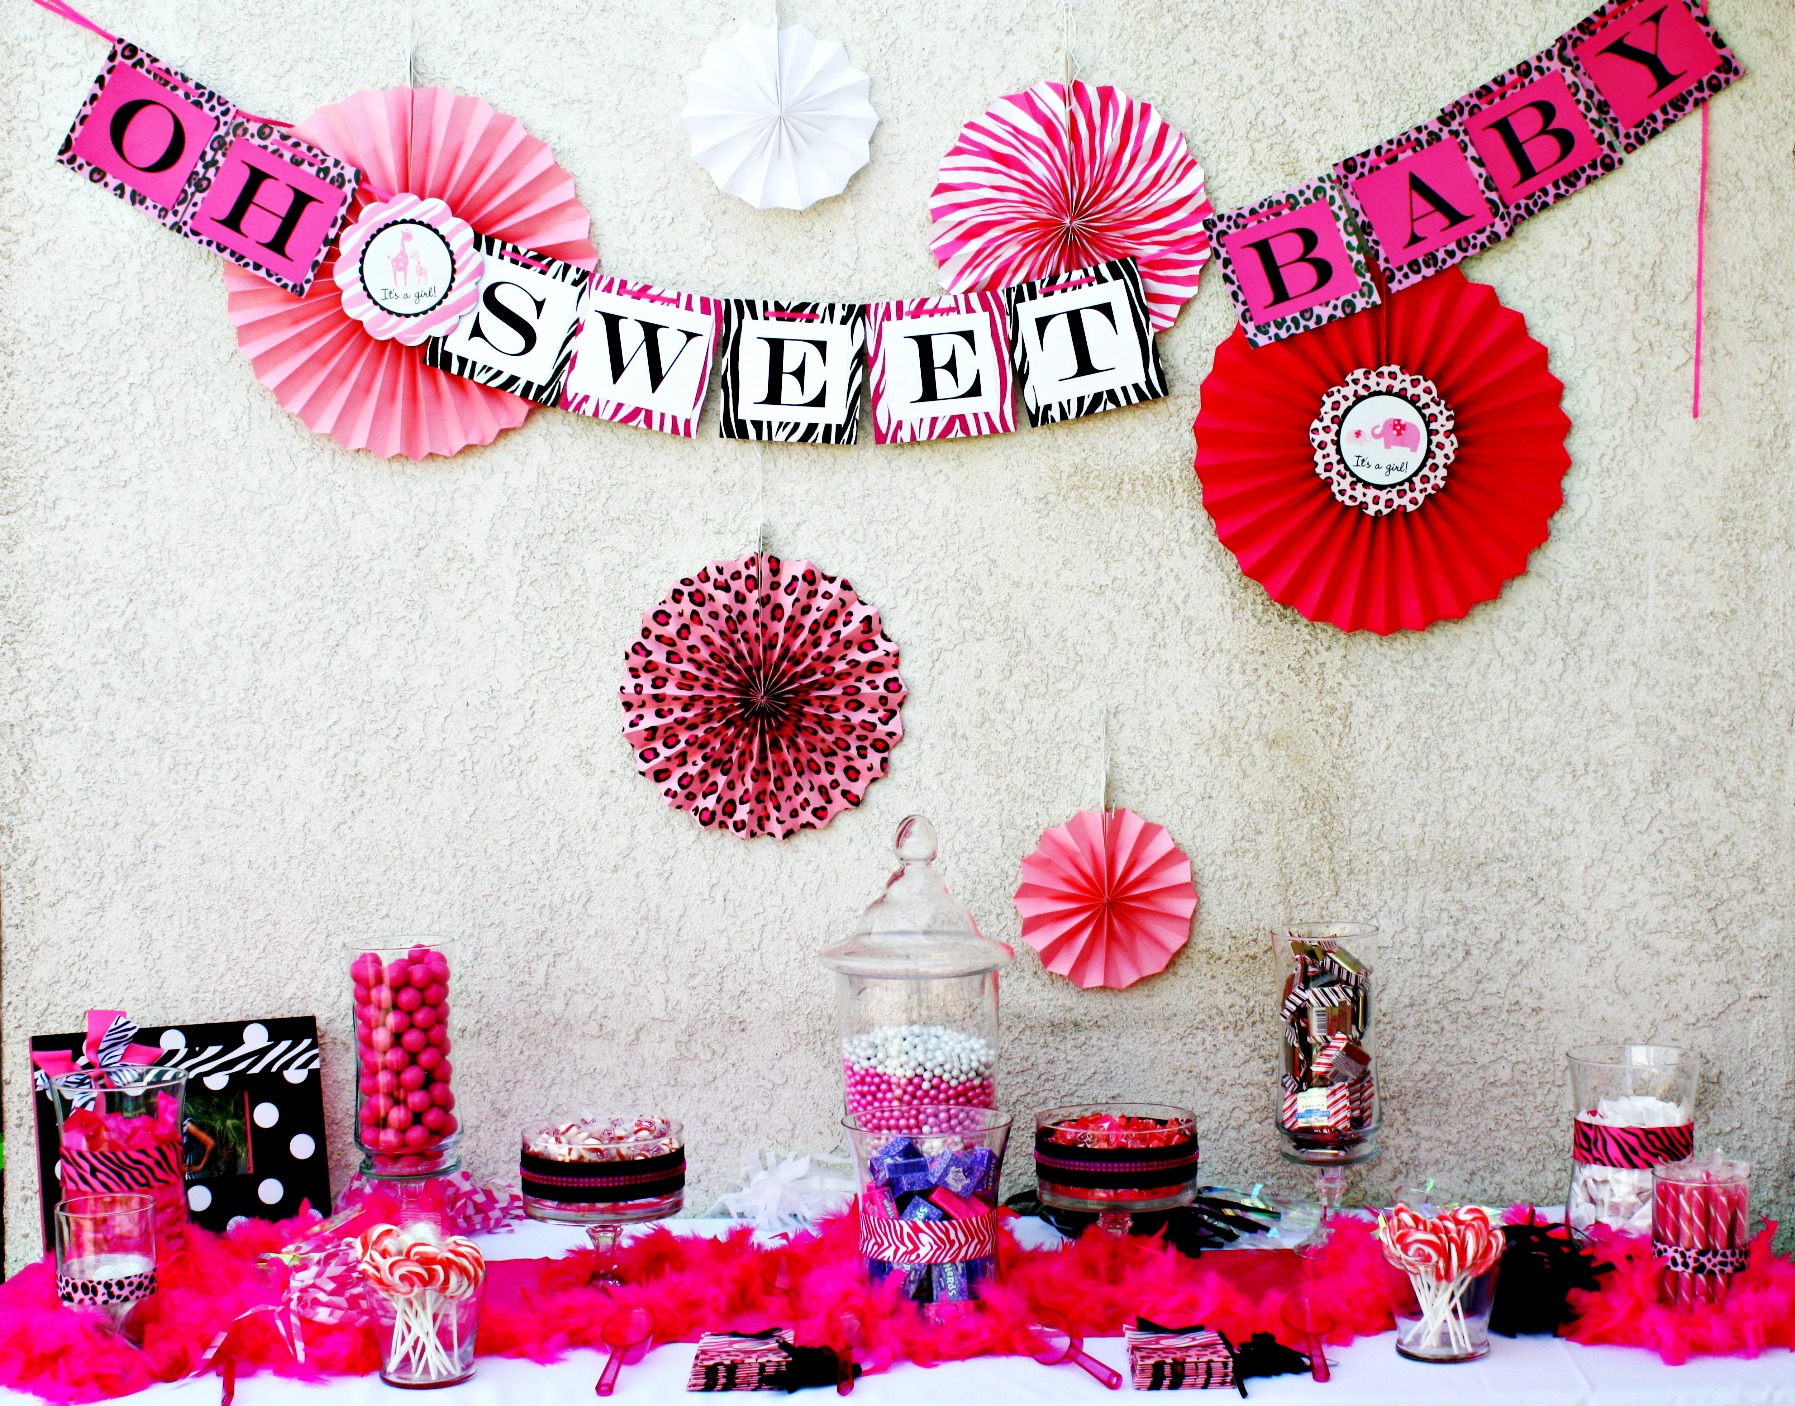
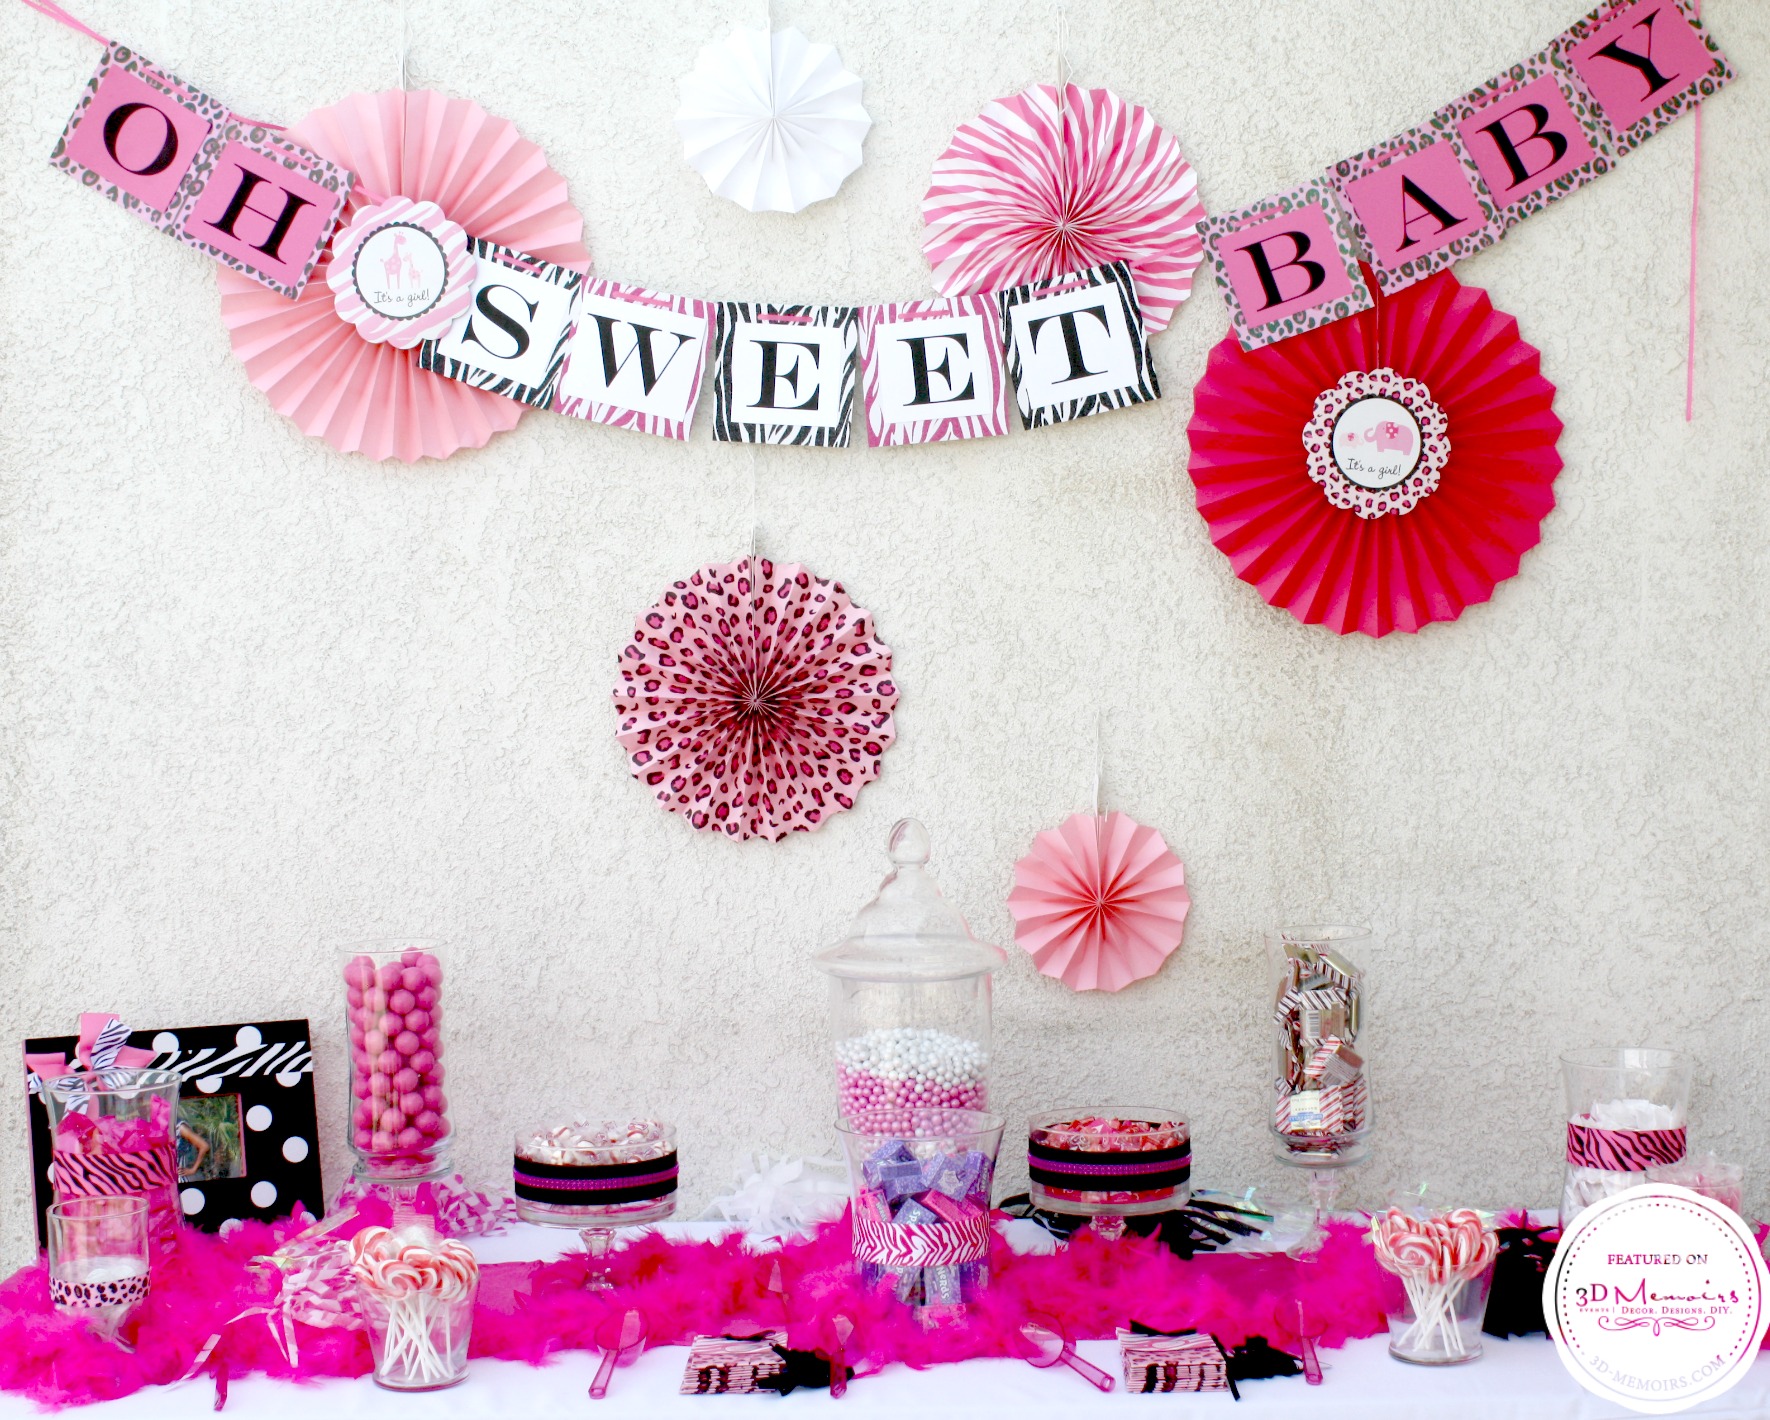
Oh sweet baby! This past weekend I put together the most vibrant and gorgeous candy buffet table for a baby shower. Filled with DIY projects, this creative candy buffet was a hit with the guests! I loved the final product so much that I couldn't wait to share it with you. I hope that it provides you inspiration for your next baby shower or candy buffet.
Design Inspiration
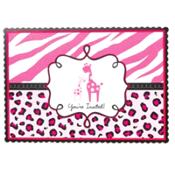
The inspiration for this candy buffet came from this adorable Pink Safari baby shower invitation from Party City. I loved the invitation because it shyed away from the ordinary by encompassing a fuchsia, pastel pink, white, and black color palette plus 2 different patterns - zebra print and leopard spots. I knew this was going to be a fun challenge for me to combine these various components together cohesively in a beautiful candy buffet.
Decorating Style
DIY all the way!
Project Details
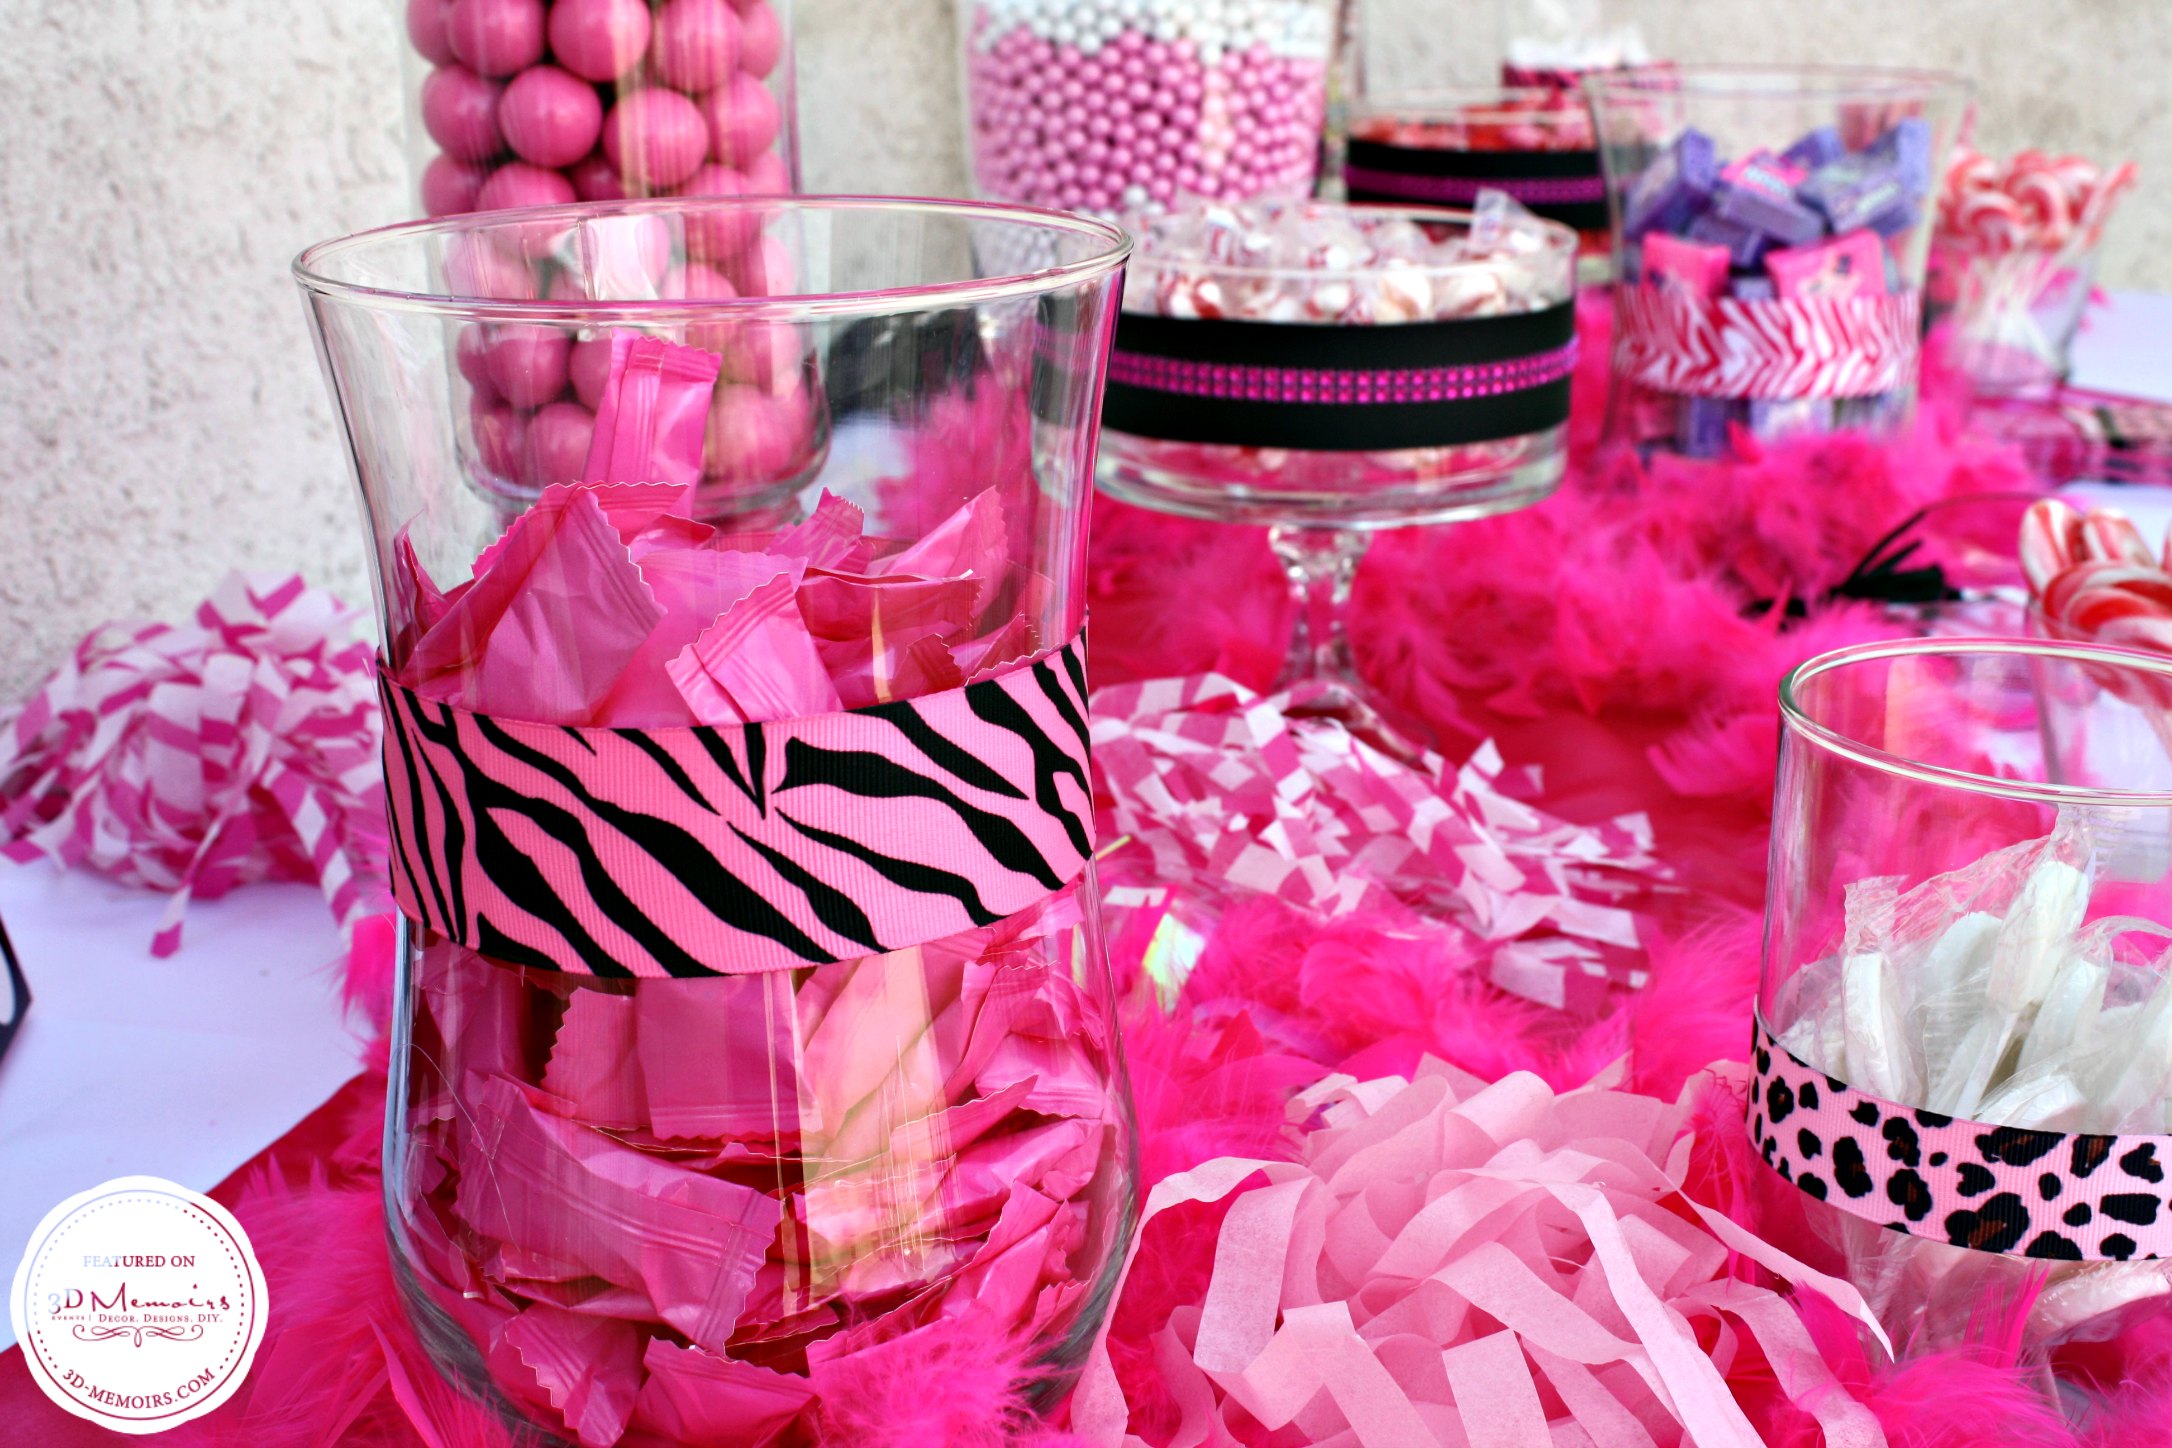
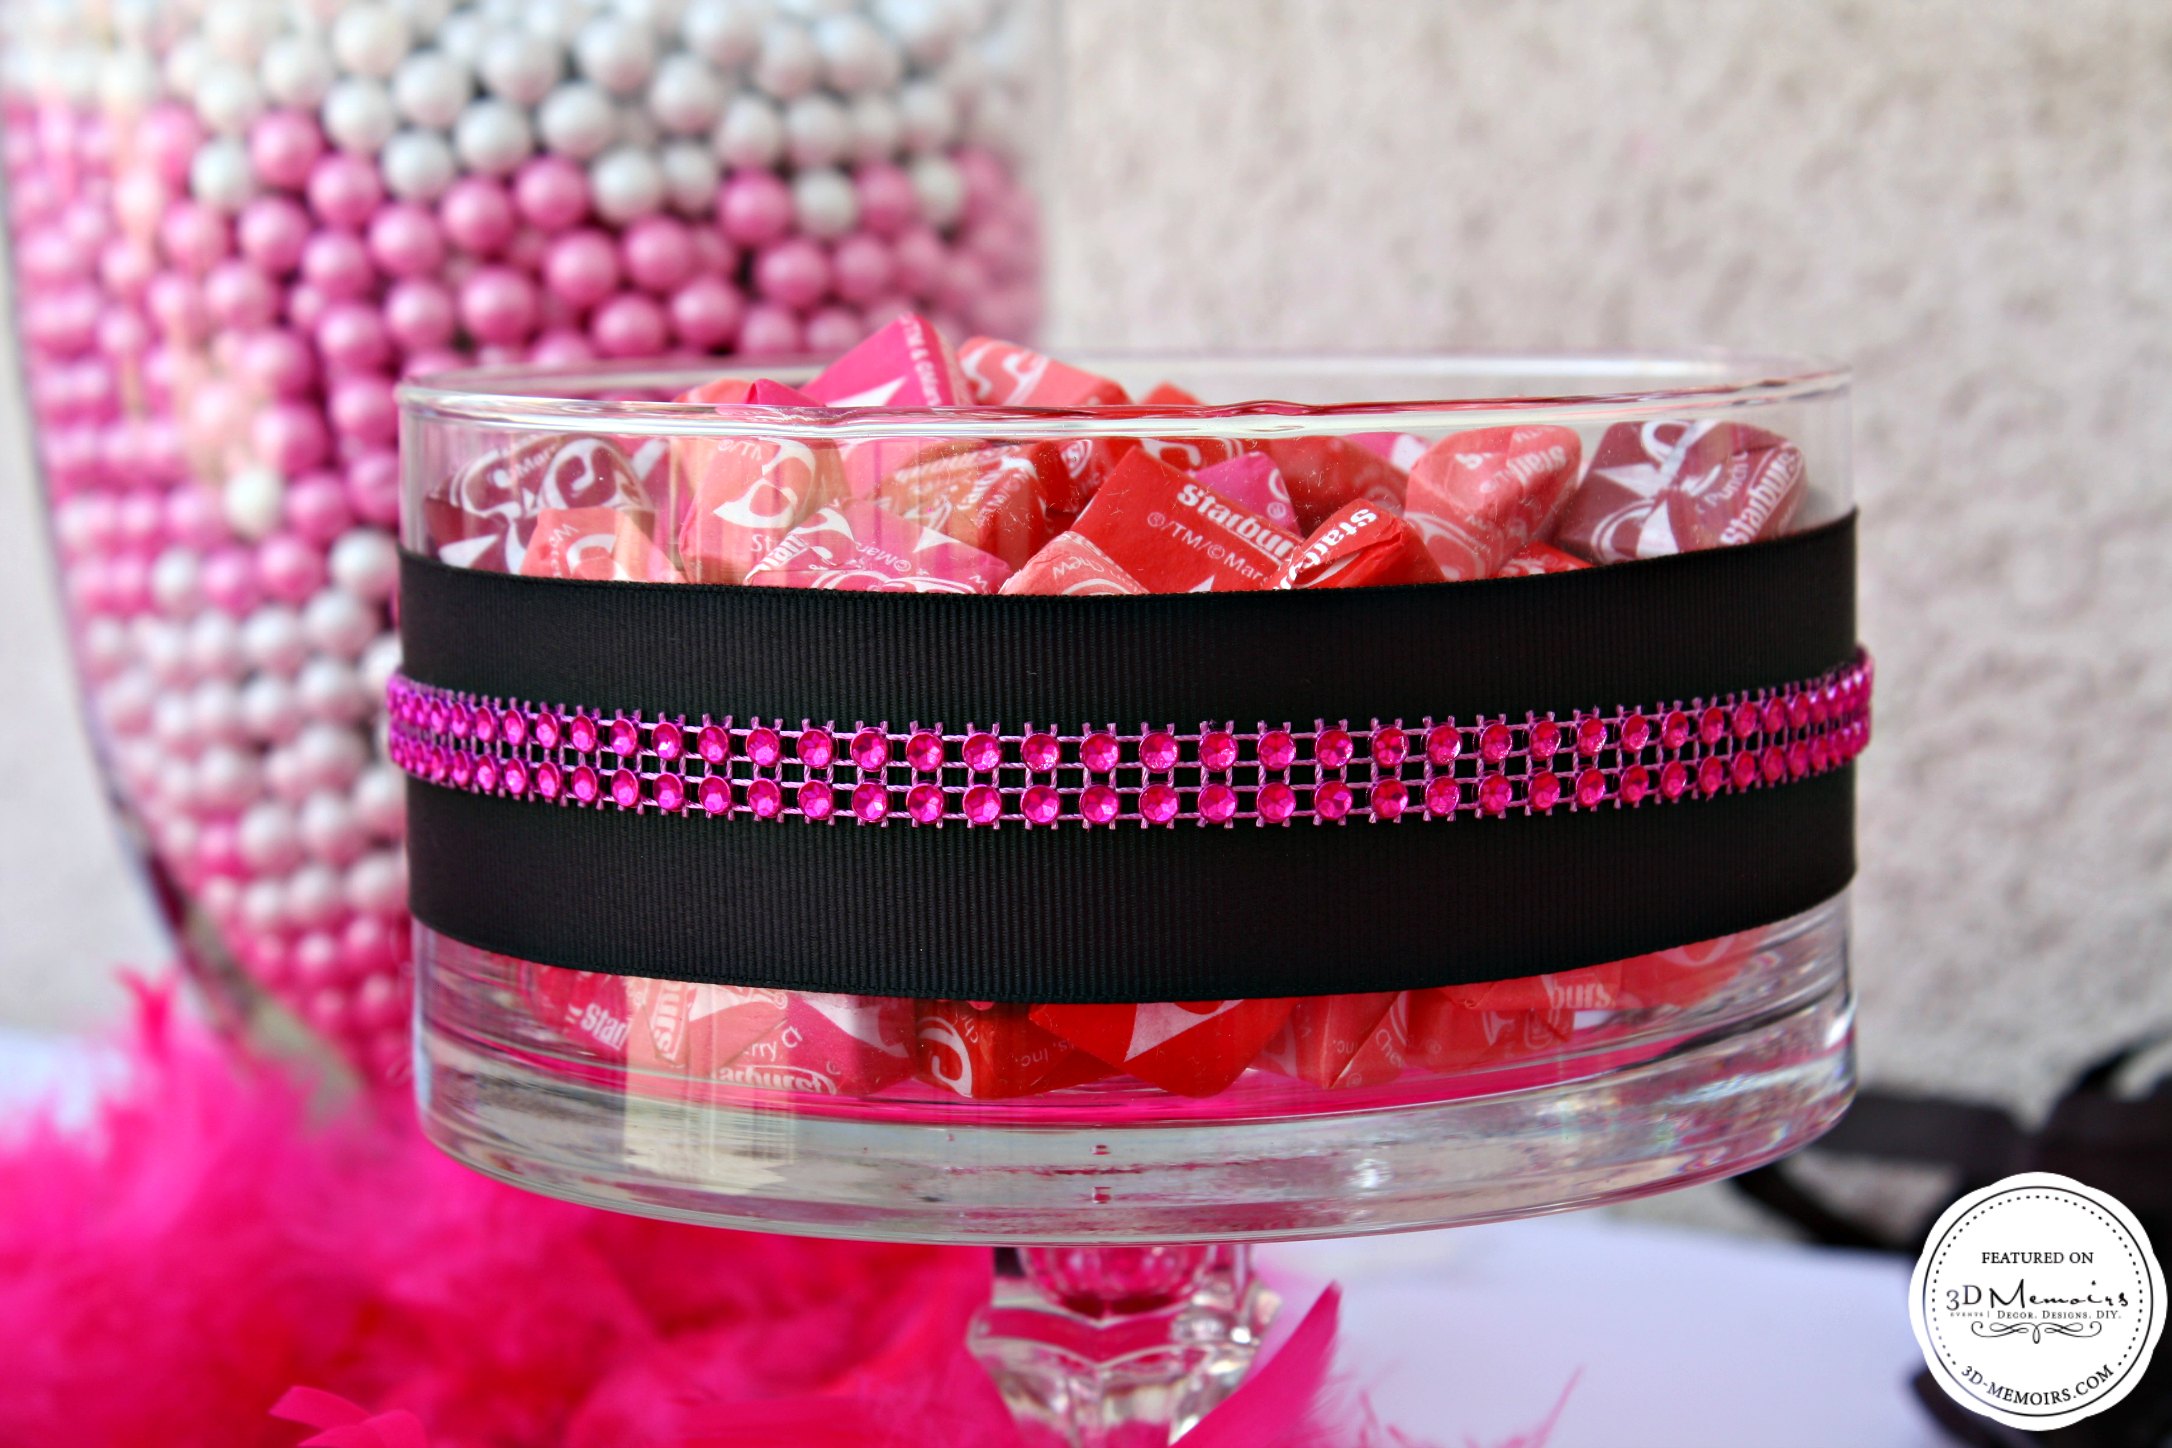
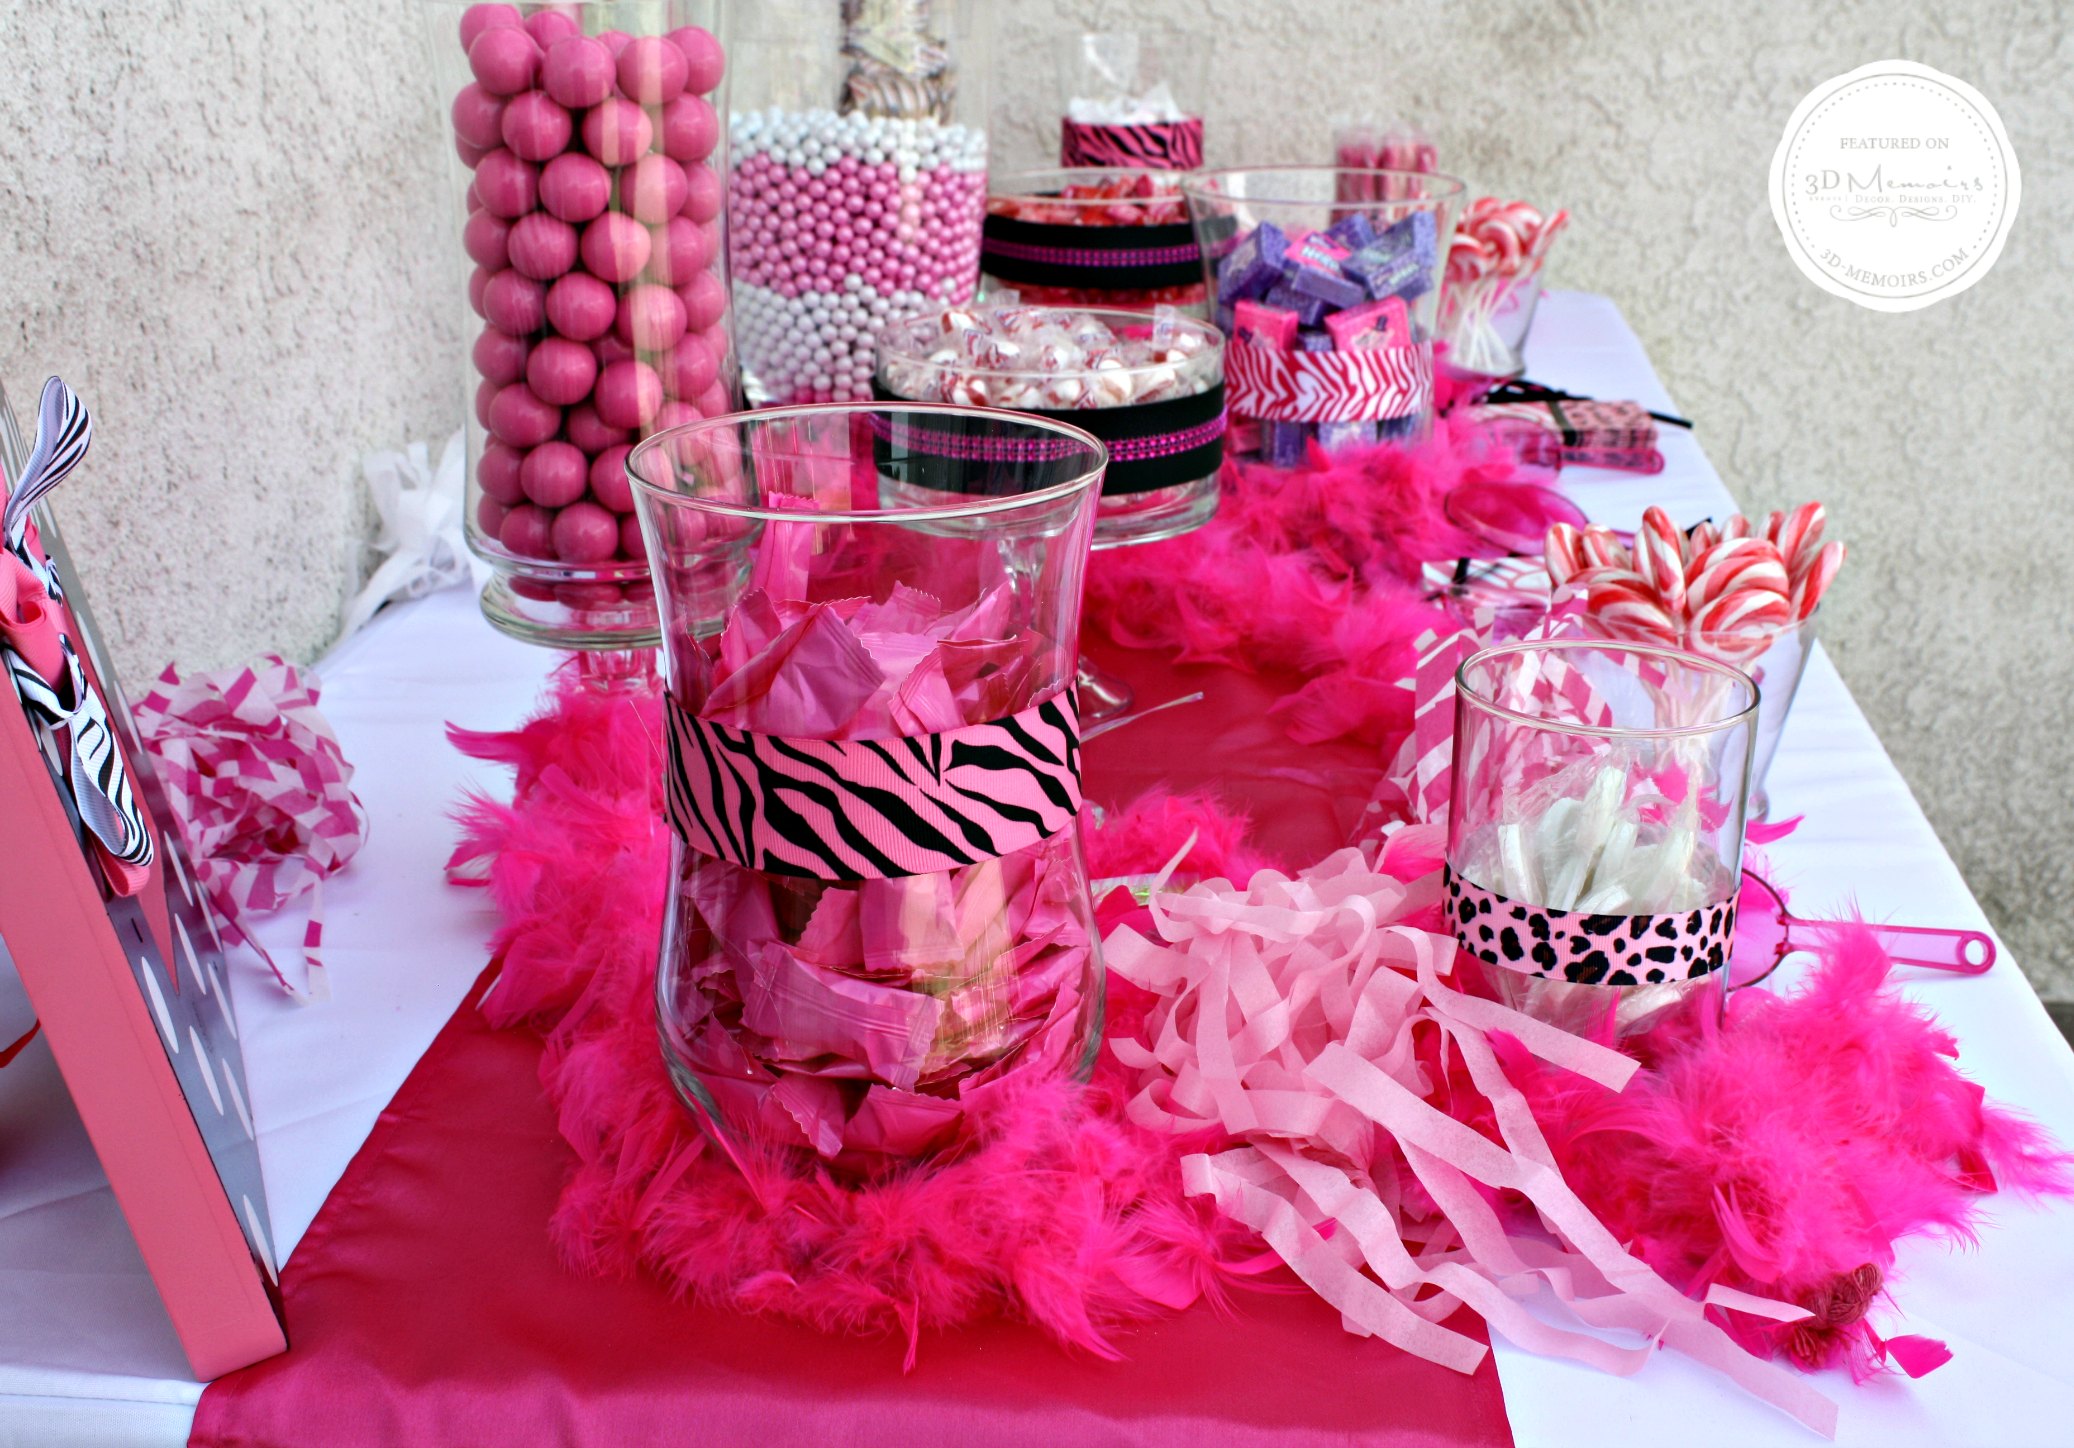
First I searched around for appropriate "candy jars" and decided to go with a variety of different shapes, heights, widths, and sizes. I purchased vases from Walmart, Dollar Tree, and Michaels since I found them to be the best retail options. (I also purchased some from a wholesaler I have membership to called Shinoda's.) DIY alert: To add additional height to 2 of the cylinder vases, I simply purchased a glass candlestick holder from the Dollar Tree and glued it to the base of the vase. For added accents, I bought various ribbons matching the theme colors and patterns and hot glued them to the vases. (The best way to do this is to tape one end of the ribbon to the vase, wrap it around and then hot glue the other end of the ribbon to the overlapping ribbon base. This way you can always pull off the ribbon and reuse the vase for a future event.)
Note: remember when you are looking for vases for a candy buffet you don't want to get anything with a skinny neck that would make using tongs or a scooper difficult for your guests to grab the candy.
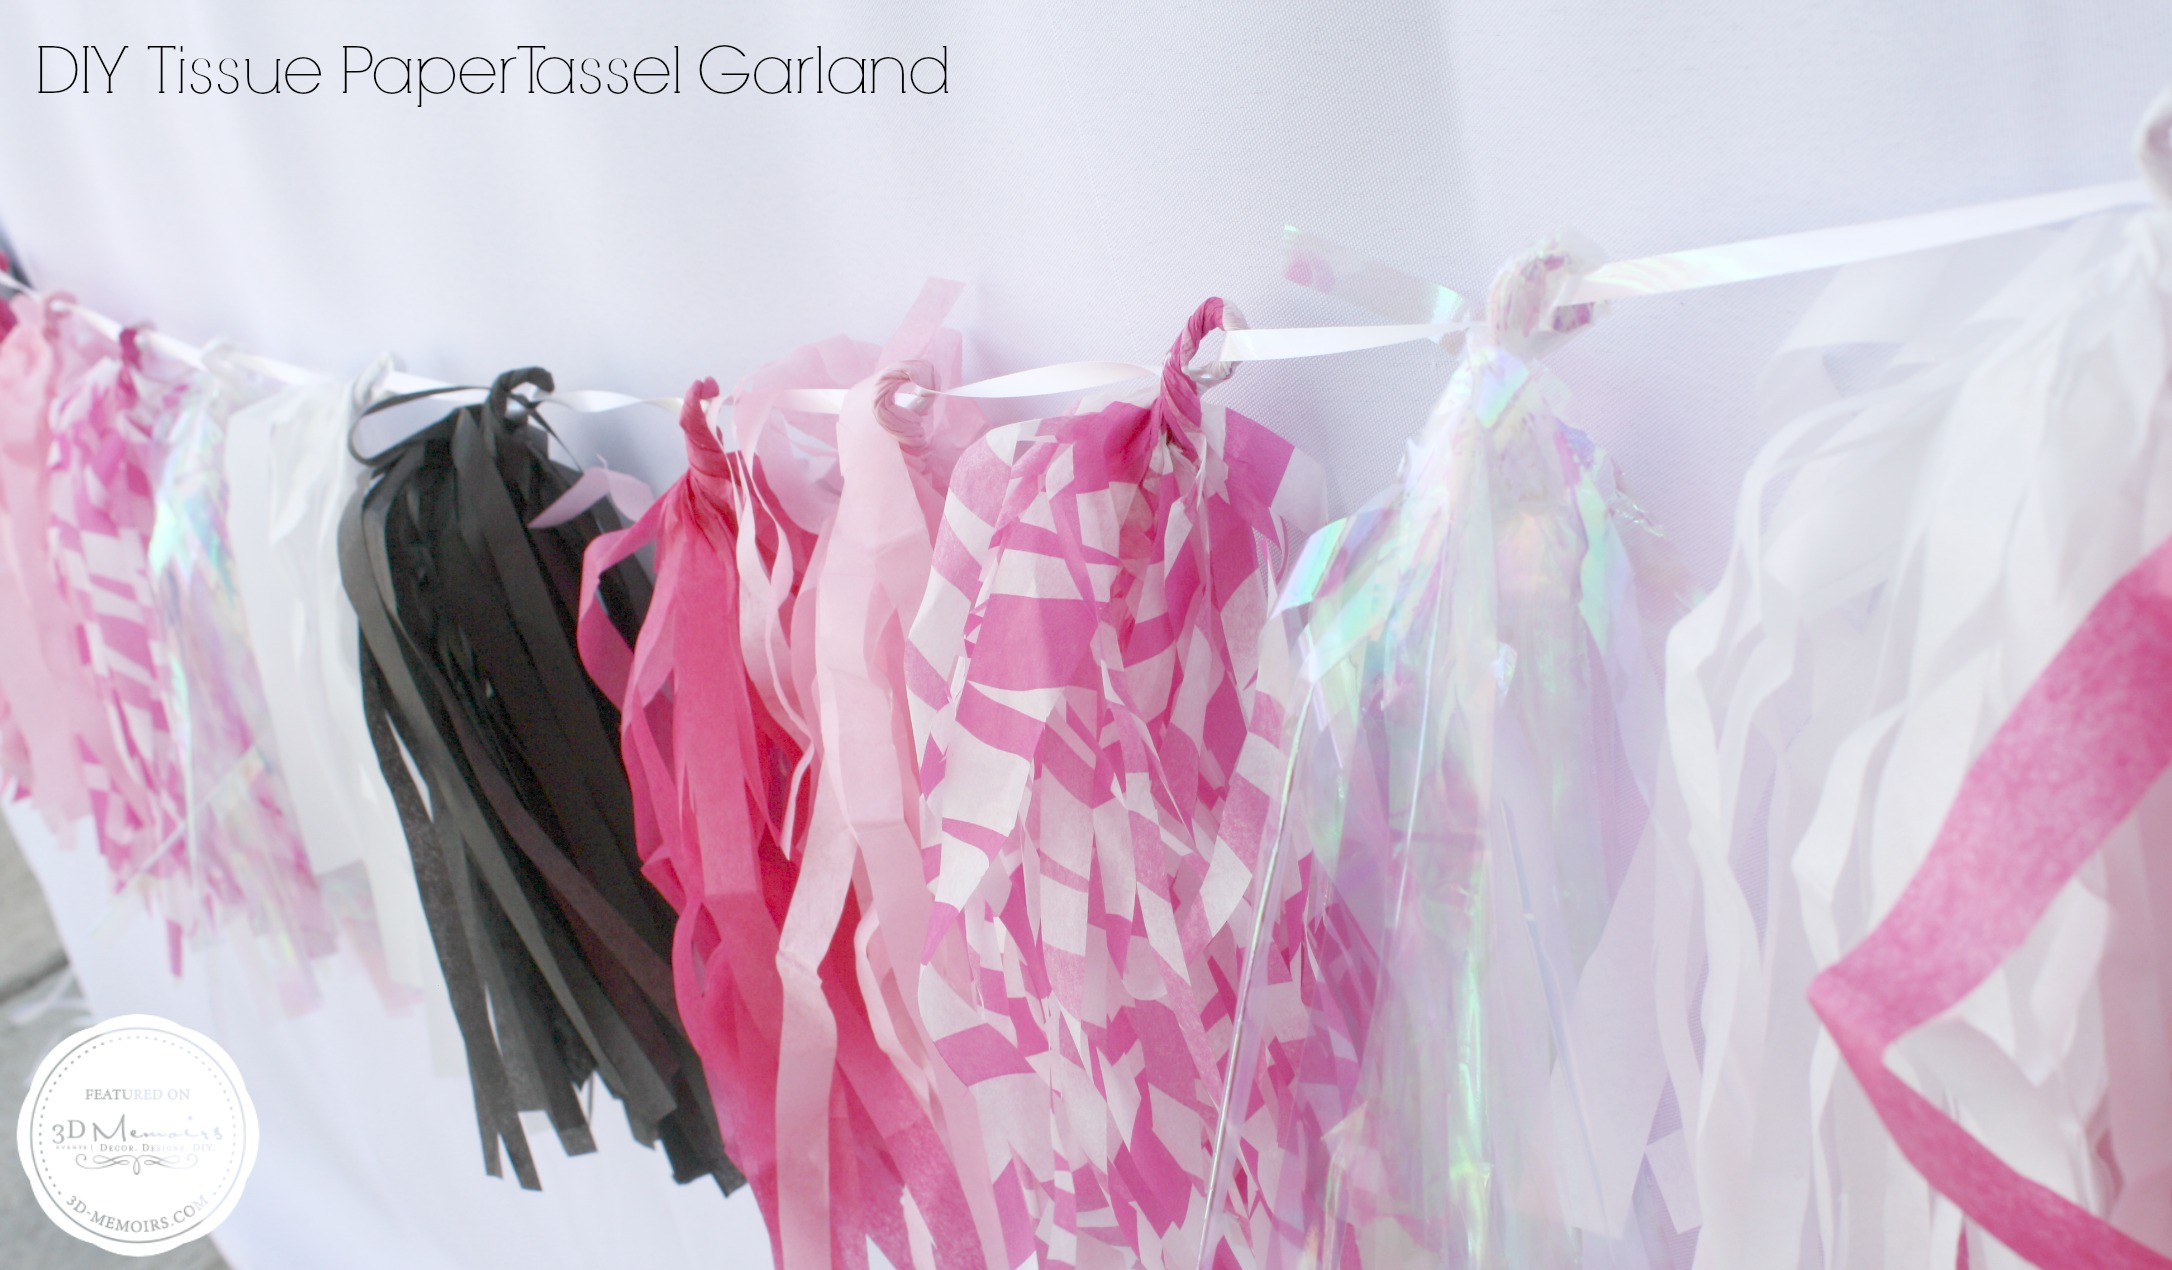
Next, being a big DIY fan as you know, I decided to make a tissue paper tassel garland and make the banner, instead of purchasing one. Thanks to HGTV's DIY instructions I was able to pull off a beautiful complimentary tissue paper garland tassel for the candy buffet table. It is really easy to make, cost effective, and a gorgeous decoration addition to any event or themed table. I am sure this won't be the last one you see from me. :)
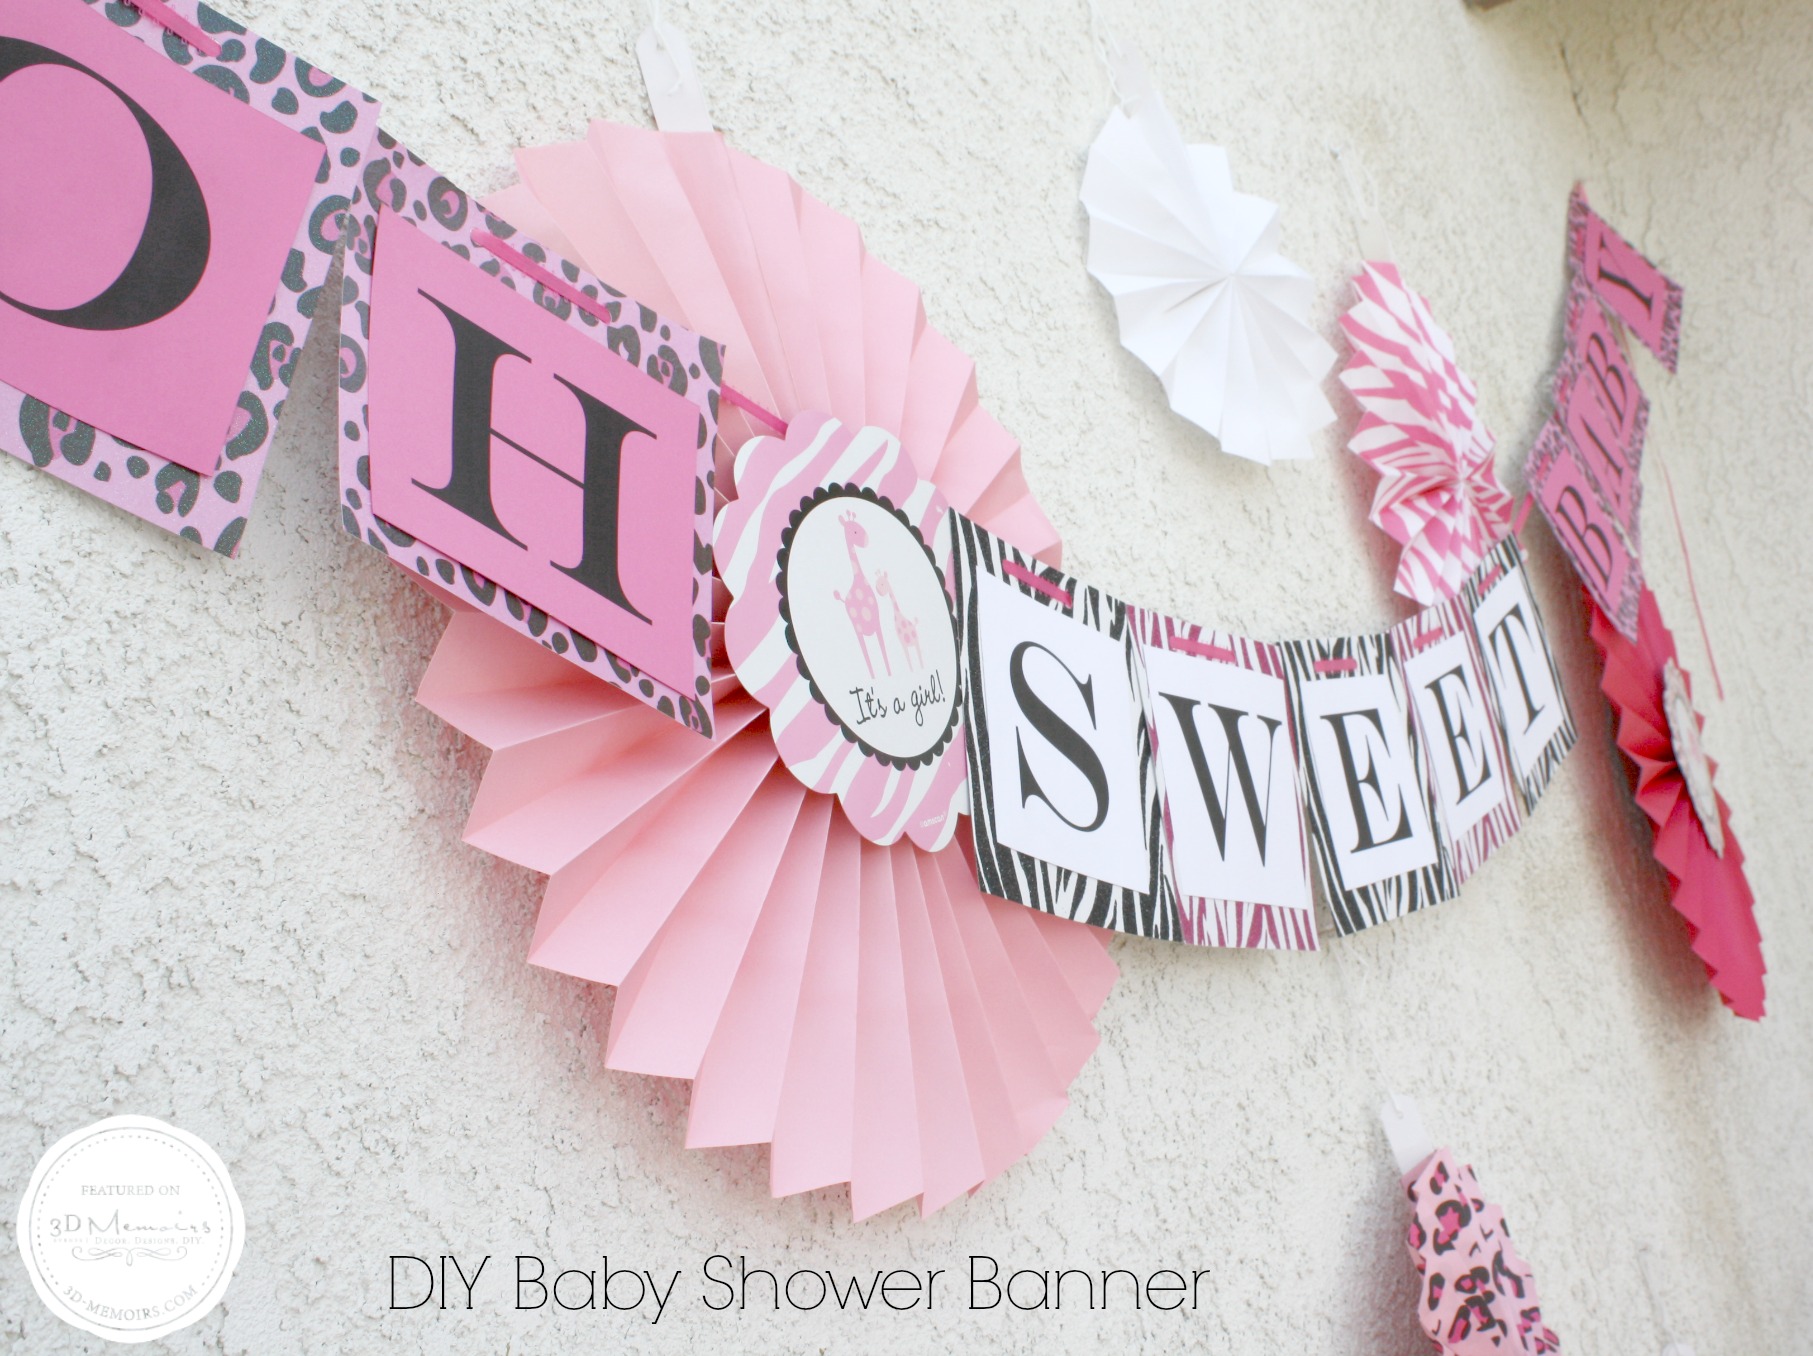
For the banner I came up with a creatively cute idea, instead of the typical "It's a Girl" or "Baby Shower", I came up with "Oh Sweet Baby", which I thought was the perfect word play to tie together the event and the candy buffet. I made the letters on my computer, cut them, and then adhered them to patterned scrapbooking paper. Then I punched holes in the top and strung ribbon through each letter. It came out beautifully and was a perfect addition to the backdrop for the candy buffet table. Lastly, adding a few paper pin wheels from Party City along with the banner made for an amazing backdrop.
A huge plus for this gorgeous candy buffet were the fitted white rectangular linen and the fuchsia table runner from Linen Tablecloth. The quality of the linen was amazing and elegant plus it just looked so much better than a paper or plastic tablecloth would have. The satin table runner had the perfect brilliant fuchsia color making everything on the table pop! At only $2.39 it is a steal of a deal! I really do recommend purchasing linens from Linen Tablecloth because they are really affordable (usually cheaper than renting) and they provide quality linen that you can re-use over and over again. If you don't believe my raves then head over to their site www.linentablecloth.com - read the reviews and try for yourself!
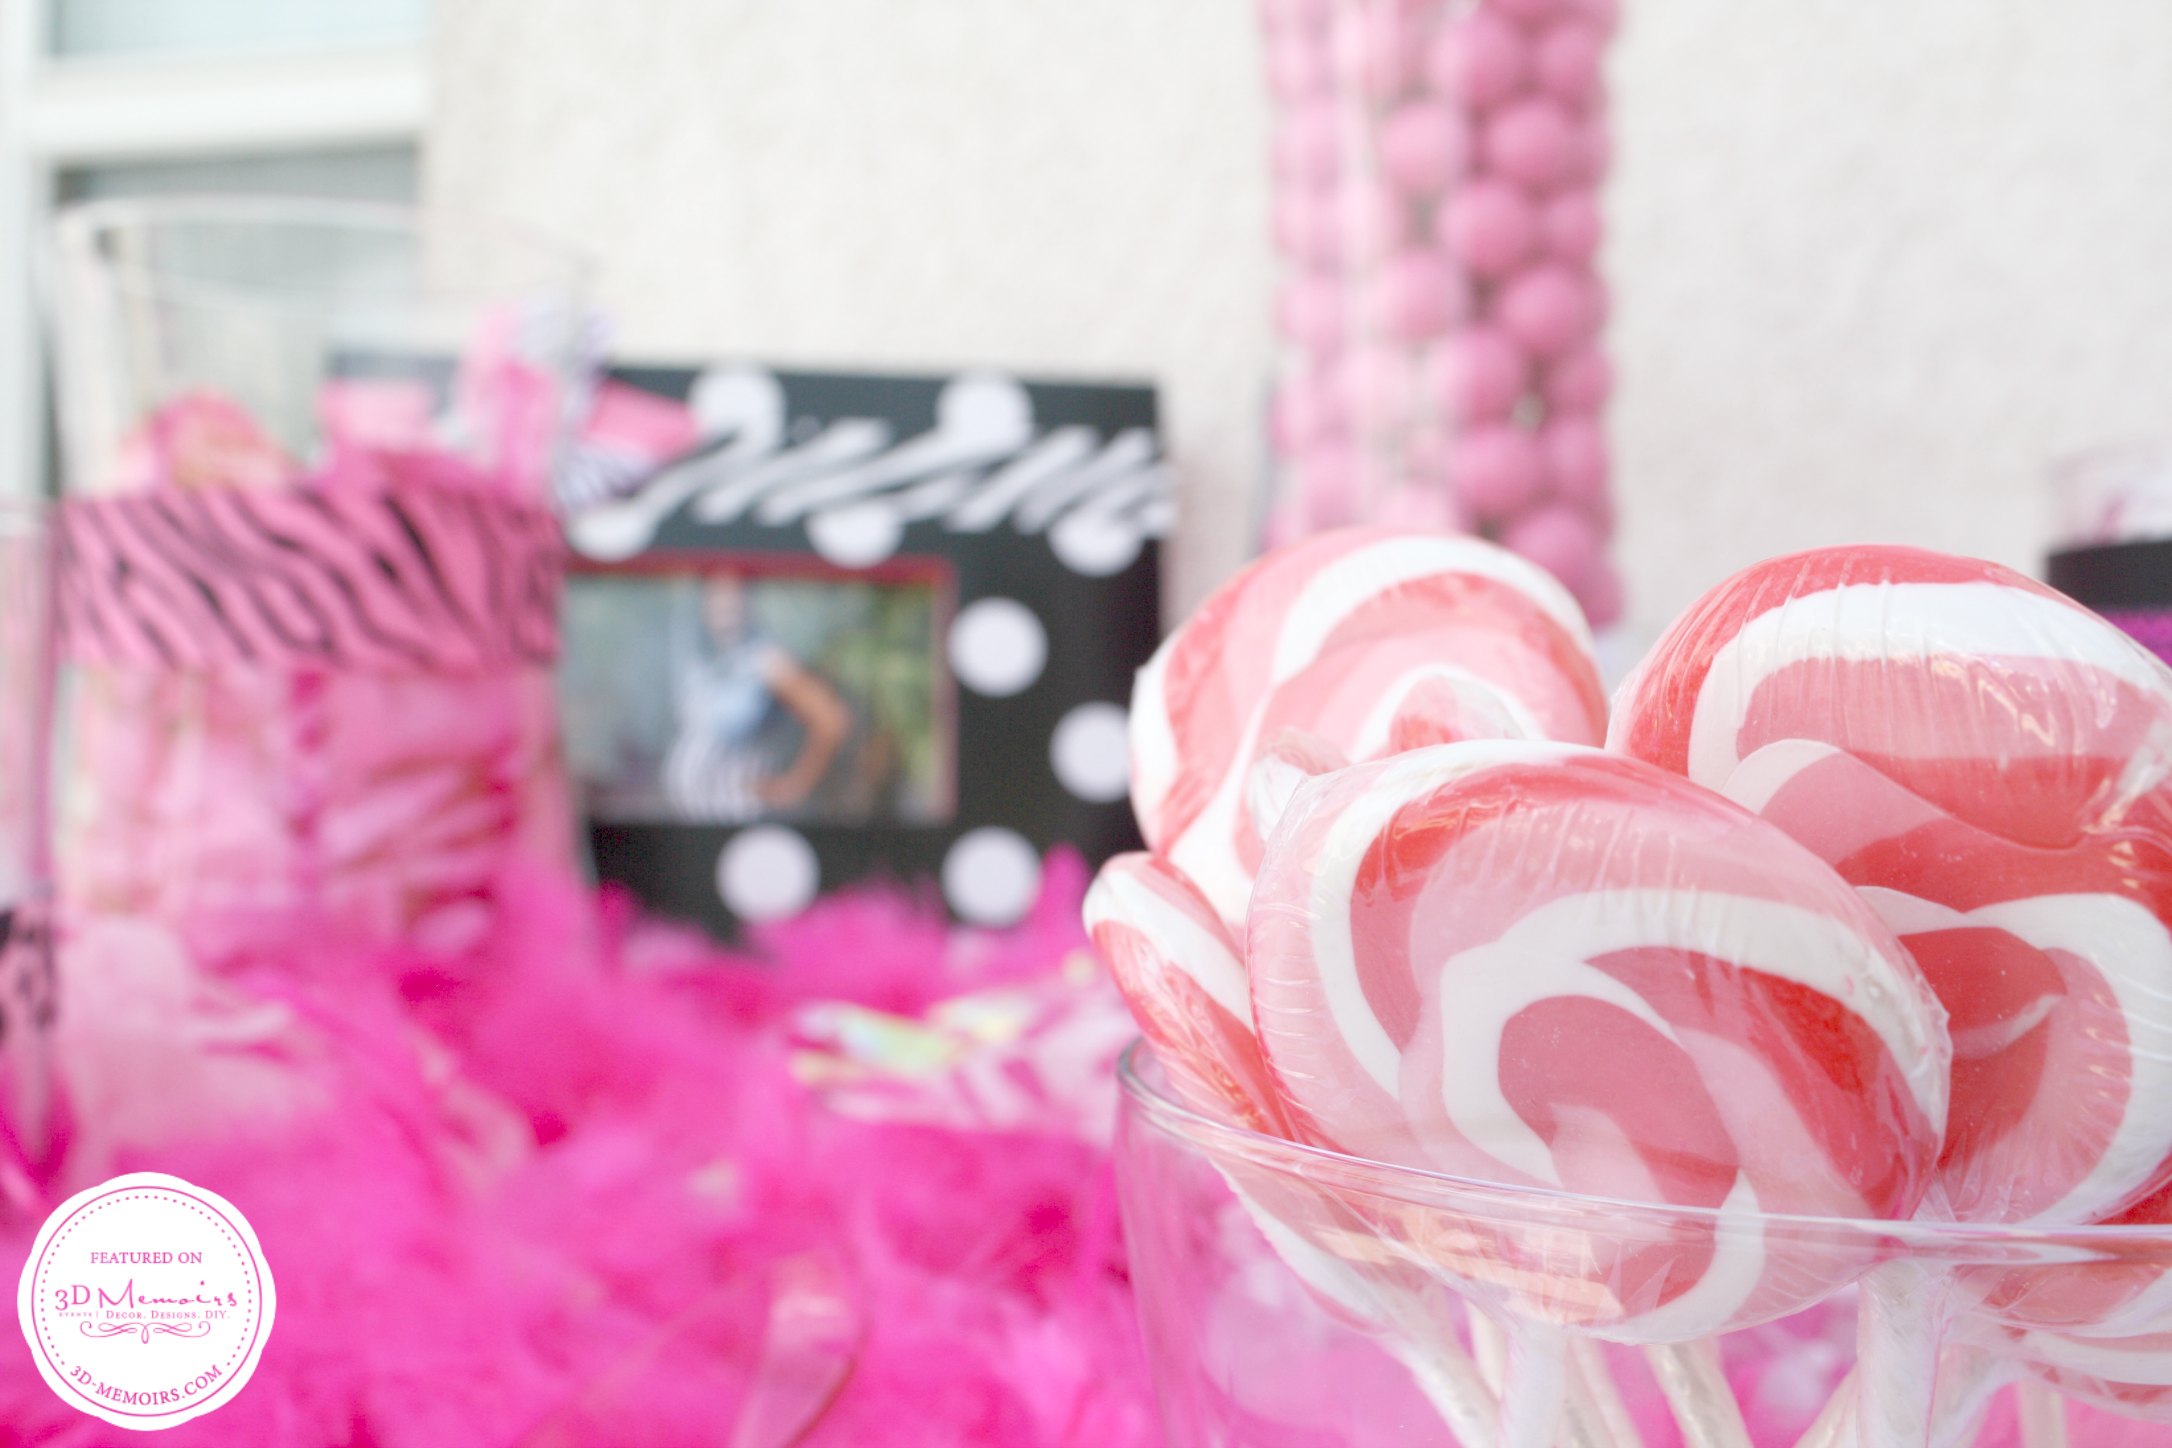
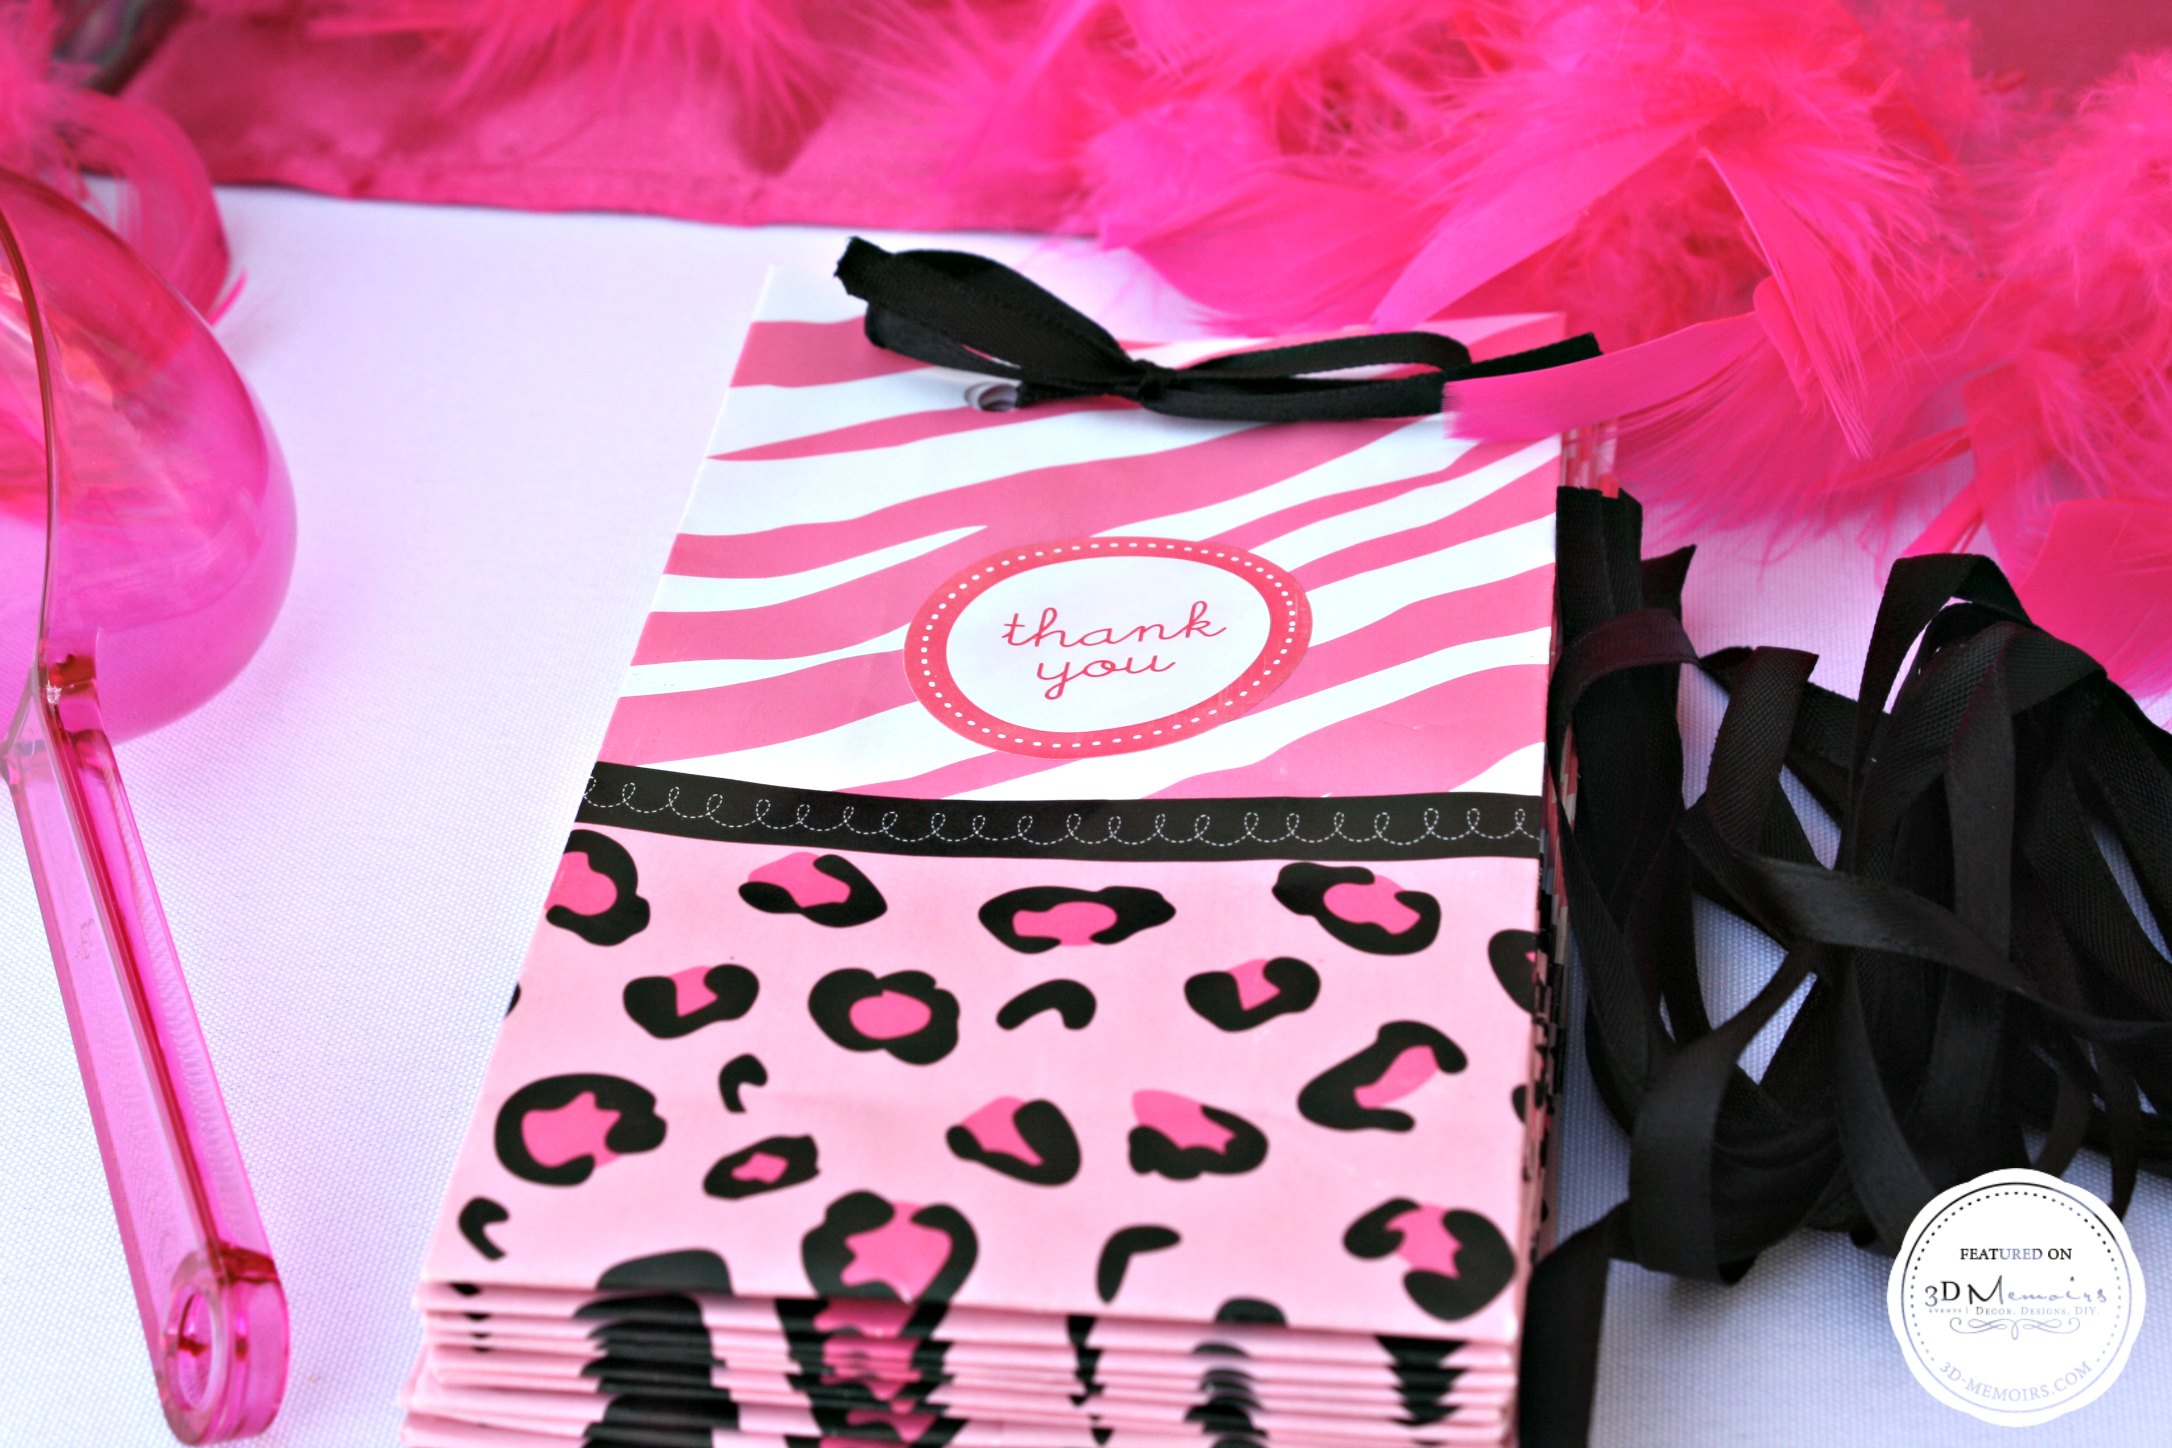
Last but not least, in addition to the candy I added elements like fuchsia boa's from the Dollar Tree, extra tissue paper tassels, a picture frame, small vase with carnations, candy scoopers, and matching favor bags from Party City with Thank You stickers.
For my first candy buffet table I was really blown away with the results once I was able to visually see everything blend together beautifully.
Favorite Items
If I had to pick one I think my favorite is the tissue tassel garland, I just LOVE how it turned out and how beautiful and elegant it looks!
Advice
Here are a couple of tips for a successful candy buffet table:
- Add height and depth by utilizing various vases/jars, staggering on the table, and/or adding decorative boxes or crates for some of the vases to sit on
- Make sure you buy enough candy to fill the vases/jars at least 3/4 of the way
- Add fillers to the table that matches the theme of your occasion (i.e. crystals, toys, flowers, feathers, etc)
- If you have a 6 ft table you'll probably need 12-15 vases/jars for it to look full and complete
- If you can get candy that fits your color palette it always looks awesome but it is not a requirement
- Don't forget the scoopers, tongs, or favor bags for your guests
- If it is going to be outside and it's a hot day, it is best to avoid having chocolate
- Use a table runner, garland, backdrop, banner, tags, or decorate the vases to add beautiful touches to your table

Diy Baby Shower Banner Template – My Blog
Tuesday 28th of July 2020
[…] Download Image More @ projectnursery.com […]
Candy Themed Baby Shower, Readers' Favorite - Project Nursery
Tuesday 30th of December 2014
[…] DIY Baby Shower Candy Buffet by Elvira Click Here for More Photos and Details […]
Vote: November Party Finalists 2013 - Project Nursery
Wednesday 20th of November 2013
[…] DIY Baby Shower Candy Buffet by Elvira Sabrina, of Project Nursery, says, “I love the way the buffet table just pops here as the party stylist thoughtfully explains how much detail went into planning this look. I enjoyed reading her explanation of how she created this playful candy display, and the pictures prove her hard work paid off!” […]
Ginger
Sunday 3rd of November 2013
Love your pink and black color motif! And you have them in animal prints, too!
Elvira DeCuir
Monday 4th of November 2013
Thank you so much Ginger!