


Description
This was the first birthday party for my daughter, Ryman. She is our first child, so I had never planned a child's birthday party before but was determined to make our favorite person's first birthday perfect.
Design Inspiration
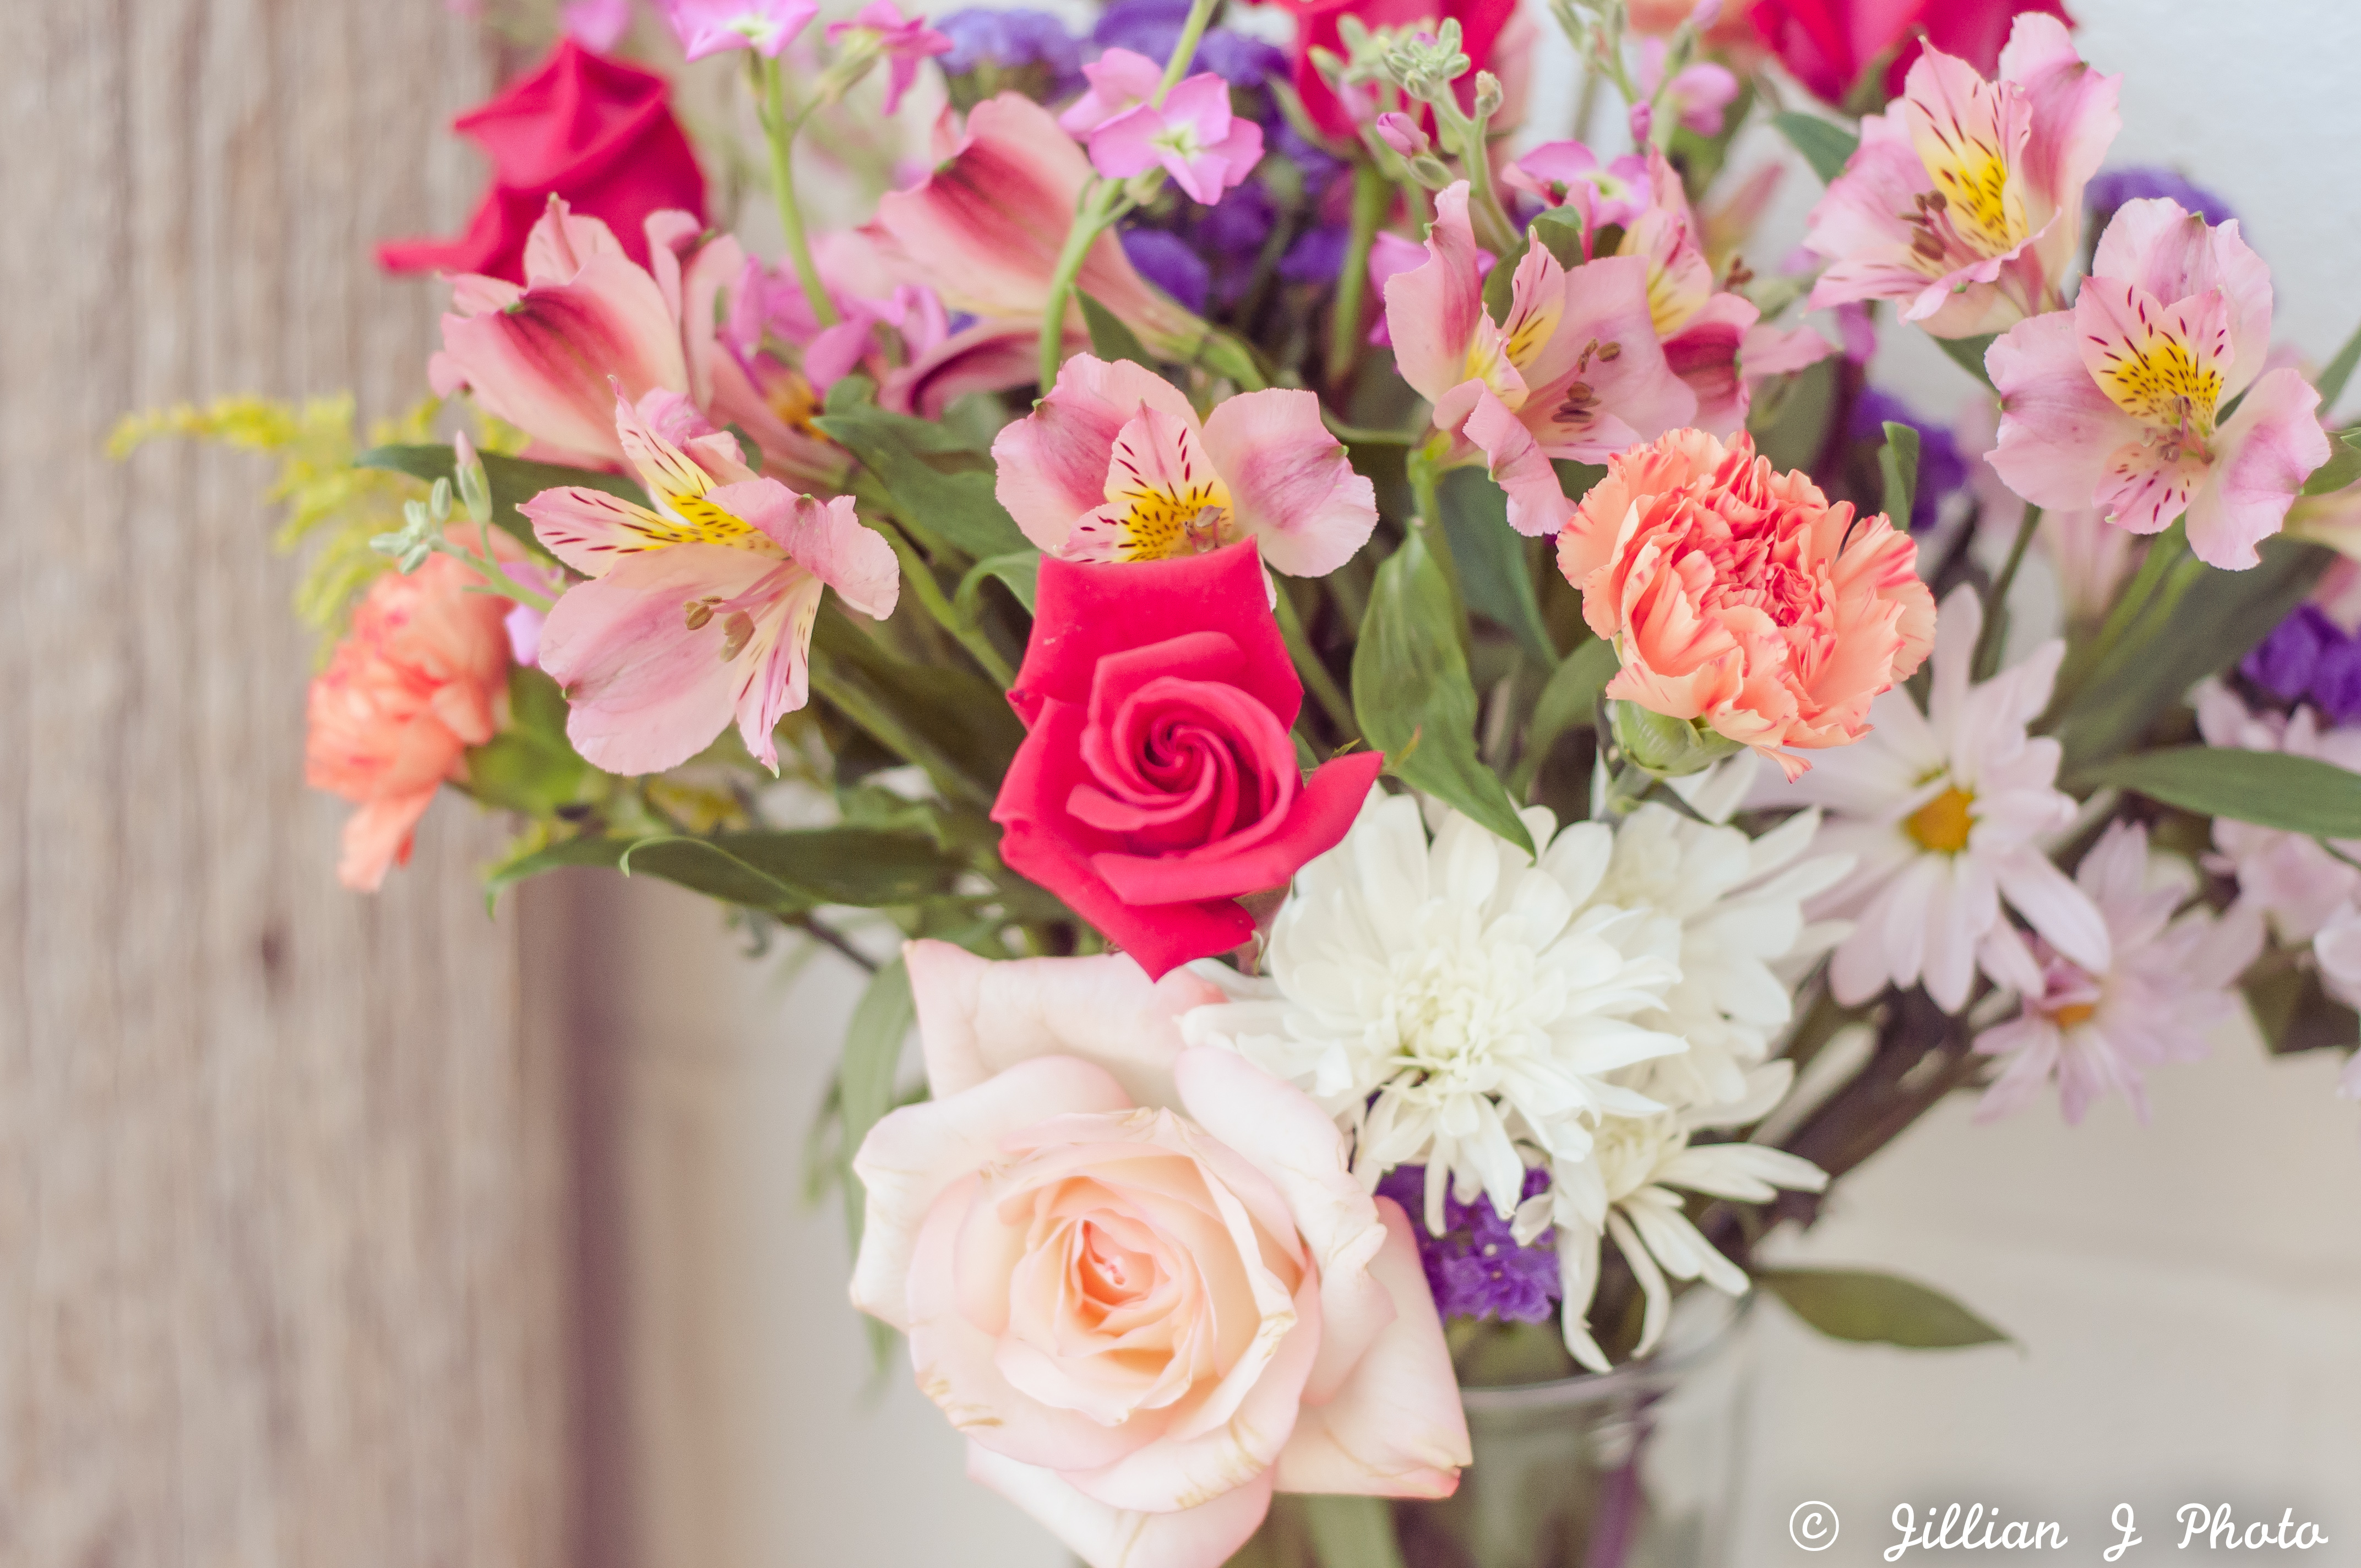
I knew I wanted it to be "shabby chic". I just love the old, rustic, chic look and all the character that comes along with that. I wanted her party to be sweet and girly, yet timeless. Lots of lace, fresh flowers and homemade love!
Decorating Style
I love DIY projects and repurposing things. I would rather buy a "junker" at a thrift store and make it my own than spend so much more on something generic & store bought. I just love to use my hands and be creative. Options are endless when you put in a little time and get creative!
Project Details
I wanted make her party as unique and special as I could. You don't get more unique than when you make something yourself so I got BUSY!!
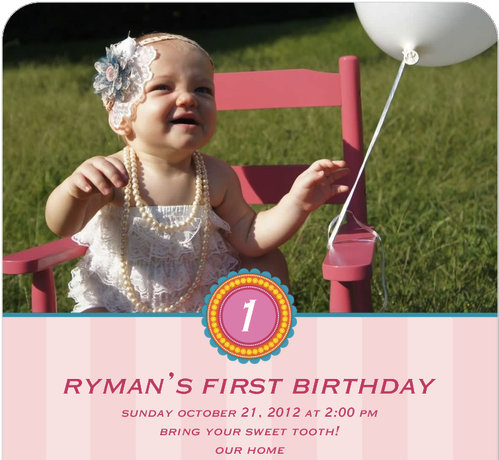
I made the headband for Ryman to wear in both the invitation picture and the day of her party. My husband and I took the invite pictures in our back yard using things we already had; the pink rocking chair, my pearl necklace and the lace romper was one of the first things I bought when I found out we were having a girl! We used tinyprints.com for the invites because they are just the BEST.
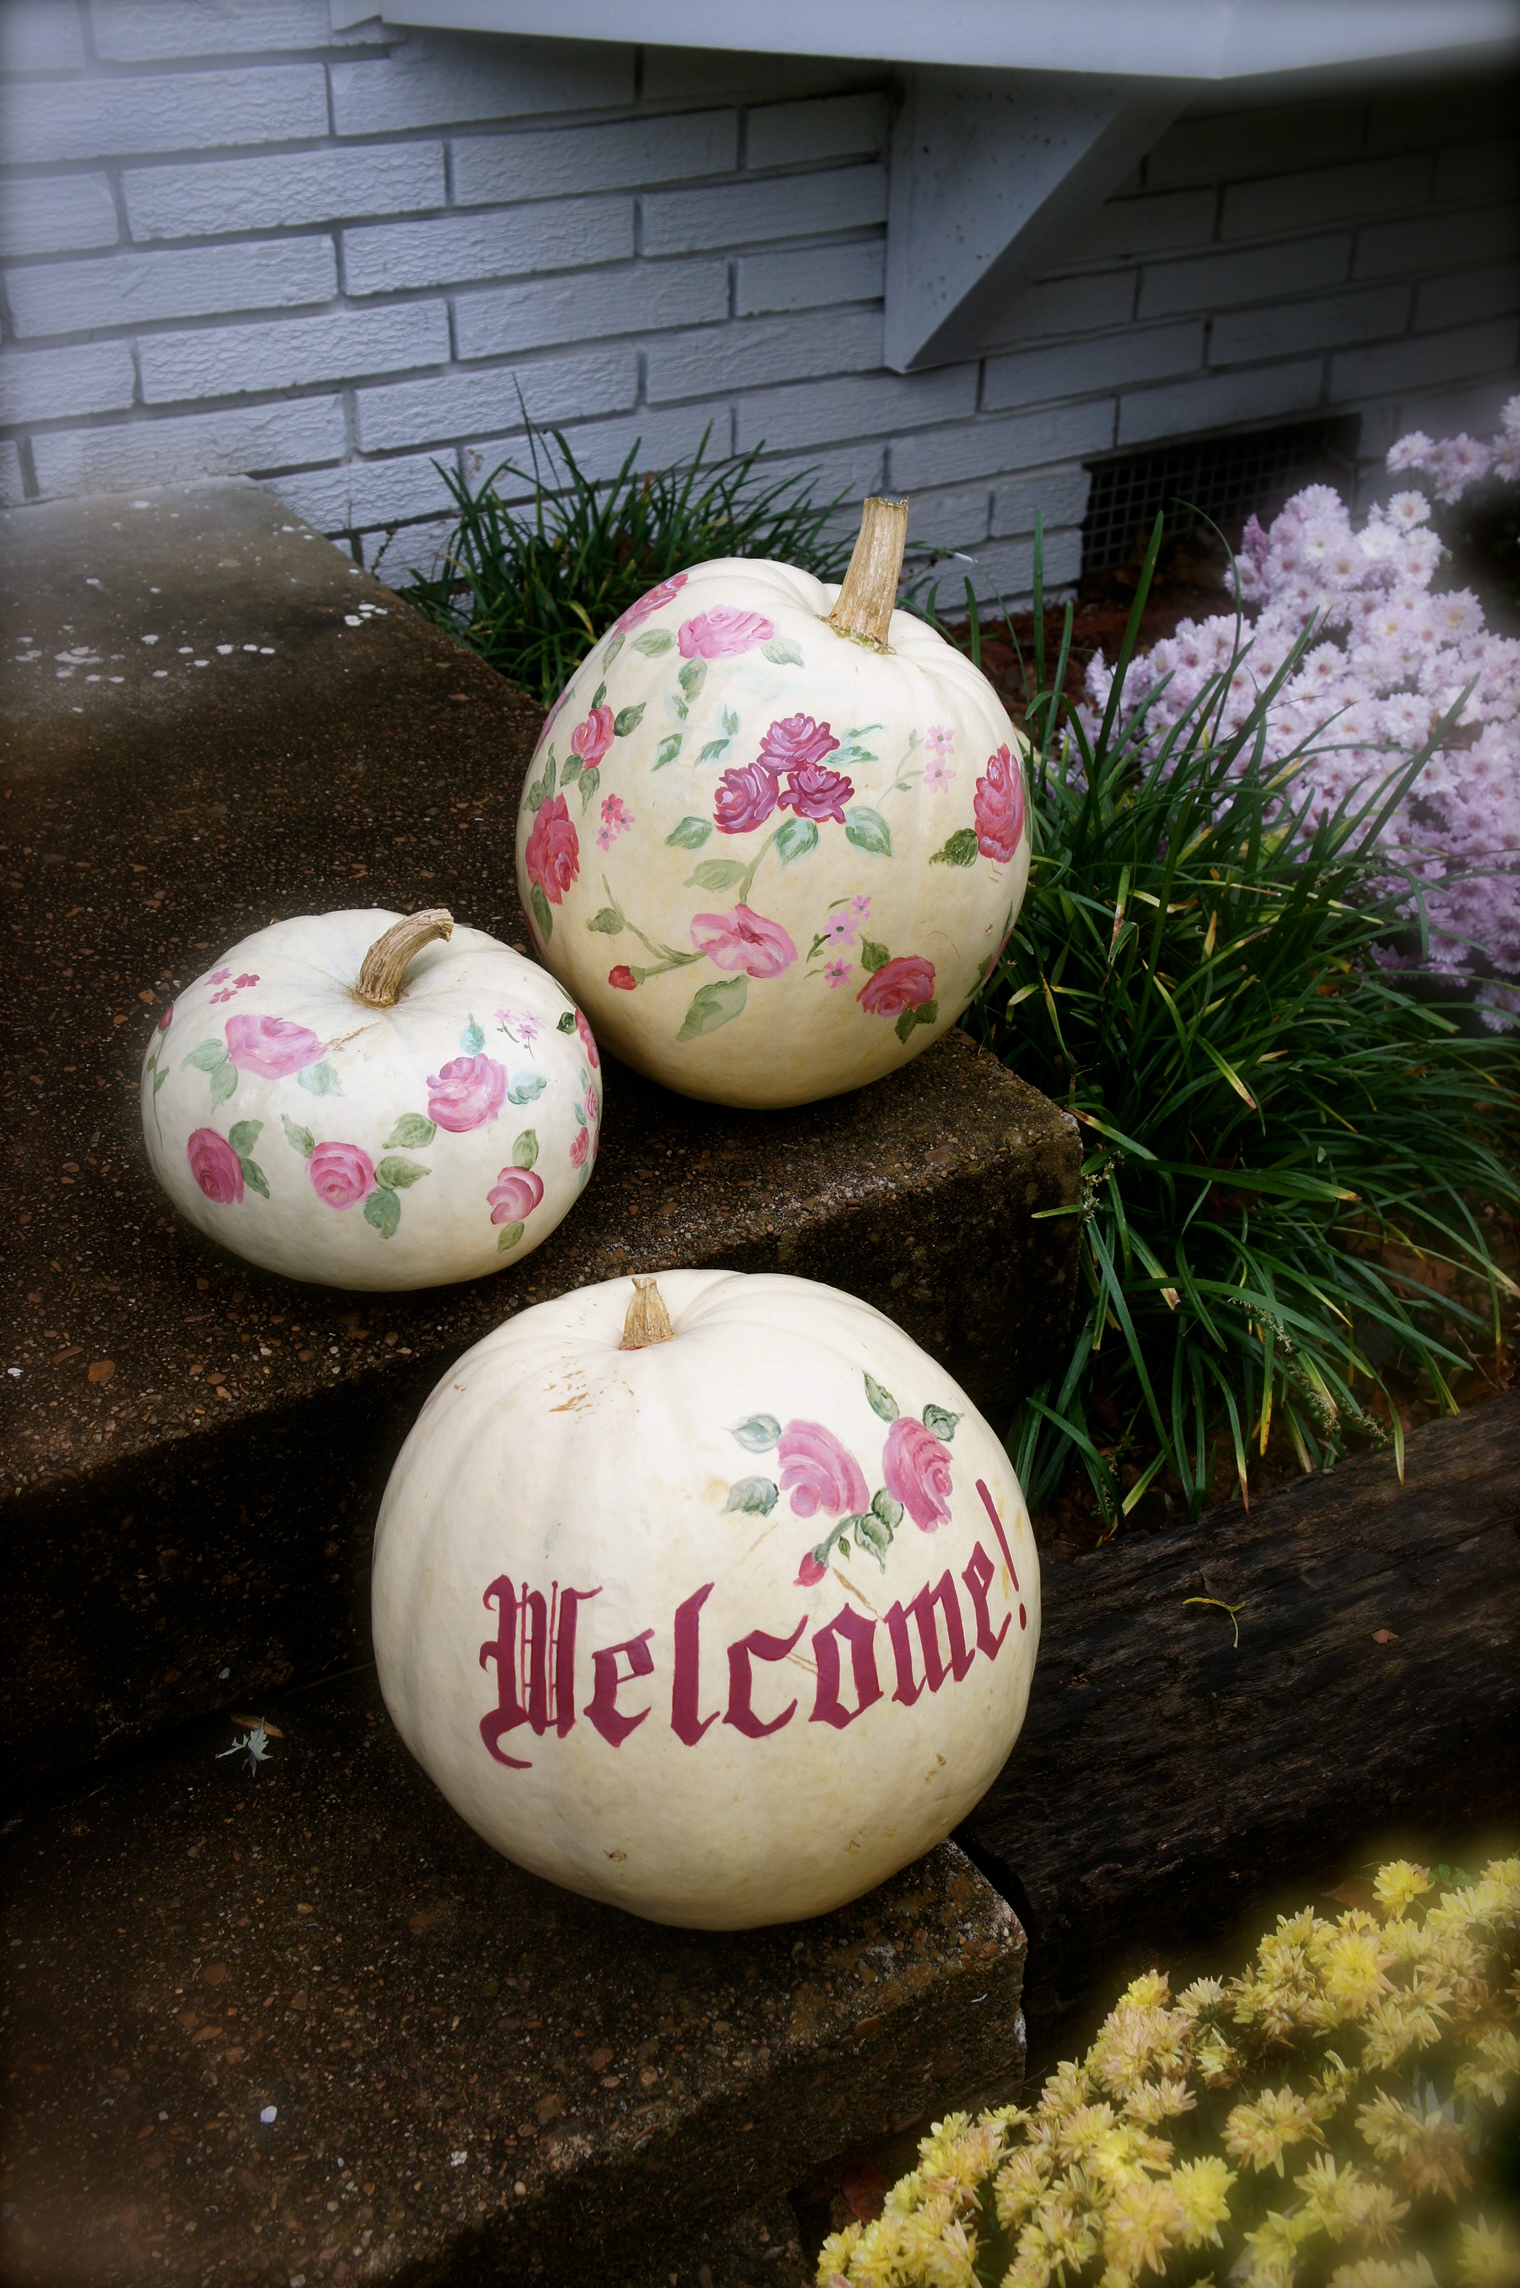
The hand painted "welcome pumpkins" on the front porch I give 100% credit to my oh-so-talented mother. She amazes me and did a fabulous job on them. The wreath on the front door I made by wrapping a straw wreath in yarn, adding felt flowers and a number covered in scrapbooking paper; I used the same paper in various places in banners & other decor.
I made all of the cakes and cupcakes, then iced with made-from-scratch buttercream icing! Flavors were: Devils Food with peanut butter buttercream, Strawberry cake with vanilla buttercream and Yellow cake with chocolate buttercream. They were all delicious but the Devils Food was the biggest hit! Then there is the pink ombre smash cake! I was inspired by a cute cake I saw on on Pinterest. I had never "decoratively" iced a cake so I was pretty nervous, but I did a practice round, then the day of it turned out just the way I wanted it to! The cake topper on the smash cake, I cut out of scrapbooking paper and glued to a toothpick.
I also made all of my cake stands and cupcake stand from thrift store finds. (The table used as the dessert table, I bought at a yard sale and refinished it just prior to the party). The tablecloth used for the dessert table was actually a curtain panel I found at a thrift store but it was perfect for the party & showed off that "new" beautiful table I worked so hard on! The table cloth used for the food table was an old sheet and curtain valances but together, they screamed "shabby chic"...more thrift store finds of course!
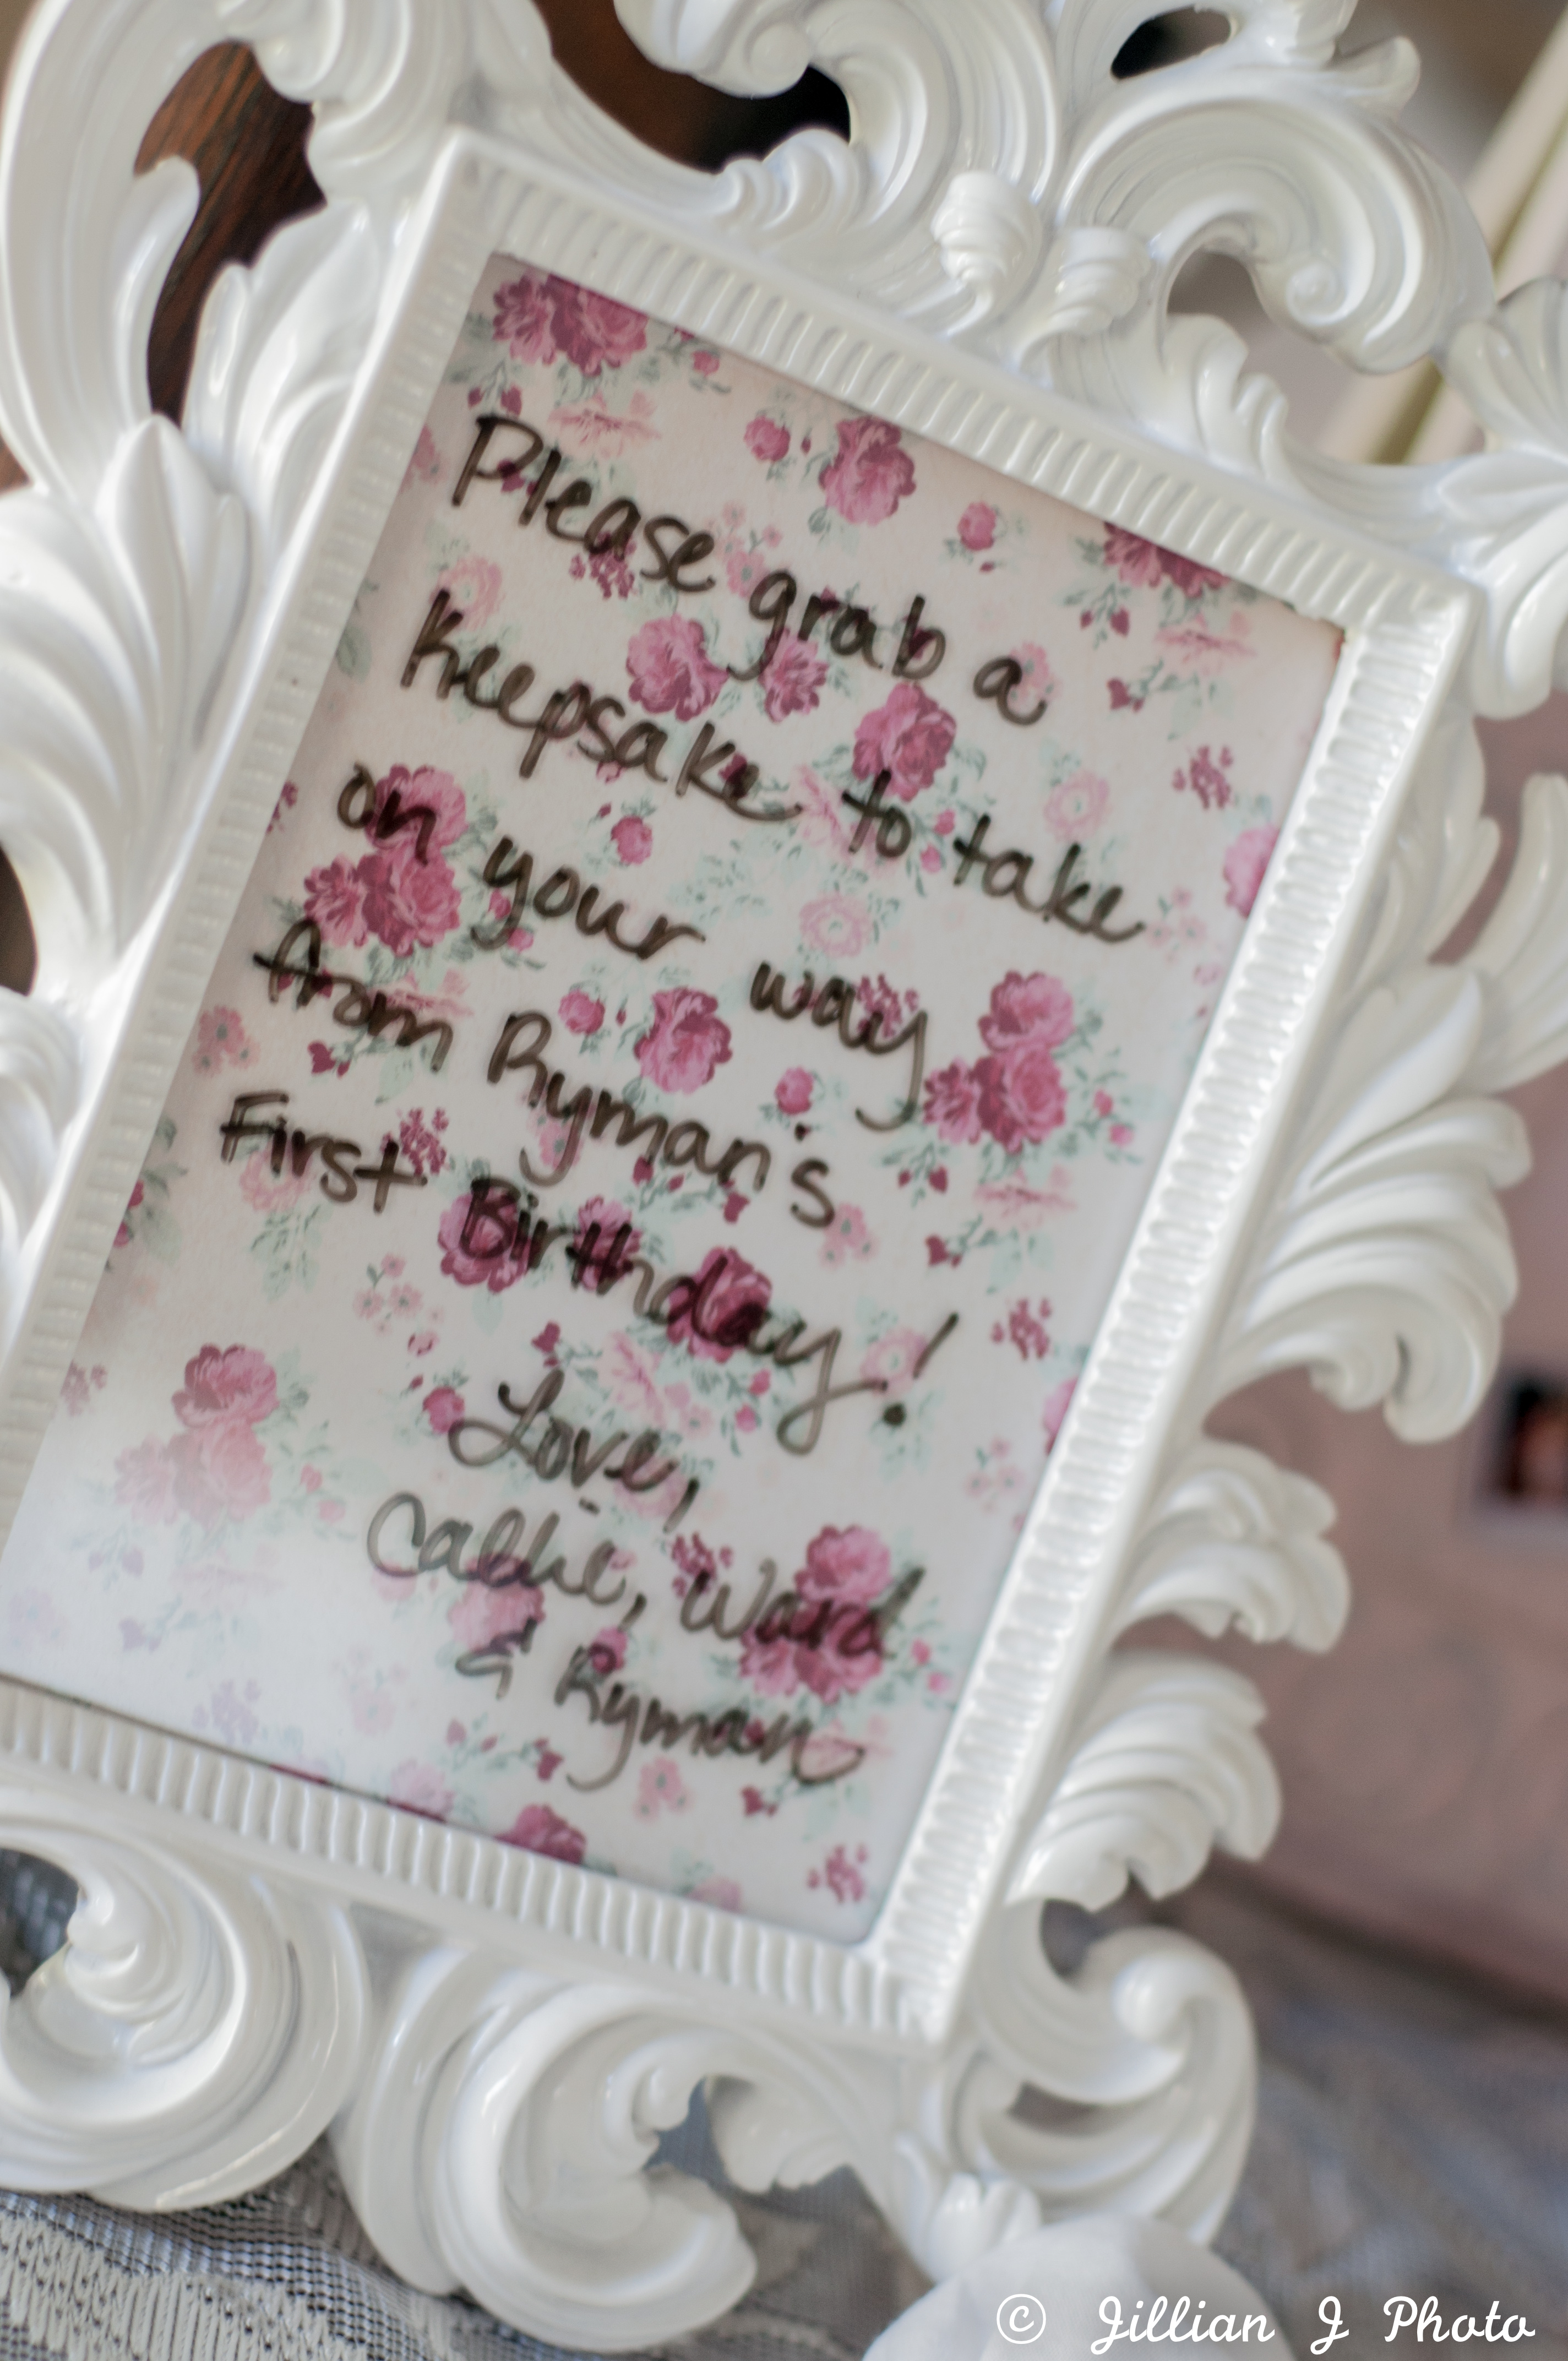
The sideboard as you enter/exit the party served as the party favor & "notes to Ryman" table. I made mini polaroid magnets for party favors, an idea I found on Pinterest. Everyone loooooved them! I am so happy I made extra!! "Notes to Ryman" was a soup can I covered in yarn and felt flowers. There was a mason jar wrapped in lace next to the soup can to collect the notes. (More mason jars wrapped in lace & dainty fabric were used as flower vases throughout the party.) Above the sideboard was the growth banner I made from scrapbooking paper & pictures of Ryman. Everyone really liked seeing her change month-to-month!
Most of Ryman's birthday outfit was made with love by yours truly. The headband of course, the detail on the onesie and the fabric tutu (which I used this same fabric on the mason jars of flowers too). I ordered the dyed onesie and her oh so adorable lace leggings from Etsy.
Outside on the gorgeous fall day, we had the smash cake set up and a mini pumpkin patch/photo op for the kids. All of the kids that came took home a pumpkin from the pumpkin patch! The smash cake set up consisted of old barn wood (which I already had and is now the headboard in my bedroom), Ryman's initials, birdcages borrowed from family & friends, fresh flowers, colorful fabric, some hay on the ground to add an extra rustic flare and her beautiful high chair that was both her daddy's and his monther's high chair before it was hers. I made the "one" banner from scrapbooking paper and the fabric strip banner were scraps leftover from previous projects and a couple of peach chair sashes used at my wedding! The RLG letters we already had; they are actually part of a multi-color alphabet wall in her nursery, it just so happened that these letters matched each other!
Favorite Items
I had so much fun creating everything for her party but overall, the smash cake setting was my favorite! I wanted rustic, shabby chic and it all came together beautifully!
Advice
Be creative, have faith in yourself and plan ahead! Give yourself plenty of time so if you want to DIY something, you can! I started about 2 months before her party. Also, check thrift stores! You will be amazed at the treasures you can find and pay next to nothing for them!
Credits:
Smash cake: http://pinterest.com/pin/3096293464612284/
Setting: http://pinterest.com/pin/161707442841790678/
Polaroid magnets tutorial: http://www.ohcrafts.net/decoration-tiny-polaroid-magnets.php
Dyed onesie: http://www.etsy.com/shop/theposhpeach?ref=seller_info
Lace leggings: http://www.etsy.com/shop/HeartstringThings
Kimmy Doraine
Monday 28th of January 2013
Awww those scarecrows are so cute! All the other details are lovely and pretty, too. I especially adore that cupcake stand with birds.
Jenn Williams
Sunday 27th of January 2013
How sweet, beautiful, and perfectly precious!! Everything is better homemade with love!