One evening after I had put baby Victor down for the night, I went downstairs to do what every mother wants to do at 8:00pm—the dishes! As I was happily loading the dishwasher, I heard a very scary and loud noise from upstairs followed by crying and footsteps. As I rushed up to see what had happened, I found Victor near the edge of the stairs with tears rolling down his cheeks. He had just turned two years old, but apparently he was ready to participate in a gymnastics competition and had managed to jump out of his crib! We quickly comforted him and decided to place his mattress on the floor of his nursery for the time being. We officially said goodbye to his crib, which meant now I had to find him a new bed, a new mattress and baby gates!
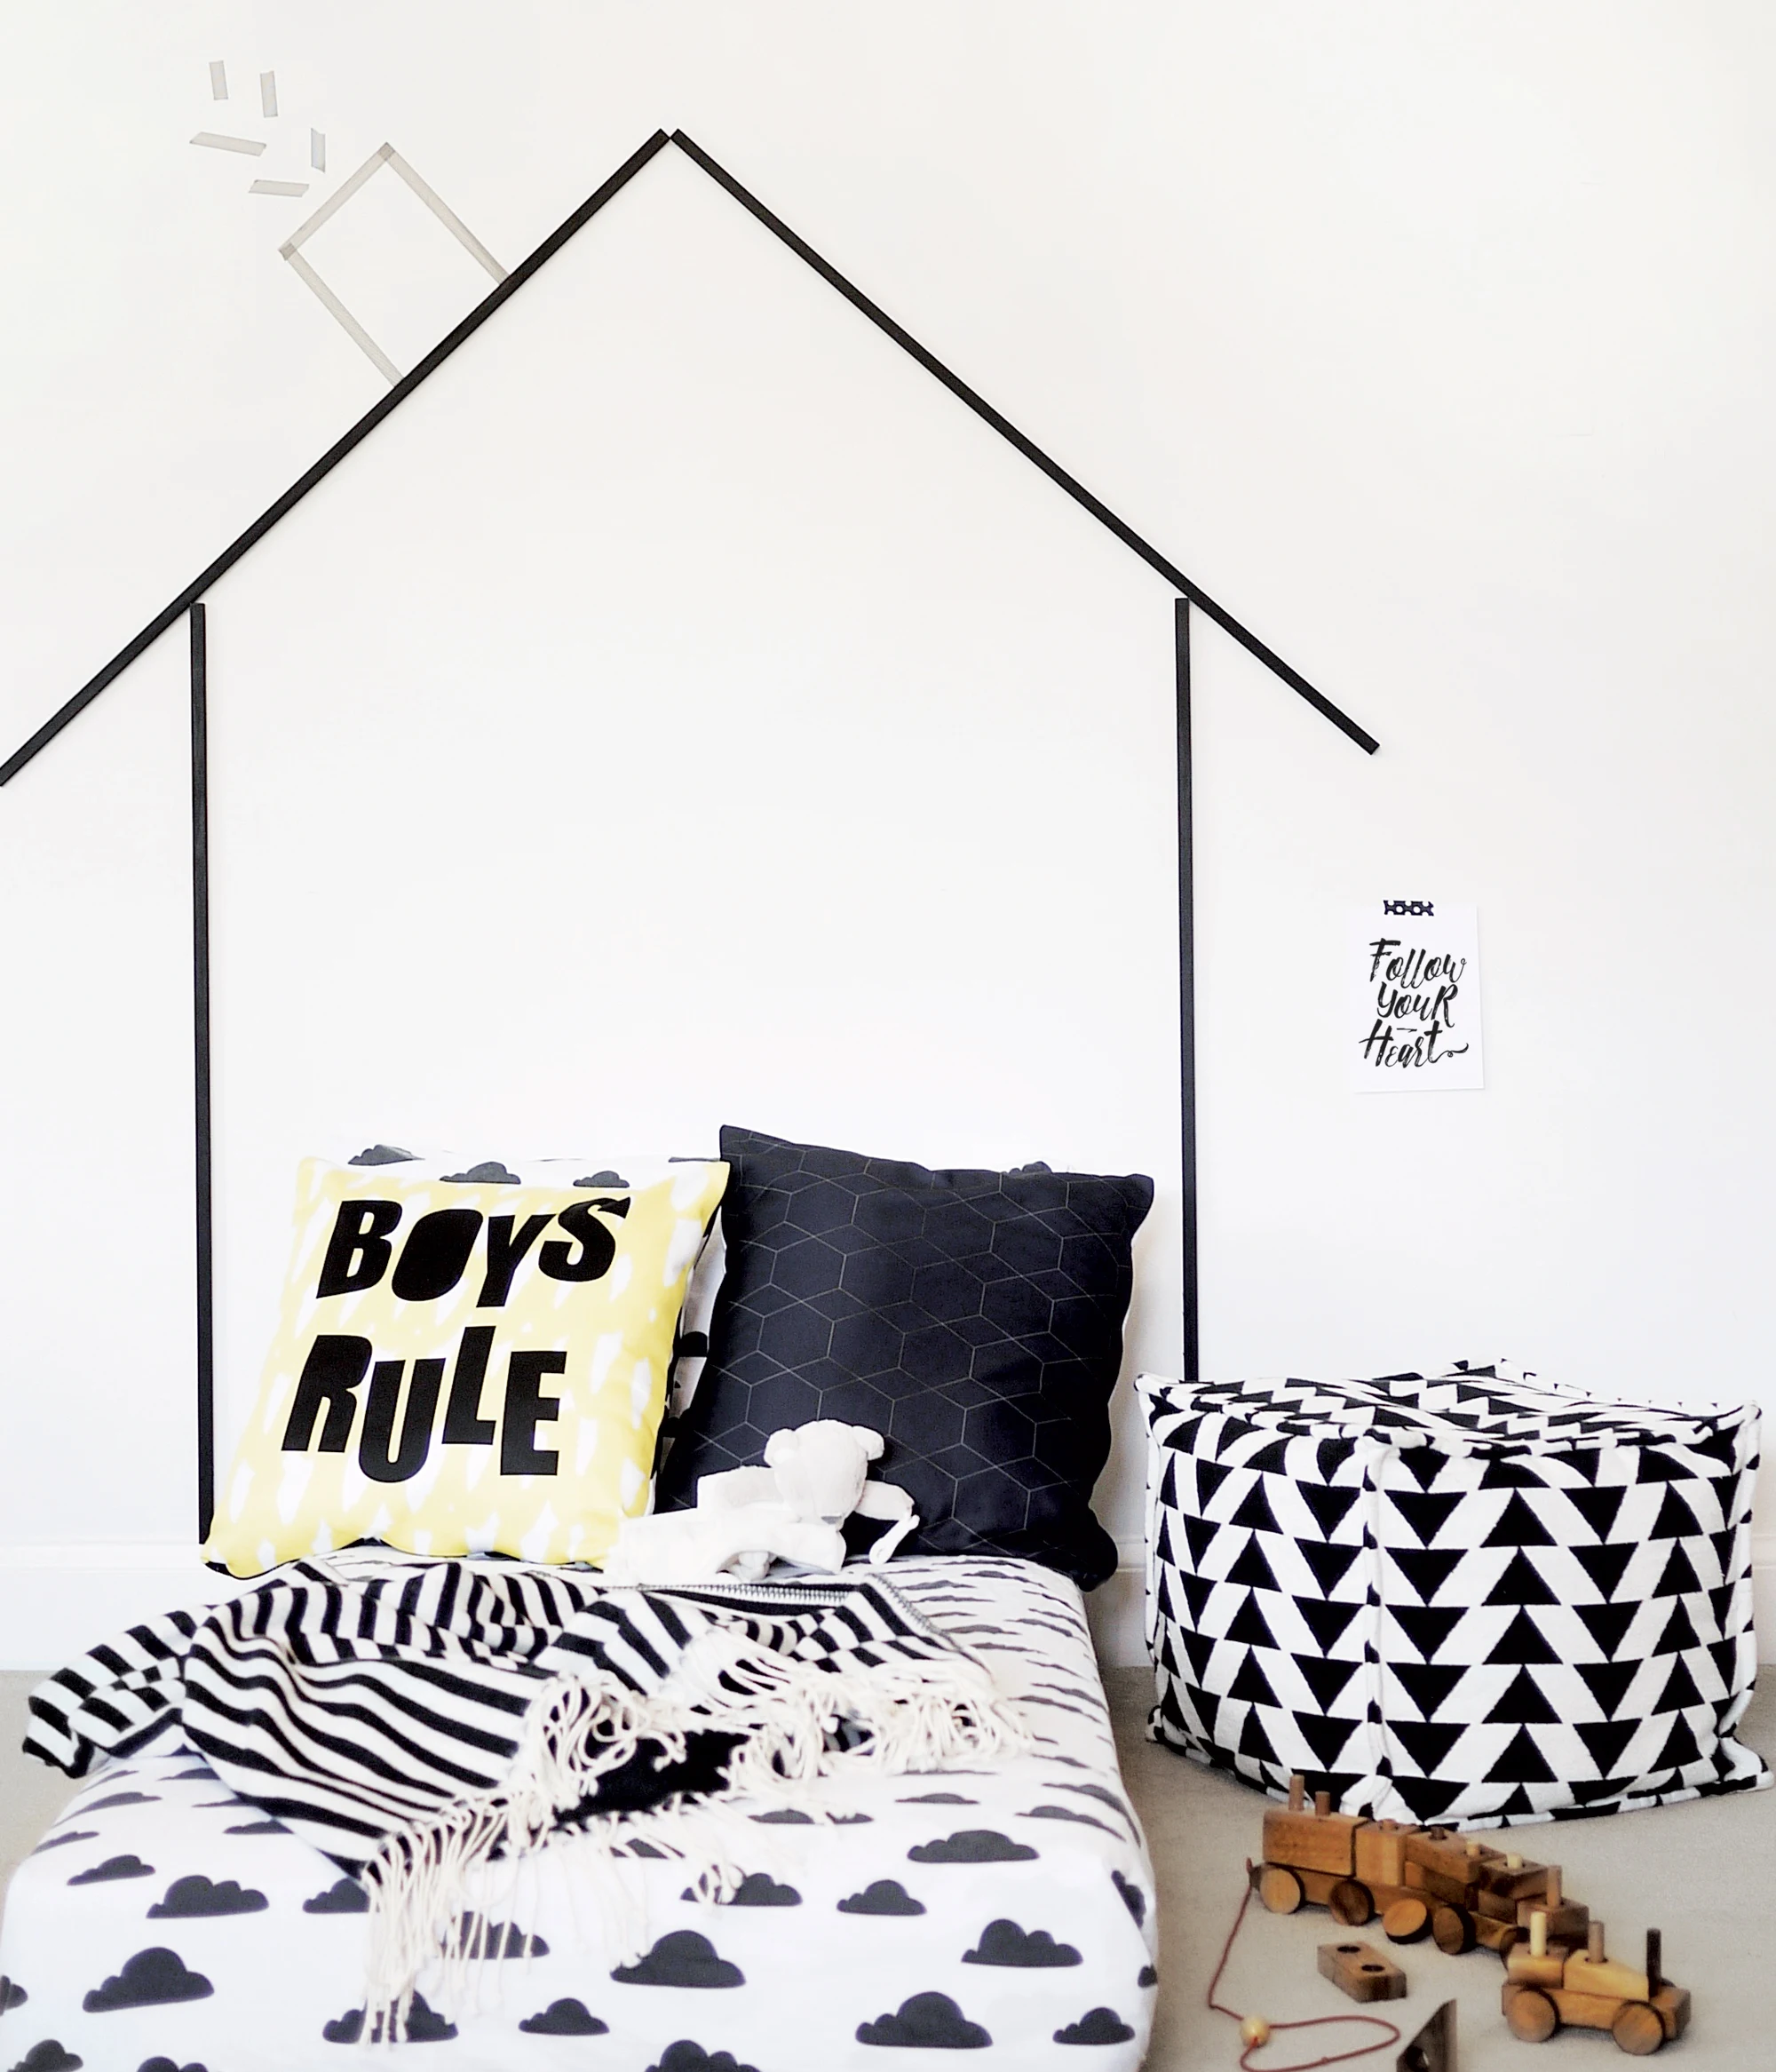
If you are in a similar situation and are left with a crib mattress on the floor, maybe this simple DIY headboard would work great for you. It is a fun way to jazz up the space and still make good use of the crib mattress for a while. After all, when transitioning from crib to big bed, the small mattress is likely to feel cozier and safer to your little one. And then, once you think your child is ready for the big bed, you can switch the mattress for a twin size mattress with a bed support and continue using the headboard.

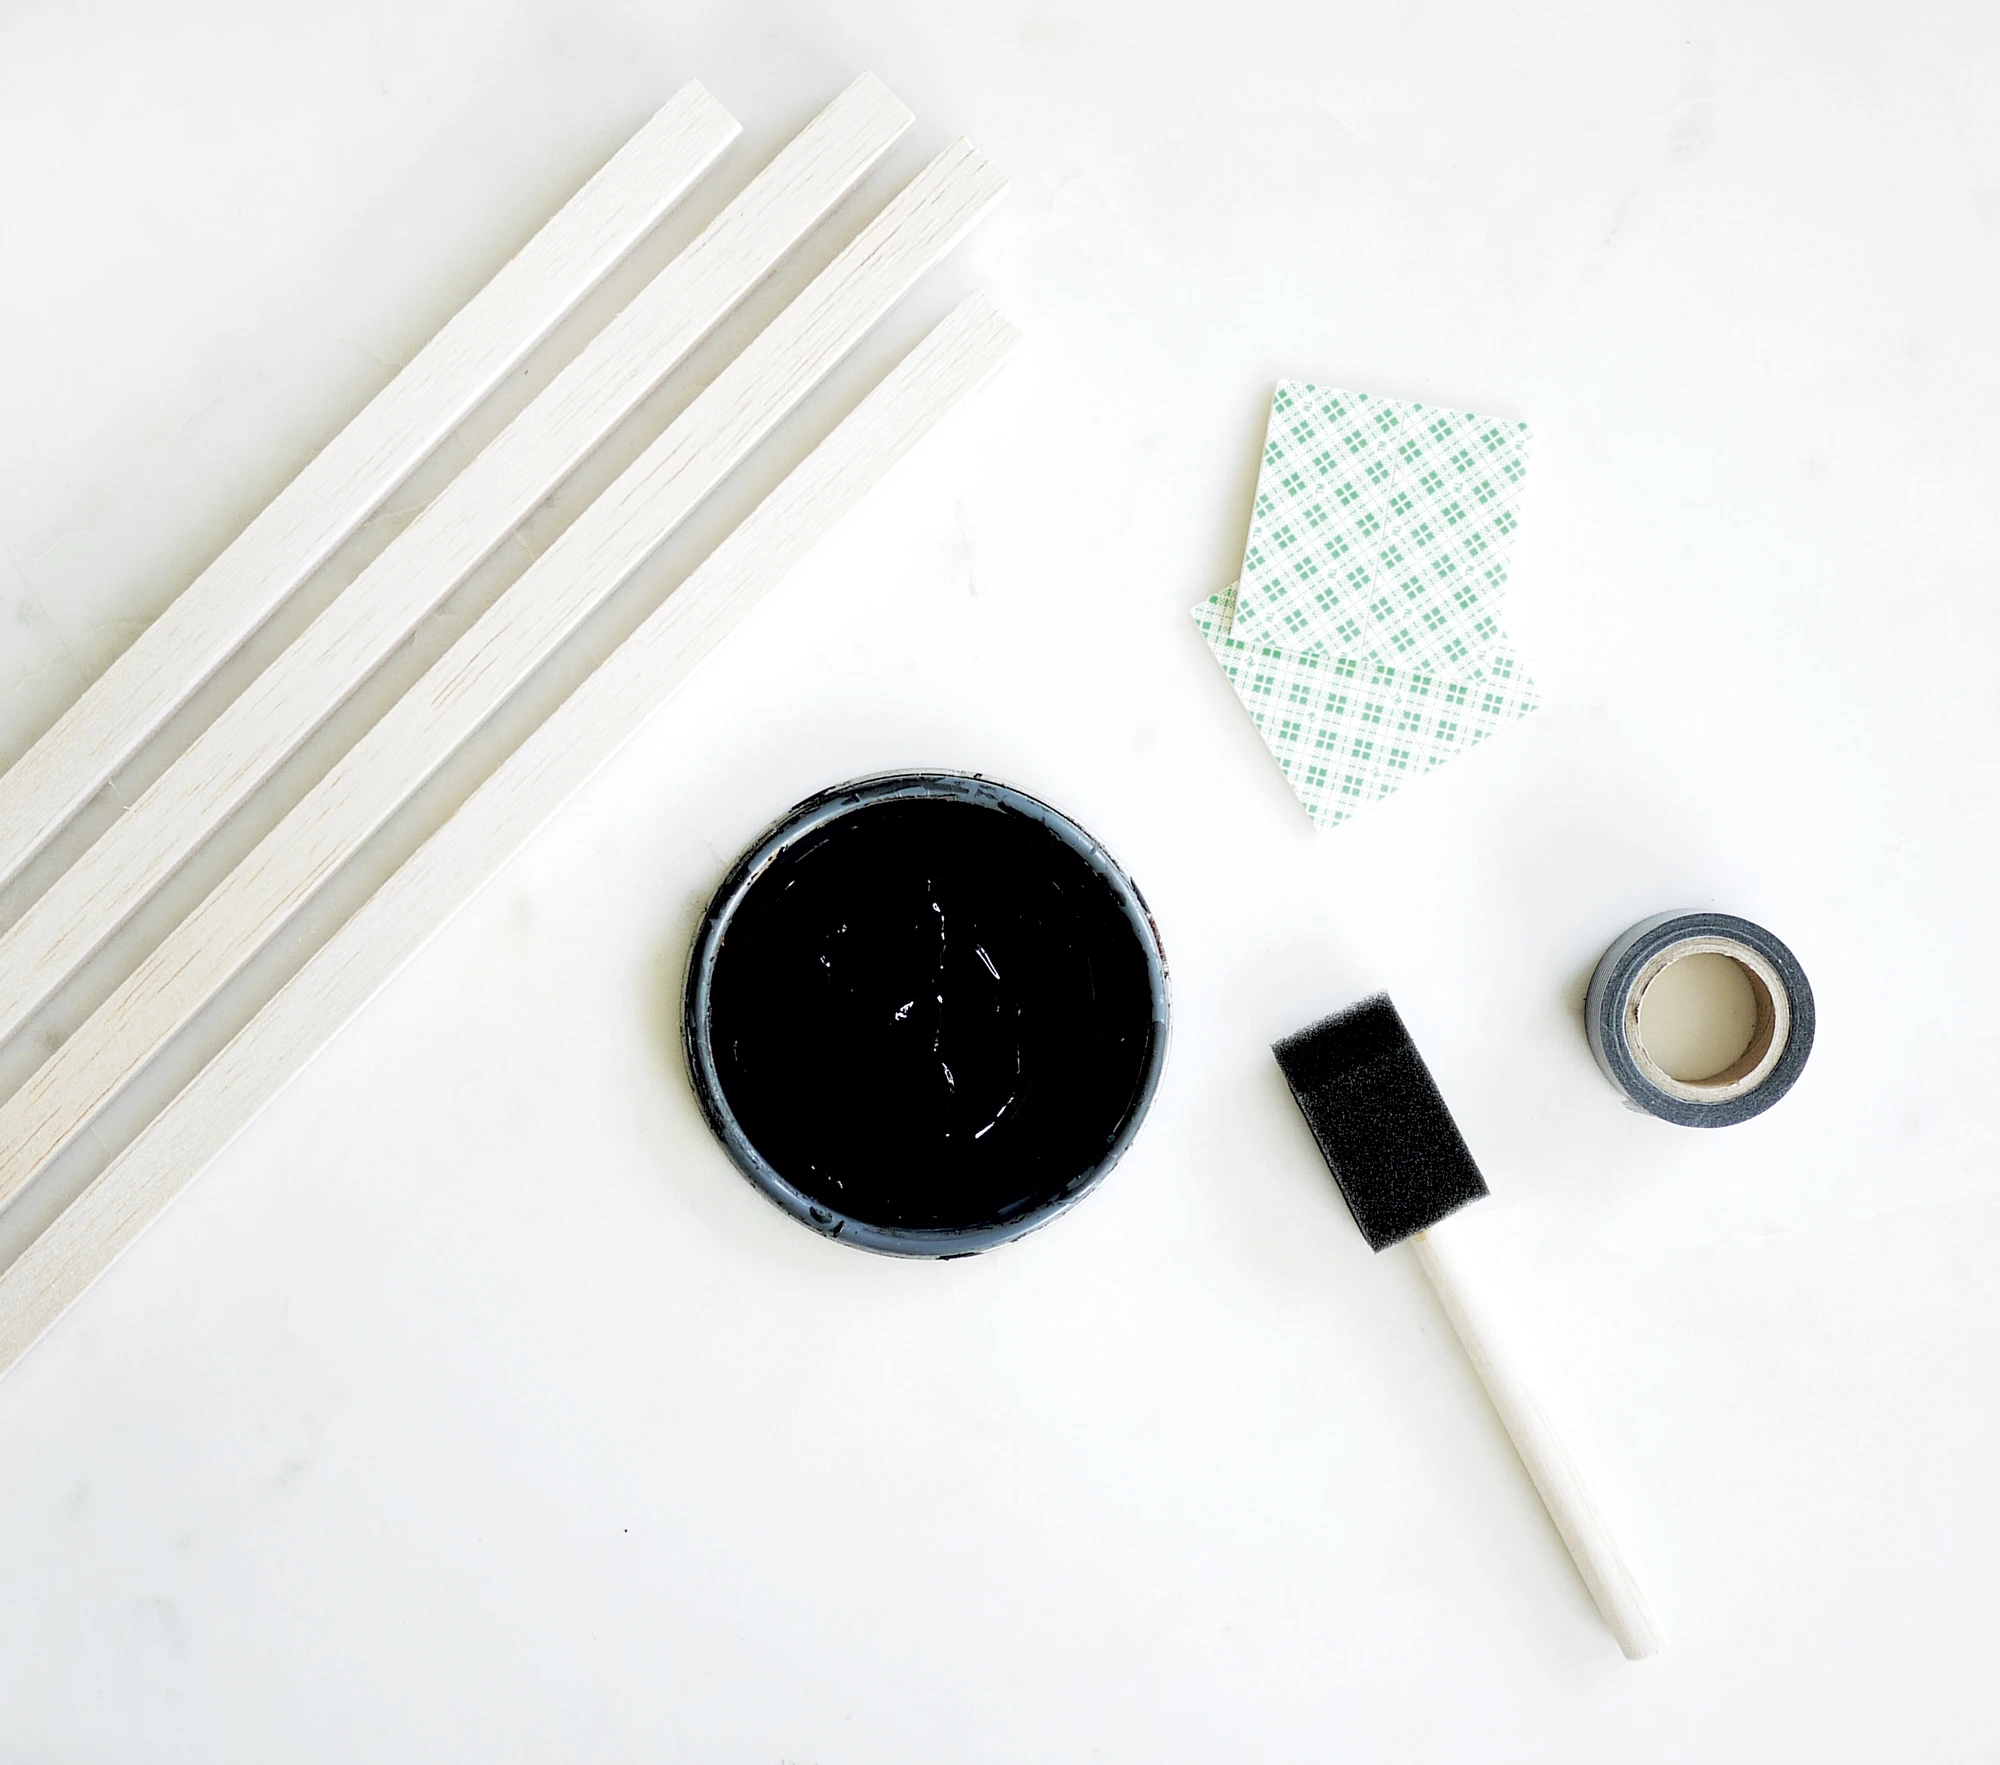
Materials: Balsa Wood Strip (1/2″ x 1/2″ x 36″, available at Michaels), Black Paint (or a color of your choice), Foam Paint Brush, Permanent Foam Mounting Squares, Washi Tape

Once you have all materials, follow the simple steps below.

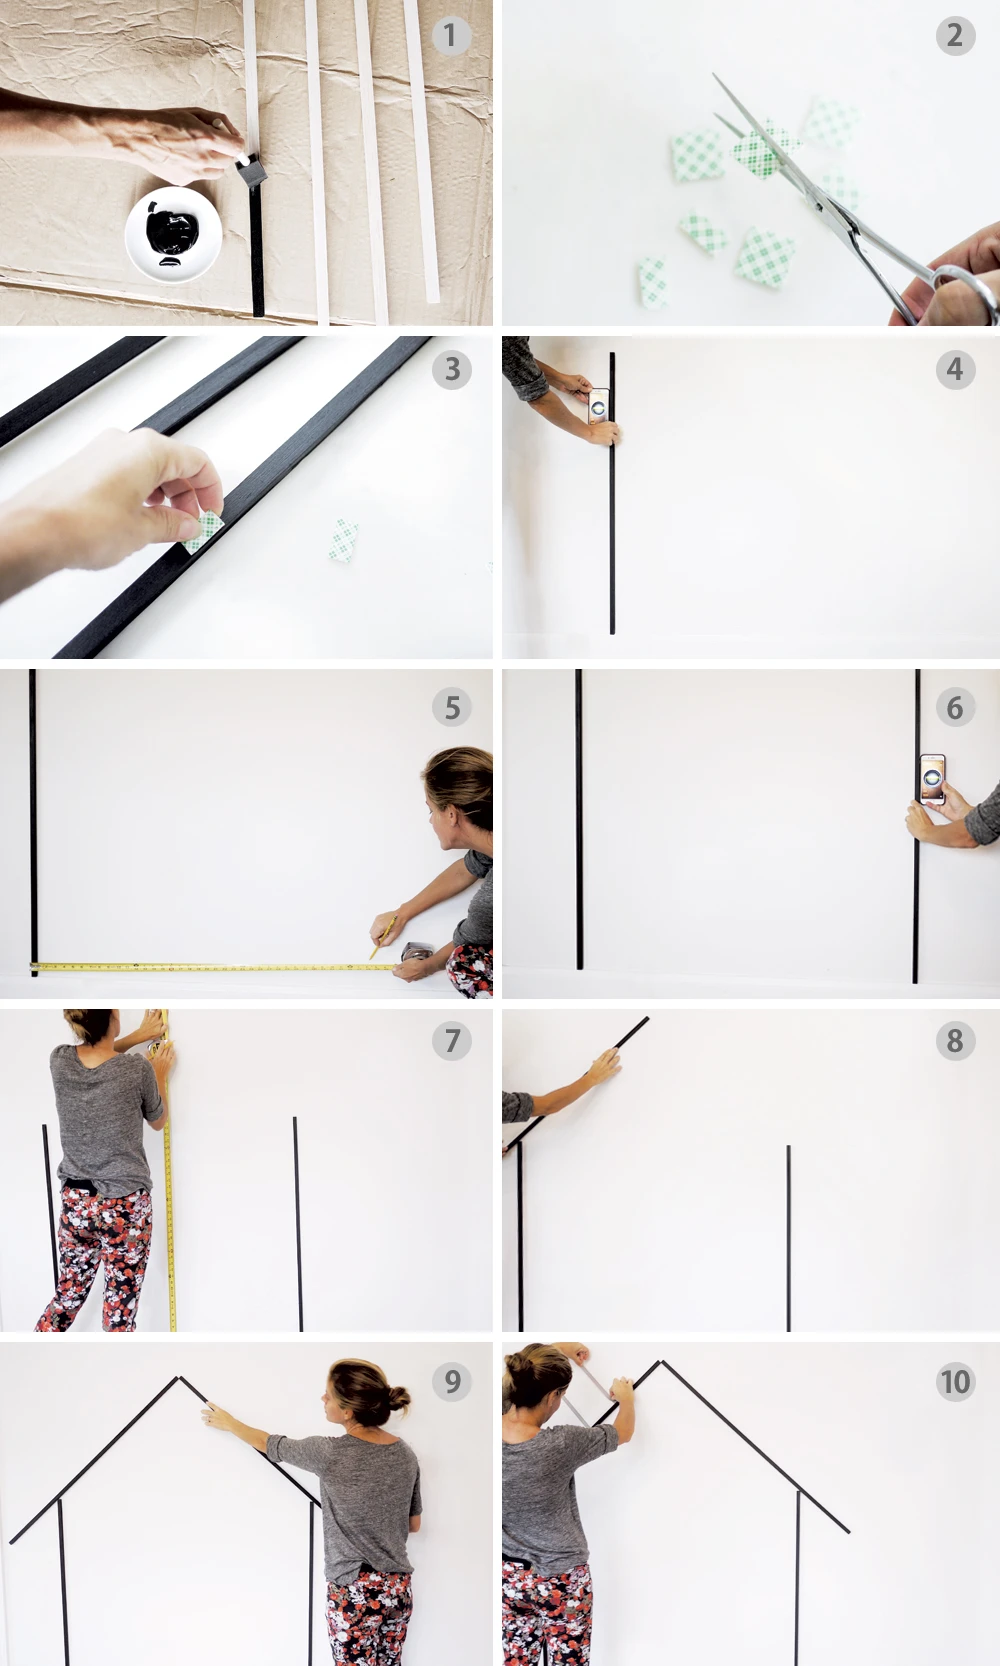
1. Paint the balsa wood strips and let them dry.
2. Cut the permanent foam mounting squares into halves.
3. Apply three pieces of the permanent foam on the back of each wood strip.
4. After you decide where the headboard is going to go, place the first wood strip on the wall, making sure it is leveled. Since we are using permanent adhesive squares, make sure it is straight before applying pressure to it.
5. From the first piece of wood, measure 38″ (the size of a twin mattress).
6. Apply the second piece of wood to the wall. Level it up!
7. Find the middle between the two strips currently on the wall, and measure 54″ from the baseboard to find what will be the tip of the roof and mark it on the wall.
8. From the tip of roof top (point found in step 7), place the third wood strip until it touches the vertical stick on the left.
9. From the tip of roof top (point found in step 7), place the fourth wood strip until it touches the vertical stick on the right.
10. For an added bonus, I added a washi tape chimney. Make sure to tuck in those edges and keep it out of reach from the little ones as these could peel off if you don’t apply lots of pressure to it.

Voila! In just ten easy steps, you too can create this super charming headboard that works for the baby to the little kid. This headboard could also be used as a cozy reading nook. Just pair it with some oversized pillows.

June Martin
Saturday 12th of November 2016
Love this, such a creative Mum to think on her feet so quickly. We were in the same situation our eldest was out of his cot a lot earlier than expected. When it came to looking for a bed I just could not bring myself to buy a full size single bed, he still seemed like a baby to me and I had all the obvious safety worries. We decided to go for a toddler bed, I believe it was a great decision as it made the transition for everyone that much easier. We got our son really involved in choosing his bed and we found a great range that suited our budget. goo.gl/BXDKcy
June Martin
Saturday 12th of November 2016
Love this, such a creative Mum to think on her feet so quickly. We were in the same situation our eldest was out of his cot a lot earlier than expected. When it came to looking for a bed I just could not bring myself to buy a full size single bed, he still seemed like a baby to me and I had all the obvious safety worries. We decided to go for a cotbed, I believe it was a great decision as it made the transition for everyone that much easier. We got our son really involved in choosing his bed and we found a great range that suited our budget. goo.gl/BXDKcy