For over two years, my son’s dresser doubled as his changing table. Functional, yes. Aesthetically interesting, no. Now that we are moving beyond diapering, I wanted to transform this space into a legitimate design element in the room, and while I loved his funky little lamp, its shade was in desperate need of a revamp.
The lamp shade itself was still in good working order, but one too many baby karate kicks had left it with several unsightly dings. Instead of purchasing a new one, I found a way to give this shade a second chance.

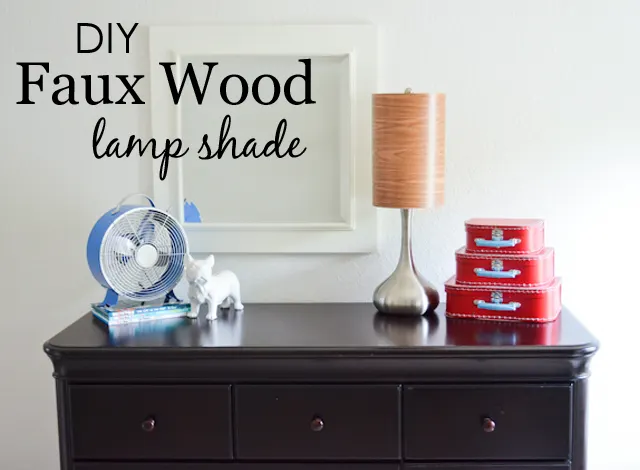
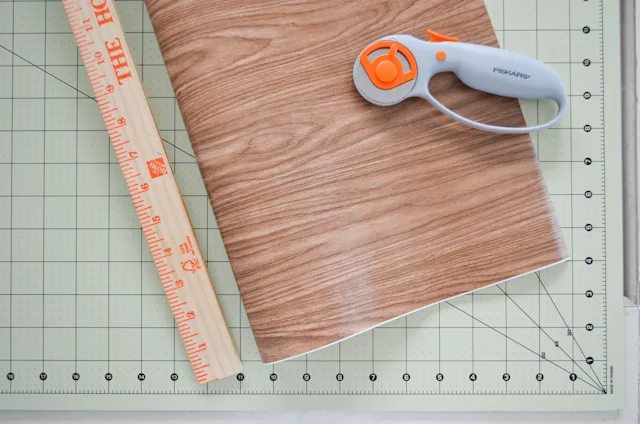
Materials: patterned self-adhesive shelf liner (I used Con-Tact Brand Light Oak Shelf Liner, found at Home Depot), measuring tape, rotary cutter or X-Acto knife, straight edge, scissors
Self-adhesive shelf liners now come in all sorts of great patterns, including wood grain, metallic, dots, stripes and florals. You can find a nice selection at Home Depot or Target and online from Amazon.
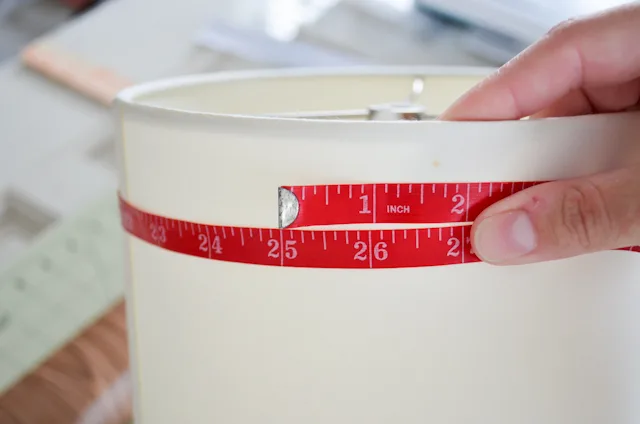
Start by measuring the circumference of your lamp shade, then add an inch for overlap at the seam. Mine was 25″, plus one would be 26″.
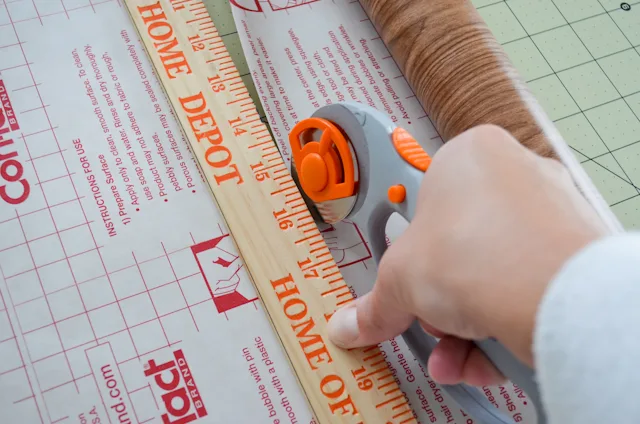
Use your straight edge and blade to cut a length of shelf liner to match your circumference measurement.
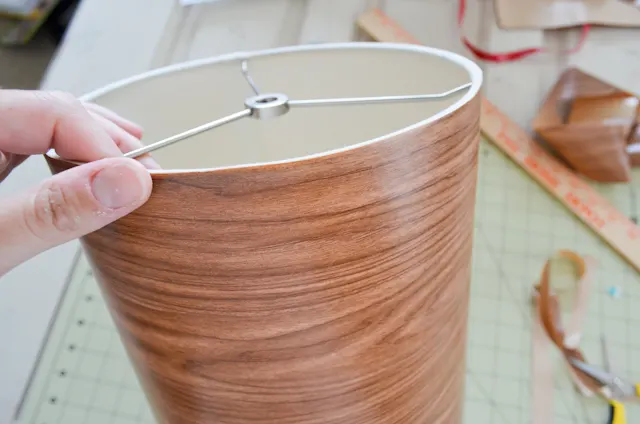
Lay out your shelf liner on a smooth surface and weigh down one side so it won’t roll up on you. Gently peel off about half of the paper backing to expose the adhesive side, and center the seam of your lamp shade on the exposed edge.
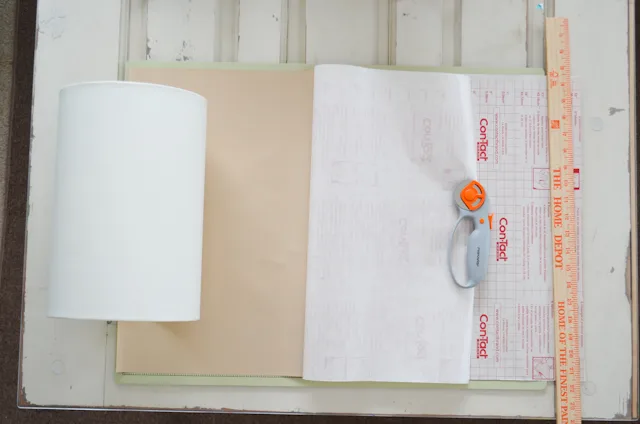
Carefully roll the shade along the adhesive liner, pulling off the paper backing as you go. Move slowly, and smooth out any bubbles with your hand. The great thing about shelf liner is that the adhesive is re-positionable, so if you mess up, you can gingerly unpeel it from the shade and try again.
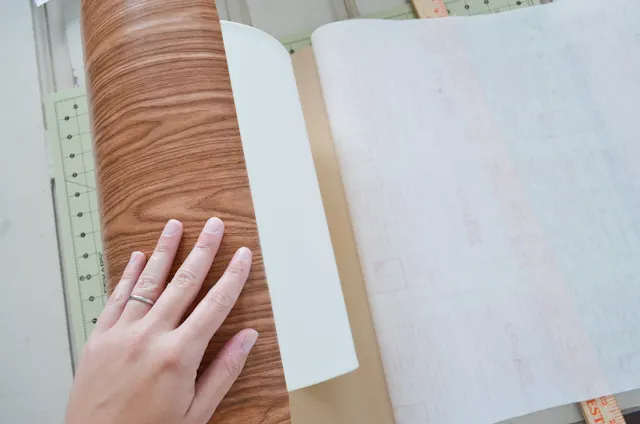
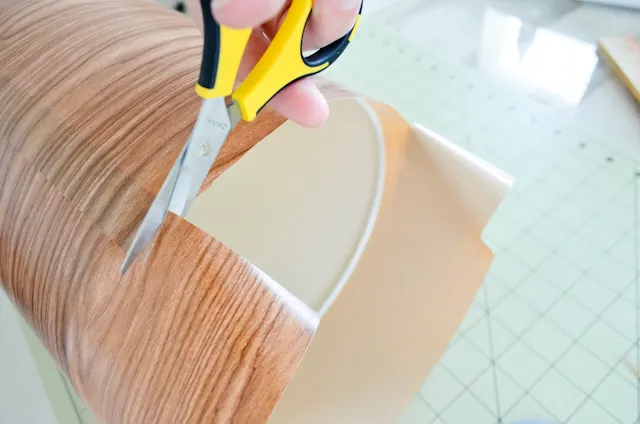
To remove the excess liner from the top and bottom edges, first use scissors to cut close to the rim leaving about 1/2″ of overhang.
Make a second pass with your rotary cutter or X-Acto knife to trim the remainder of the excess liner with greater precision.
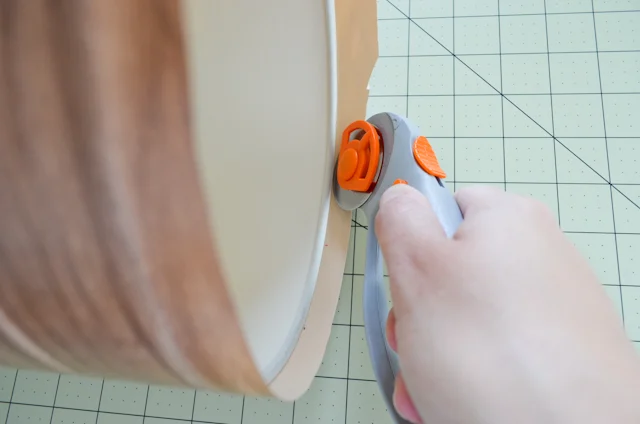
This will give you a nice, clean edge.
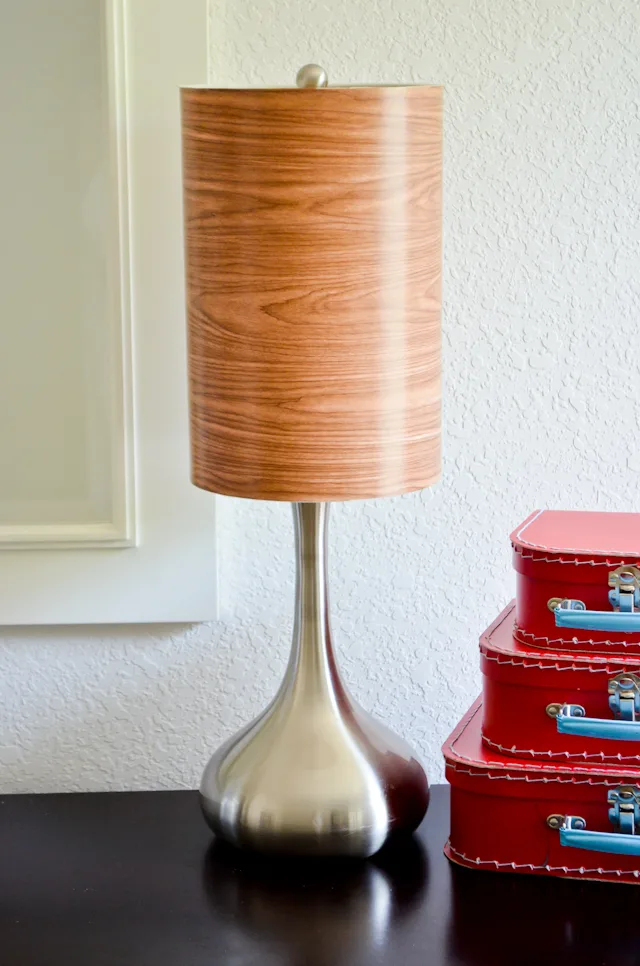
Well, hello handsome! This lamp just got his swagger back. The shelf liner is a bit shinier than a real wood lamp shade, but considering that it was only an $8 investment, that’s a trade-off I’m willing to live with.
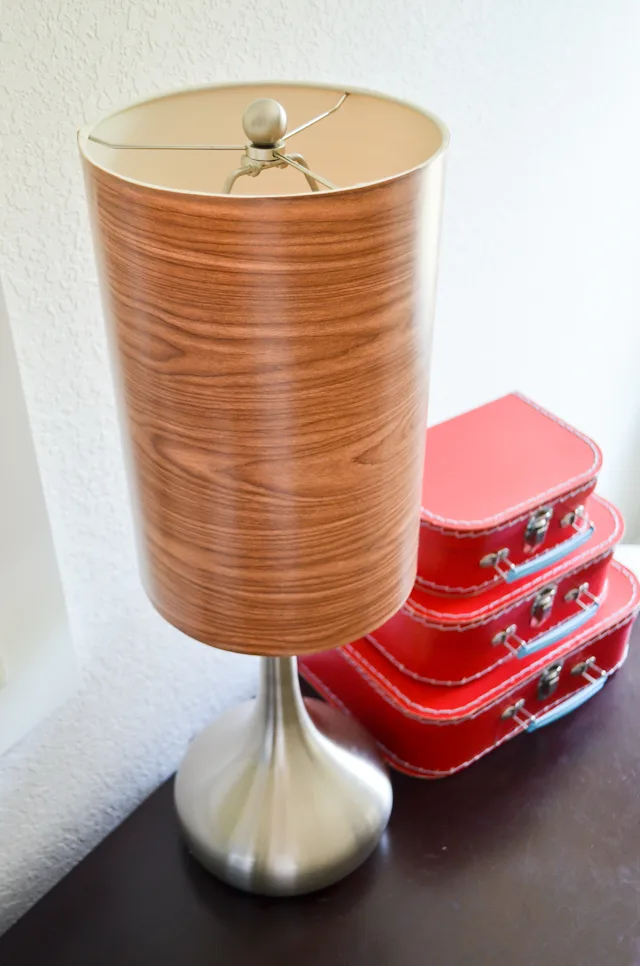
The shelf liner is sticky enough to stay on indefinitely, but if my son ever decides that stripes are more his style, changing this lamp’s look again will be a cinch.
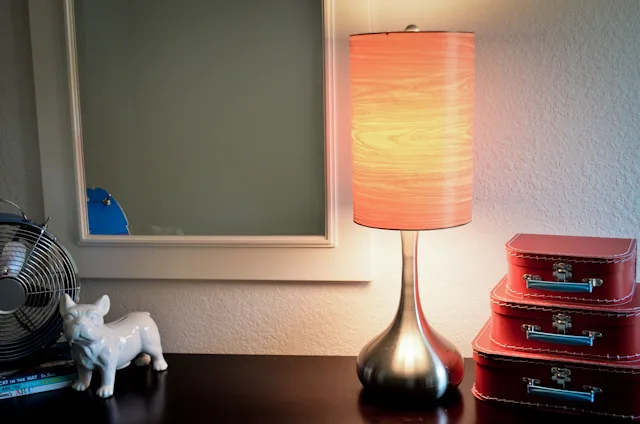
What do you think of this DIY Faux Wood lamp shade revamp? What’s your favorite way to give your lighting a makeover?

how to make lamp shades diy – Ascharters
Tuesday 3rd of May 2022
[…] projectnursery.com size: 640px x966px […]
how to make lamp shades diy – Ascharters
Tuesday 3rd of May 2022
[…] projectnursery.com size: 640px x966px […]
DIY: No-Sew Teepee - Project Nursery
Tuesday 19th of August 2014
[…] the look of real wood, I covered them with some woodgrain Con-Tact Paper left over from my lampshade revamp. Be sure to leave about an inch of pipe uncovered on one end of each short pipe and both ends of […]
Sherri Blum, Nursery Designer
Sunday 29th of June 2014
I too love recycling old lighting! Looks great!
Hayley
Sunday 29th of June 2014
Thanks @sherriblum:disqus. Nothing better than great design while also reducing, recycling or reusing!
diy faux wood lampshade | Grey House Harbor
Thursday 26th of June 2014
[…] […]