Oh yes, we’ve chatted before about using tissue poms for your next party and for room decor, but do you know how to make them? For the cost of a couple of dollars, you can create an instant pop of color, style and whimsy with this quick and easy tissue pom tutorial.
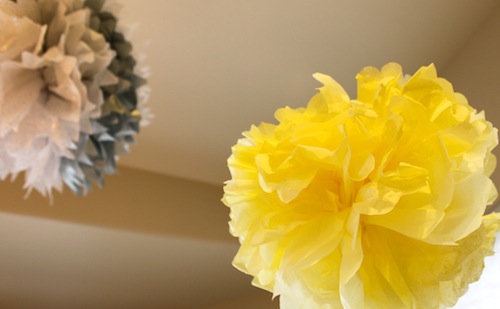 The Party Pom: Hang these poms at your next party.
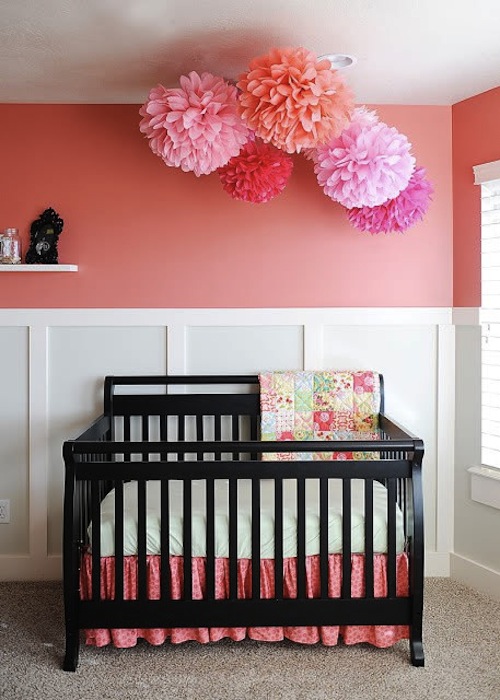
 The Nursery Pom: Use these poms for instant color (image via Etsy).
 The Mini Pom: Use these cute minis to embellish party goods.
Supplies: Tissue paper (20 inches x 30 inches), Scissors, Floral wire or pipe cleaners, Monofilament or ribbon to hang
How To:
1. Layer eight sheets of tissue paper.
2. Accordion (fan) fold the layered sheets into 1-2 inch sections, back and forth, the entire length of the paper.
3. Wrap your floral wire around the center of the folded paper and secure by twisting.
4. Use your scissors to trim the ends of you folded paper into rounded or pointed shapes.
5. Starting at the center, carefully pull each layer apart, one piece at a time.
6. Decide on the length you want to hang your poms, cut the monofilament or ribbon accordingly and attach to the floral wire to hang.
Trista
Saturday 18th of February 2012
Love these! I'm going to make some! Thanks!
Jenny
Tuesday 24th of January 2012
Just finished the poms for my daughter's nursery! They take a bit of practice and time, but the end result is awesome! My daughter loves to look up at the ceiling at all the pretty colors!
Victoria
Monday 23rd of January 2012
Thanks for sharing! I tried making these for a pop of color in my baby boy's room but they didn't come out as pretty :( Practice makes perfect?
Rebecca
Thursday 12th of January 2012
Thanks ladies!! Kerry, thanks for sharing the link (: Wish I knew the color of that wall...so pretty!!
Allison
Thursday 12th of January 2012
I actually made these for my centerpieces for my wedding - we did a lot of DIY and tried to make it as green as possible, and these I donated to a school for a dance afterward. It took forever because we made about 120 - but they looked great! :)