We are always on the look out for fun and interesting DIY projects. When they are approved for kid involvement its such a bonus. Our friends at Prudent Baby shared this DIY Tray project with us and we just had to show it to all of you! This would make the cutest kitchen organizer, aka “place to dump my mail each day” but make it look pretty. With the holiday season quickly approaching, this project would make a lovely and practical gift with a handmade touch for friends and family. Here’s how to do it:
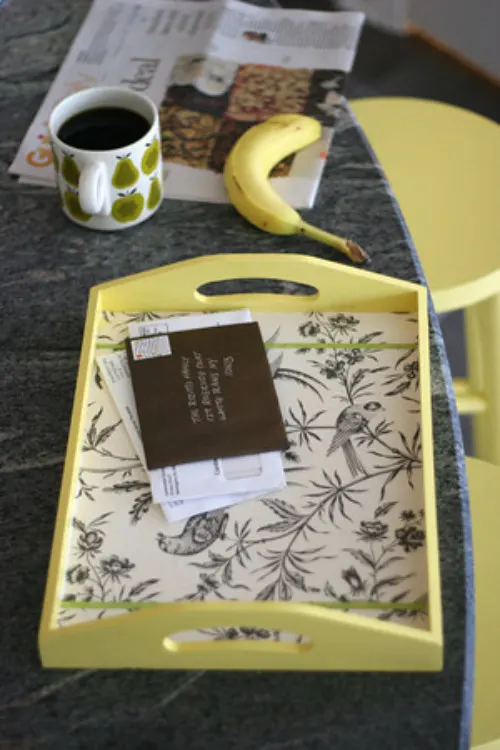
What you need:
Unfinished wooden tray (Michael’s or other craft store approx. $3.99)
Wood friendly paint
Decorative paper (this was from Paper Source, they have lots of beauties.)
Mod Podge
Paintbrush
X-Acto, cutting mat & ruler
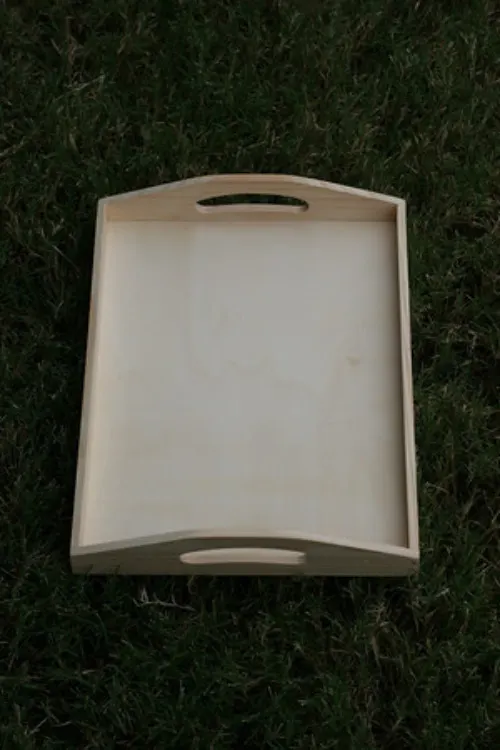
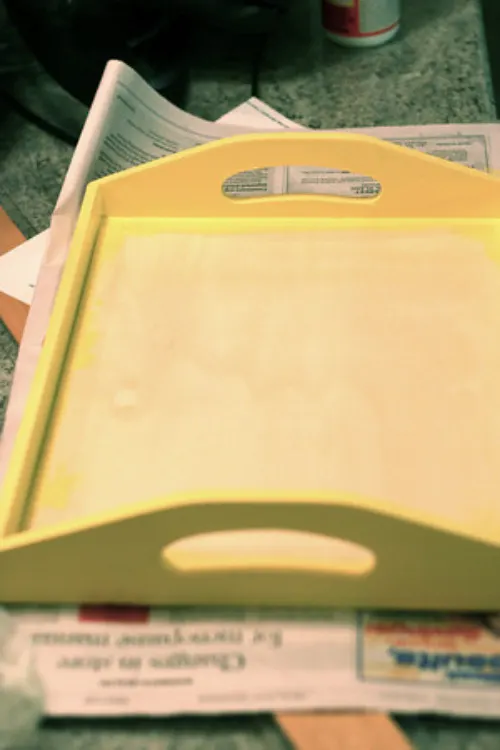
1. Paint your wooden tray your desired color, you can leave the inside (and the bottom, if you wish) unpainted. You will likely need 2 coats. Let dry.2. Measure the inside of your tray. I did this by laying my decorative paper in the tray and pressing the paper into the opposite corner with my fingernail to make a crease. Very technical stuff.
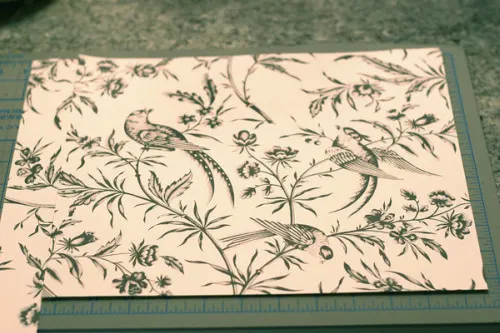
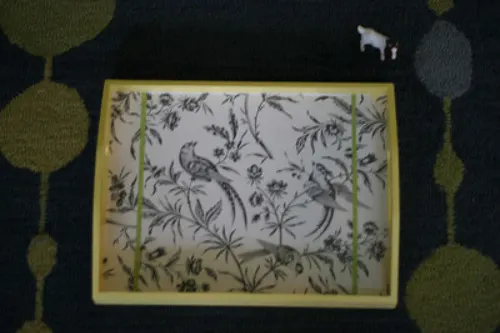
3. Trim paper to size. As you can see here, my paper wasn’t quite wide enough so I used the piece that I trimmed from the bottom and added it to the width. It was still 1/4″ shy which is why I also added the 2 strips of lime paper.4. Remove paper from tray and apply a coat of Mod Podge to the inside bottom of your tray. Make sure that the surface is entirely & evenly covered and work quickly.
4. Remove paper from tray and apply a coat of Mod Podge to the inside bottom of your tray. Make sure that the surface is entirely & evenly covered and work quickly.
5. Starting from one side, lay your paper in the tray, pressing and smoothing as you go.
6. Apply a second layer of Mod Podge over the paper.
7. You can stop here or you can add some fun elements. A cut out initial, photos, more pretty paper, or even fabric scraps! Just a note, most home printers have water soluble ink that will run, please test images first. Anything professionally printed, magazines etc. should be fine.
8. When you’re finished apply a final layer (or two) of Mod Podge to seal.
9. You may still have a few air bubbles, you can try to smooth these out but don’t worry, when it dries you will hardly notice them, especially if your paper has a pattern.

Mod Podge Amy
Thursday 15th of October 2009
LOVE trays - they are awesome. Also love that Orla Kiely pear mug in the picture. I bought that from Target too!
Ada V
Thursday 15th of October 2009
Sooo cute! Love this idea. Cheap and very cool looking. Would make a nifty gift, too.
Little Apple Design LA
Wednesday 14th of October 2009
What a great tray for next to the changing table! Q-tips, lotions, etc. Love it!